Getting Started: Downloading, Installing and Connecting to Stony Brook's VPN for Windows
To access campus resources (department shared folders, MySBfiles folder, PeopleSoft Administrative system, privileged SOLAR access, for example) from off campus, you must use the Stony Brook's VPN. Stony Brook University uses GlobalProtect VPN.
Overview: Using the Stony Brook VPN on a Windows Machine
- Request access to use the VPN by submitting a service ticket.
- Since the VPN requires 2-step authentication, you will also be granted access to Duo Security and given special instructions on how to enroll devices.
- New Duo Security users will receive an email explaining how to enroll their devices with a special link to enroll their first device.
- Keep your device handy, you will need it every time you log into the VPN.
- Be sure to enroll at least 2 devices (for example, mobile and landline or mobile and tablet).
- Enroll subsequent devices or change the default device in the Duo Self-Service Portal.
- Once you have received confirmation that you've been granted access to the VPN and you have enrolled devices into Duo Security, you can download and install the VPN (instructions below).
- You will need administrator access to install the software on your computer.
- Note: When you sign in to download the VPN software AND when you set up the installation on your computer, you'll be prompted each time to approve the login on your default Duo-enrolled device.
- Reconnecting to the VPN: For subsequent connections, follow the Reconnecting directions, which do not require re-installing the client.
- Reconnecting will require authentication from DUO Security, so keep your phone or tablet handy for every reconnection to the VPN.
- Disconnect after each session.
Downloading the Stony Brook VPN (first-time access)
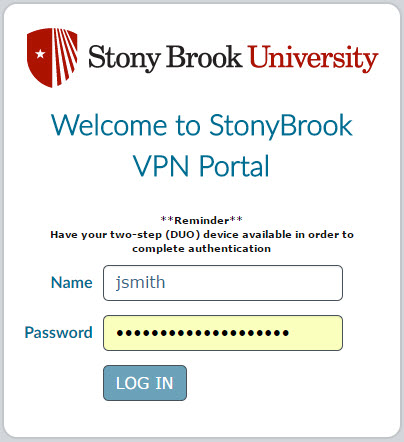
- Once you have received access to the VPN and Duo, launch the VPN Portal (from any off campus network or by while using WolfieGuest).
- Enter your NetID and NetID password in the Stony Brook VPN portal page:
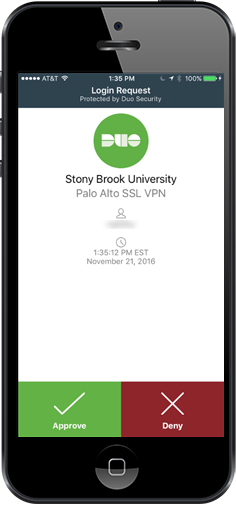
- Since Stony Brook's VPN requires 2-step login, check your default device that is registered with DUO Security to approve authentication into the VPN. If you've set up to authenticate by receiving a phone call, have that phone handy, pick up when it rings and press any key on the number pad to complete authentication.
- Choose the appropriate download for your system: Windows 32 bit or Windows 64 bit operating system (Is my PC running the 32-bit or 64-bit version of Windows? or Mac)
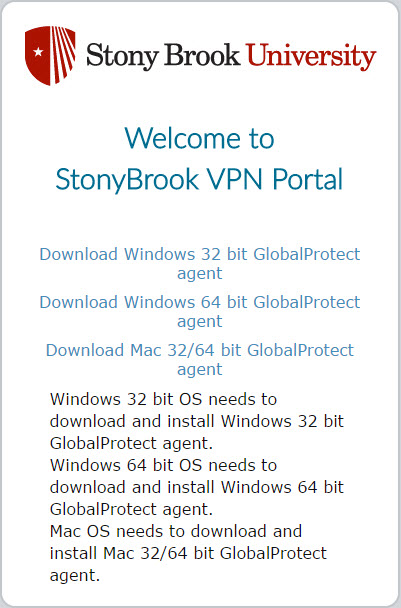
- Save and then Run the GlobalProtect Installation File
Installing the GlobalProtect Agent
- The GlobalProtect Setup Wizard will appear to help install the program. The default installation options are suitable for most users.
- The program may prompt you to grant it permission to make system changes, you must approve this request.
- Once the installation is complete you can Close the window. You should not need to restart your system (unless prompted).
Using the GlobalProtect Client to Connect
After the installation is complete, the GlobalProtect Window should appear. If you don't see it you can launch it from your system tray.
An earth icon that is grayed out means you are disconnected ![]()
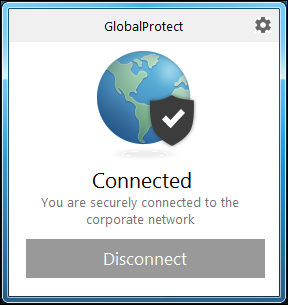
An earth icon with a shield means you are connected ![]()
If, after installing you don't see the grayed out icon, try restarting your computer and then look for it again.
Get additional help for when the Settings screen doesn't automatically pop up during VPN installation.
- You will be prompted to enter the correct portal address, enter: vpn.stonybrook.edu

- The following screen will prompt for your NetID (Username) and NetID Password
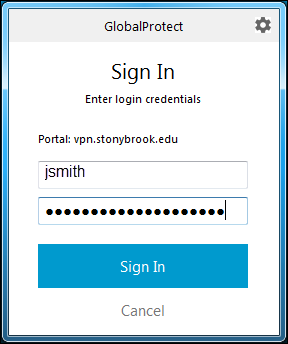
- Your Duo Device will prompt for approval again.
- After a few moments, the GlobalProtect status will change to Connected (It may look like nothing is happening at first, but be patient):
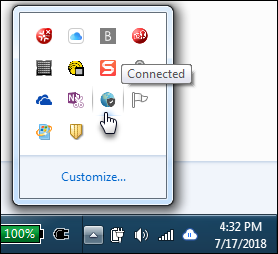
- You will also see confirmation in your system tray that the VPN has connected:
Do not follow these instructions again unless you uninstalled the VPN (Global Connect Agent) and need to reinstall it.
To connect again, follow the instructions for Reconnecting to the VPN.
To disconnect follow these instructions: Disconnecting the Stony Brook VPN on a Windows computer
Supported By
Need Help? The fastest way to get support is by submitting a request through our ticketing system.
Get Help With the VPN