Permanently Deleting a Document in Sharepoint
"Deleting" a document just moves it to the recycle bin. If you want to permanently delete a document you will need to delete it from the recycle bin.
Moving a Document to the Recycle Bin
Note: If you want to delete a document, you must first close all windows in which that document is open.
- Sign in to SharePoint and navigate to your library
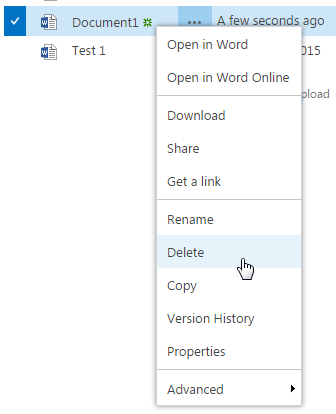
If you want to delete a single document, simply right-click the document and select "Delete."
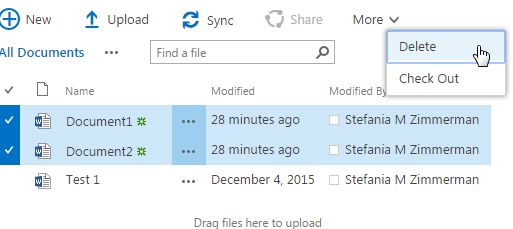
If you want to delete multiple documents, click the check boxes next to each document, click More, then Delete
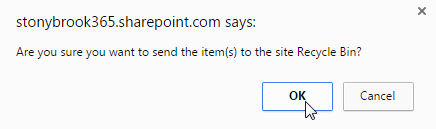
You'll get a warning about moving these files to the Recycle Bin, click OK
- If you receive an error message - you'll need to close all windows with the document open and repeat steps 1-3
At this point the document isn't deleted, it's just in the recycle bin, and it can still be restored back to its original folder.
Permanently Deleting a File
Warning: If you do this - the file will be gone forever, it CANNOT be restored after this point
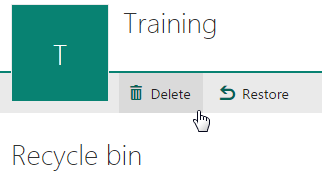
Click on the gear next to your name (top right)

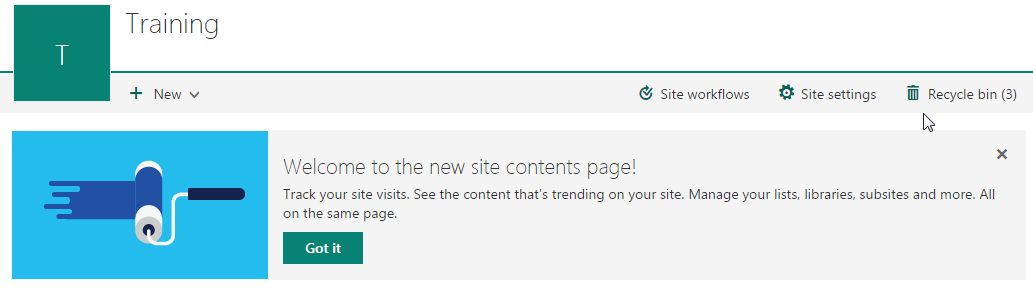
Click on "Site Contents"

Click on "Recycle Bin"
Mouse over the file and click the circle to select it. You can click the check at the top to select all files.
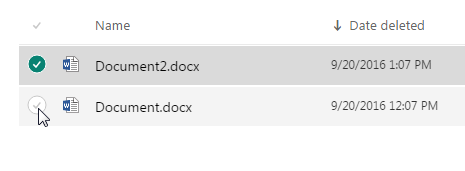
Click Delete