Updating the Zoom App on Your Computer (Windows or Mac)
Zoom frequently releases updates, but your Zoom app doesn't update itself automatically, so manually check for and apply updates regularly (do the update in the app not at stonybrook.zoom.us). If you have issues updating Zoom, create a ticket.
Zoom frequently releases updates. However, the Zoom app on your computer doesn't update itself automatically, so manually check for and apply updates regularly (do the update in the app not at stonybrook.zoom.us). If you have issues updating Zoom, create a ticket.
- Launch the Zoom app
- Windows
- Click the Windows icon
 in the taskbar.
 - In your apps list, scroll until you get to the Zoom folder.
- Click on the Zoom folder.
- Double click on Start Zoom, to launch the application.
- Click the Windows icon
- Mac
- Find the Finder icon
 in your Dock.
 - Right-click on the icon, then click New Finder Window.
- In the new window, click Applications. Find zoom.us in your apps list and double click the icon to start the app.
- Find the Finder icon
- Windows
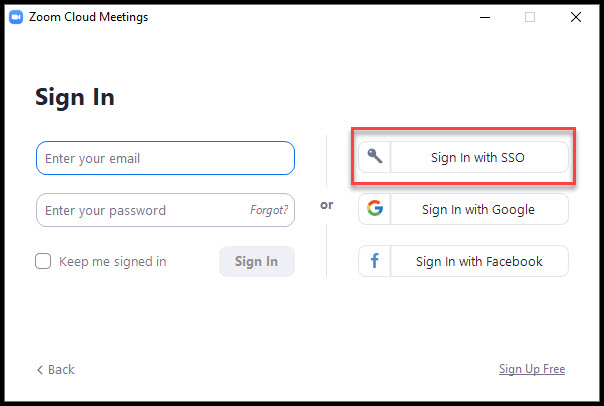
- Once the Zoom app opens, sign into the Zoom app, with SSO/NetID (or sign out and back in to be sure you're signed in with SSO).
- Click your picture/initials in the top right corner, and click Check for Updates
(For some, but not all, Zoom updates, the zoom app will show a banner that A new version is available! Update at the top. Click Update in that banner to update)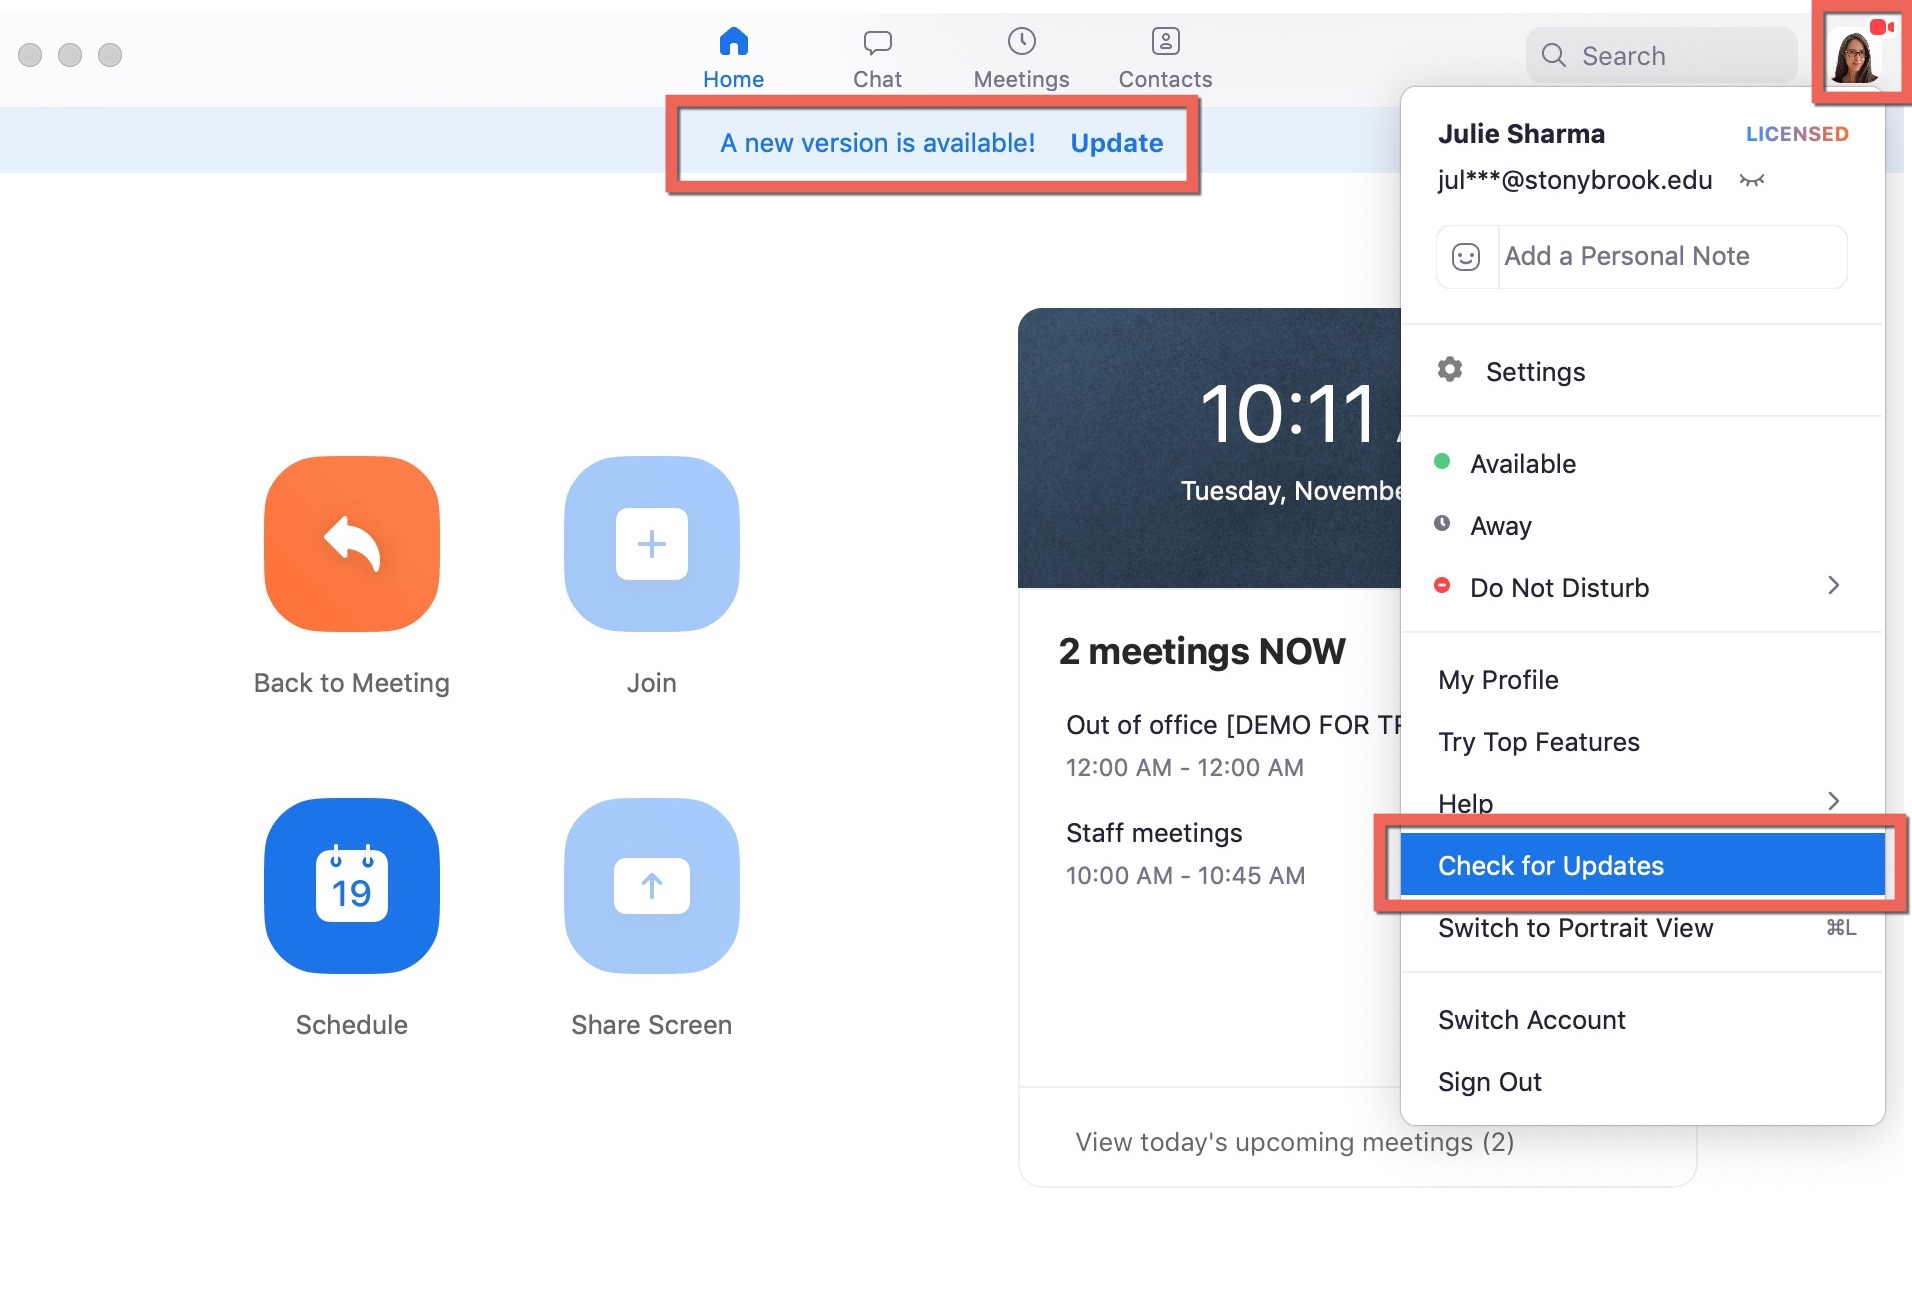
- If prompted to update Zoom, follow the prompts to do so
- If, when updating Zoom, you receive an error message that the updates are disabled, create a ticket for assistance updating Zoom:
- In a website, go to service.stonybrook.edu
- Click CREATE A TICKET TO GET HELP
- Sign in with your NetID/NetID password
- Click Zoom Video Conferencing
- Complete the information, indicating you got an error trying to update Zoom
Supported By
Customer Engagement and Support