Re-Indexing a Document
To re-index a document:
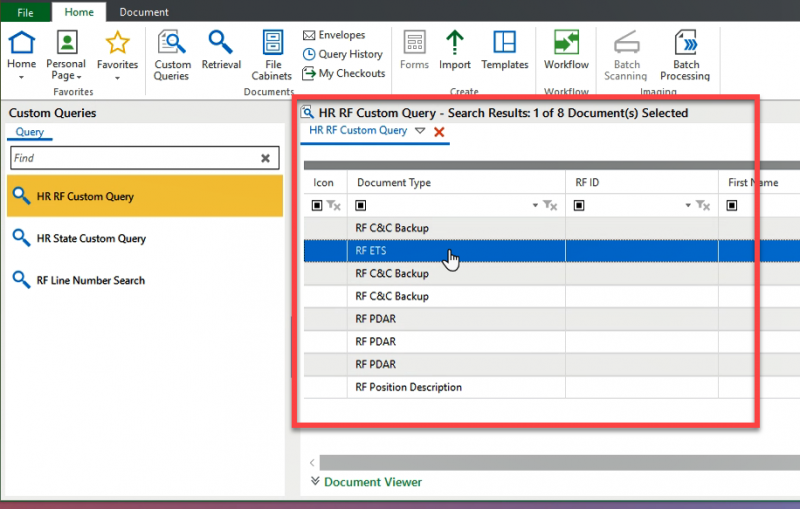
- Retrieve the document (either by the Custom Queries or Retrieval tool). If you cannot find a document because the index is incorrect try to use the wildcard character *.
- Open the document in a separate window by double-clicking from the Search Results.
Or by clicking the Document tab at the top of the OnBase window: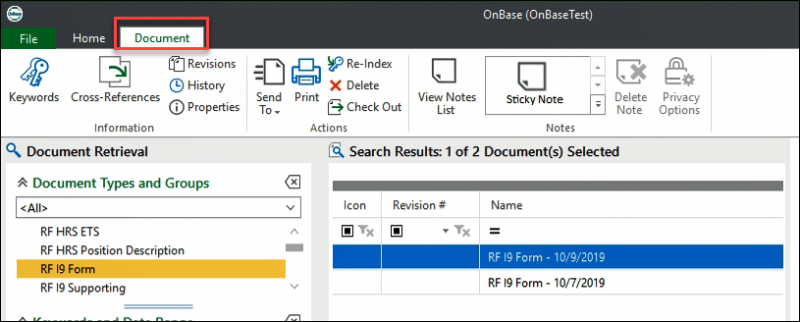
- Click Re-Index on the Onbase ribbon:
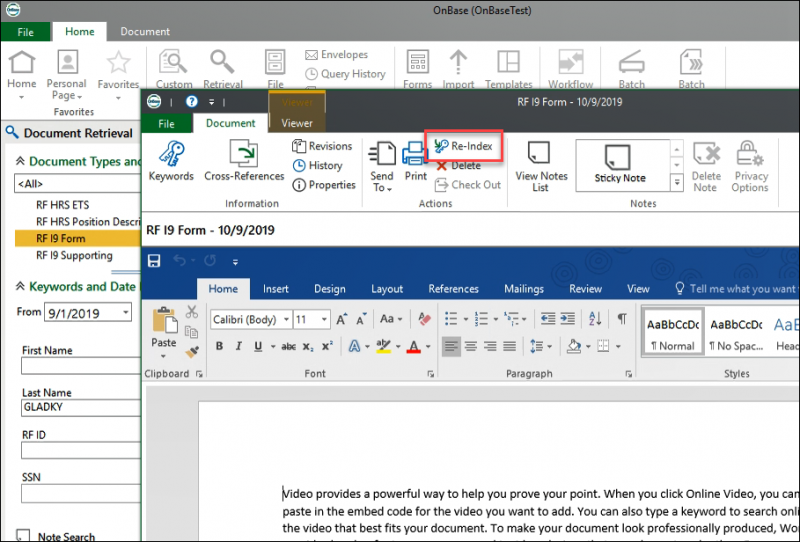
- The re-index panel will appear on the left-side of the document. You can update some fields while others are grayed out.
NOTE: To update the grayed out fields, click the X. This will delete all the Keyword fields.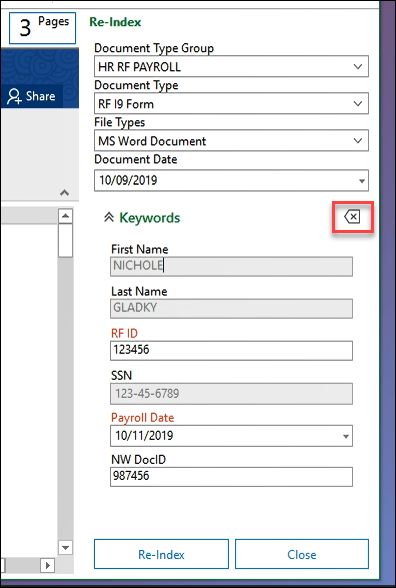
- Enter the correct information and then click Re-Index. When you have successful re-indexed the document a confirmation note will pop up: