Upgrading Your Windows 10 Machine to The Latest Windows 11 Version (24H2)
This is a large security update that will take around 2 hours to install overnight and then another 15 minutes to finalize when you sign into the computer the next morning. Below are the instructions for individuals to install the update themselves on a day that would be convenient to have the installation run overnight and then finalize the next morning.
If your computer has not been updated in a while (see Software Update Schedule for your department), it may take longer the next morning to finalize. It is important to ensure your machine stays on during the entire process.
This update applies to Windows 10 machines that are Managed by DoIT. If you are not sure whether your computer is managed by us, please contact your IT support person.
Starting the Overnight Installation (~15 Minutes)
Start the overnight installation before you leave for the day. Steps 1-9 will take 10-15 minutes.
Your computer must be on Stony Brook’s network (Internet) to access the KACE system.
- Save your work, close all applications and restart your computer and then Log in again.
- Write down your computer name and check to see if you are running an older version of Windows 10:
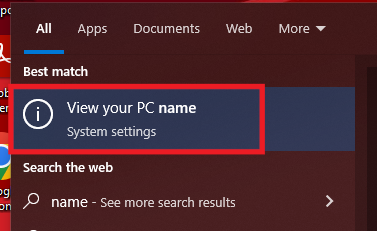
- Press the Windows key on your keyboard and type “Name” to search for View your PC Name.
Click on View your PC Name or press the Enter key.

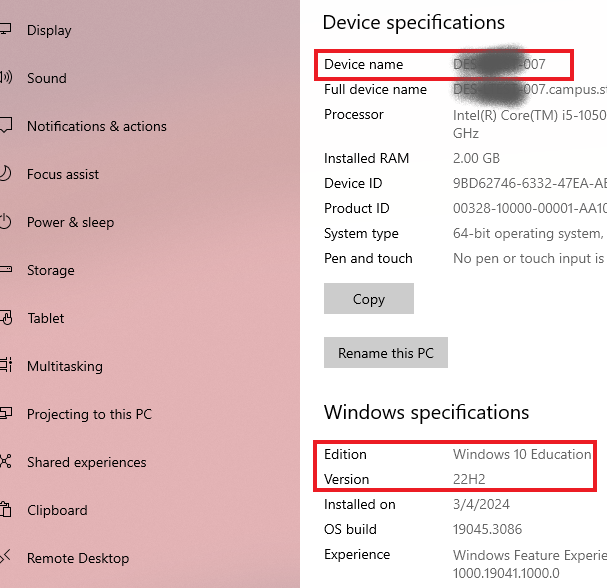
- Write down your Device name and check the Version.
- If you have Windows 11 and Version 24H2, you are updated and do not need to do anything further.
If you do not have Windows 11 version 24H2, please follow the steps in the guide.

Go to KACE Systems Management Appliance Service Center and select Organization: 1 - Client Support and then click Login.

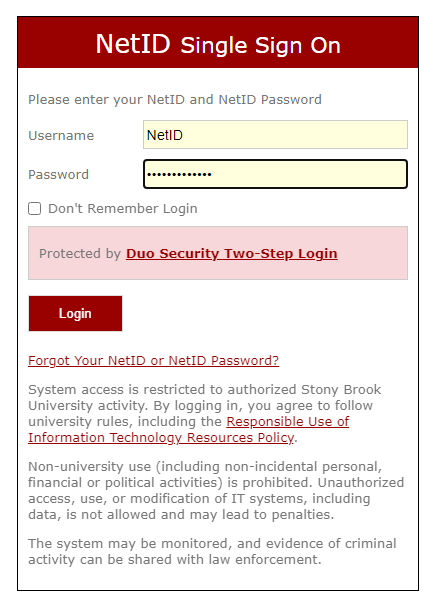
You will be now redirected to the University's Single-Sign-On page enter your NetID and NetID password and click login

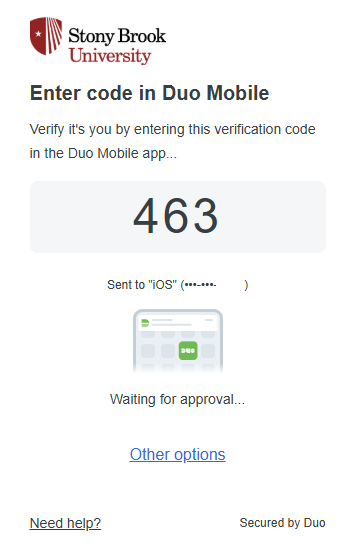
On the DUO Authentication Required page, enter the DUO code on your computer screen in your DUO app:
(your code will differ from this screenshot).

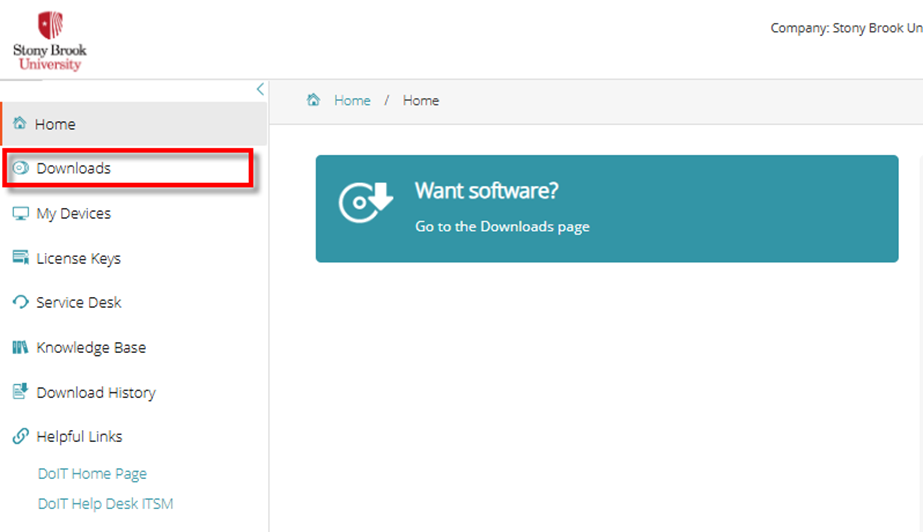
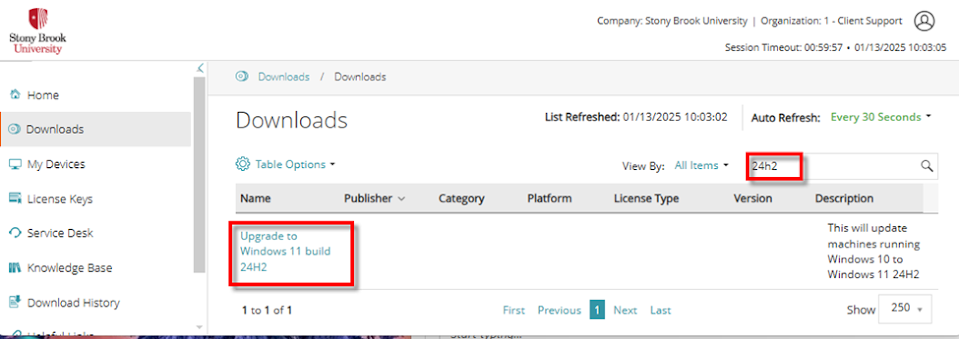
On the KACE homepage, click Downloads:
- On the Downloads page:
- At the top right, search for "windows 11".
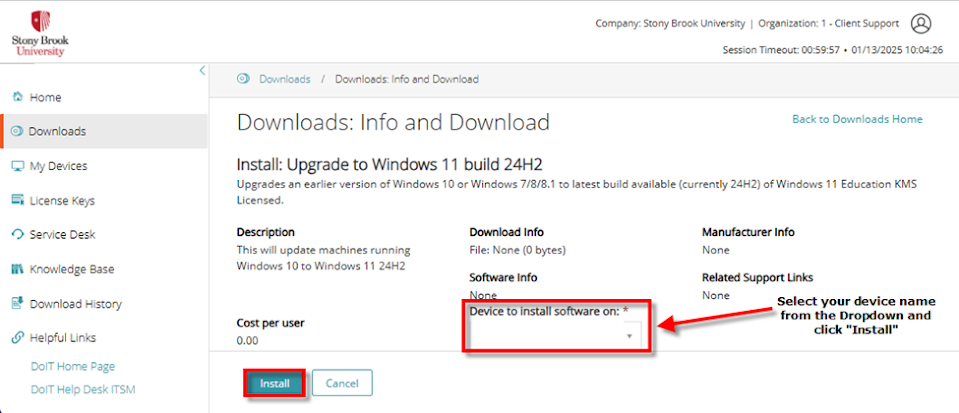
Click on "Upgrade to Windows 11 build 24h2"

On the Downloads: Info and Download screen, if you only have one Windows 10 computer, verify the name and then click Install. If you have more than one, select the Device to Install Software on and choose the name of the Windows 10 computer you are upgrading. Then click the Install button at the bottom of the screen.
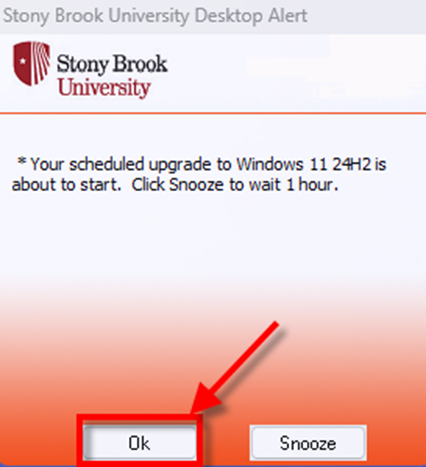
Momentarily (from instant to 30 minutes), a small orange window will appear on the bottom right of your screen near the clock on the Download History page. This is our KACE Management system beginning the installation process. It will provide you the opportunity to “snooze” to delay the upgrade for 1 hour, if needed. It will auto start in 15 minutes.Click OK to proceed.

- If the orange box does not appear and the Upgrade to Windows 11 build 24h2 says Failed in the Status column, restart your computer and go back to Step 1 in these instructions.
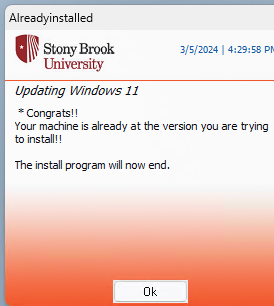
If your computer is already updated to Windows 11 version 24H2, a message will appear that says “Congrats!! It is already installed!” and you do not need to do anything further. Click Ok.

The new orange popup box will appear as the process is started. The popup will close when the actual Windows upgrade starts..

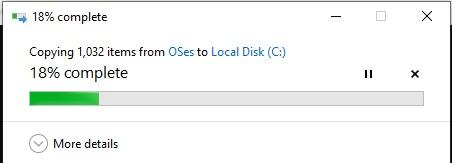
A black box will popup along with a "file transfer" dialog box. The Windows 11 upgrade files are being transferred to your computer so the upgrade can happen.

After the files have been transferred the upgrade process will start. The orange popup box will close. You may close the web browser.

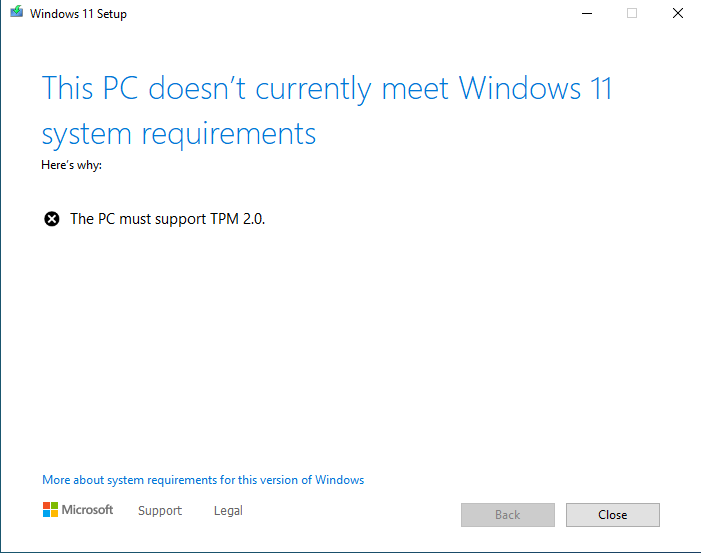
If there is an issue and the following message appears, contact the DoIT Help Desk (Submit a ticket) or your local support technician.

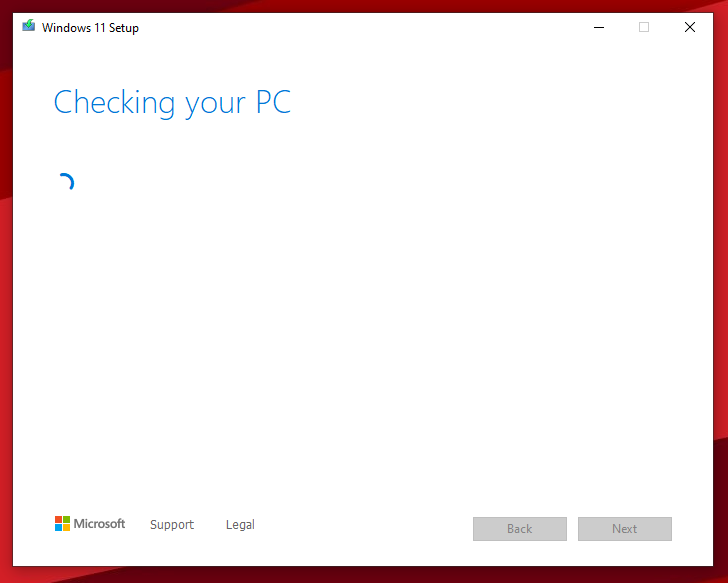
If there are no issues, the screens will describe what is is doing and will move on to the next screen automatically.


If there is an error, this means that your computer may not have sufficient drive space and you will need to contact support (service.stonybrook.edu) to have the issue investigated by a technician.
The Overnight Process (~2 Hours)
Once you see the Installing Windows 11 screen you may lock your computer and leave for the day.
Press the Windows button and L button on your keyboard to lock your computer.
As the installation progresses, your computer will display multiple messages:


Finalizing the Installation the Next Morning (~15 Minutes)
When you sign onto your computer the next morning, the update will take about 10 - 15 minutes to finish.
*Be sure to leave the computer on the whole time.
After the “Good things coming your way.” screen clears, you’re good to go. Please sign in and enjoy your freshly upgraded computer. If you encounter any issues with this please reach out to your I.T. support contact.