

East Campus iOS - Get Connected to Eduroam
To properly configure your iOS (iPhone/iPad) device to connect to Eduroam on East Campus, please follow the instructions below.
This will help you configure your device in such a way to ensure that you connect to Eduroam securely without needing to sign in every time.
About SecureW2
SecureW2 is the university's recommended tool for connecting to the official campus Wi-Fi network. Using SecureW2 ensures that the correct security certificates are installed on your device. For your protection, be wary of unexpected Wi-Fi certificate prompts that appear as pop-ups, as they may not be legitimate or approved by the university.
Requirements
Forget the WolfieNet-Secure and Eduroam network on your device to remove any outdated Wi-Fi profiles or certificates.
Once you have forgotten the necessary networks (and uninstalled the SecureW2 app, if necessary) please follow the setup instructions below.
Instructions
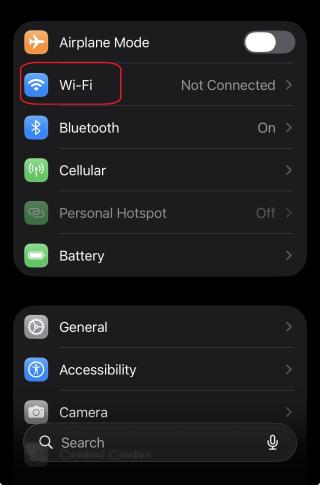
Go to Settings.

- Tap on Wi-Fi.
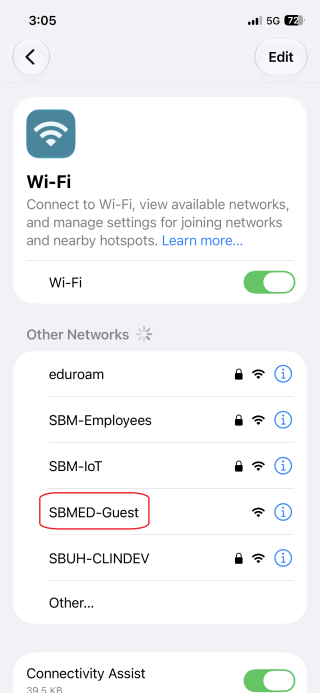
Select SBMED-Guest from the available Wi-Fi networks:
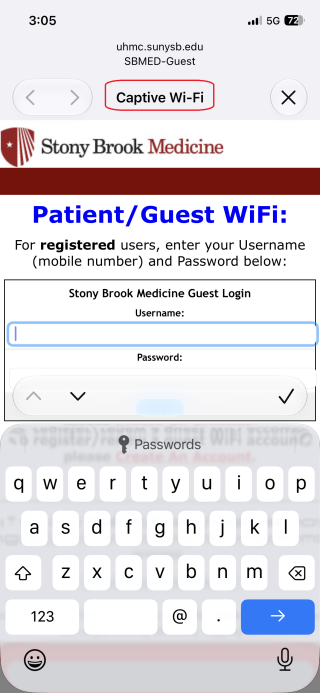
Wait for the Captive Wi-Fi Portal to automatically open:
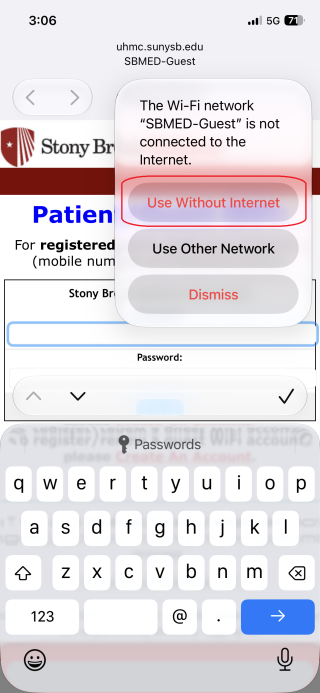
Press the (X) Button in the top right. You should get a pop-up window indicating “The Wi-Fi network SBMED-Guest is not connected to the internet”. Select Use Without Internet:
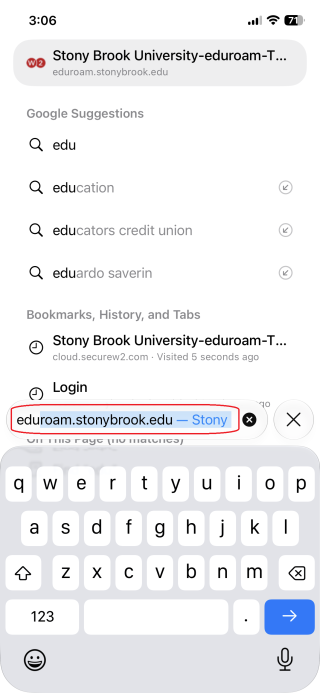
Open the Safari Mobile Browser on your iOS device and type in the URL eduroam.stonybrook.edu in the address bar:
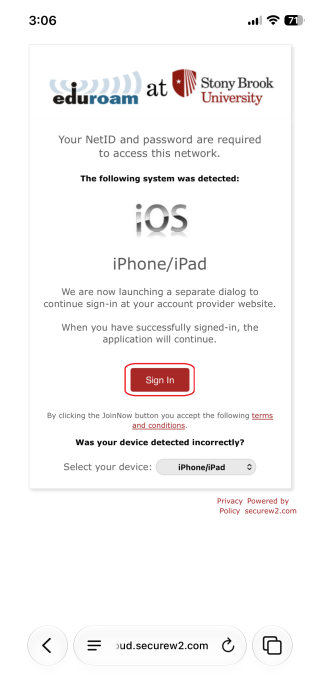
Select Sign In:
You will be brought to the Stony Brook University NetID SSO login page. Enter your Net ID credentials and tap Login on the bottom left:
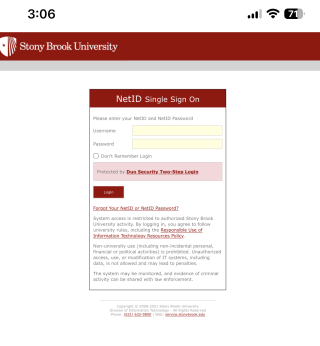
- You may be prompted for DUO Mobile two-factor authentication. Select that you have DUO Mobile on your device. It should automatically redirect you to DUO. Press the green checkmark on the bottom right to approve that you are signing in to your personal device. Once done, click where it says Safari in the top left of your screen. This will take you back to the Safari browser app.
You will be redirected back to the Eduroam at Stony Brook page. Click JoinNow:
PLEASE NOTE: If you have a paid iCloud+ account, you will need to do the following before moving on the step 8:
1. Tap on Settings.
2. Tap on your Apple ID account name.
3. Select iCloud.
4. Select Private Relay.
5. Turn Private Realy OFF.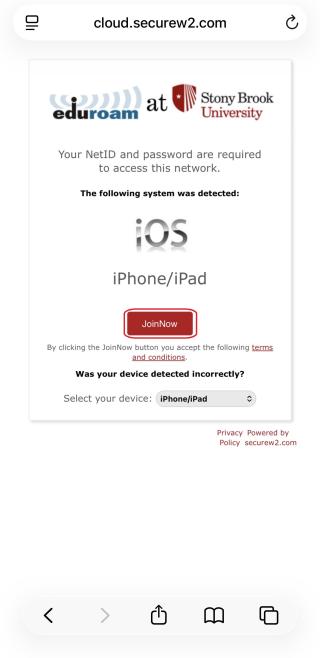
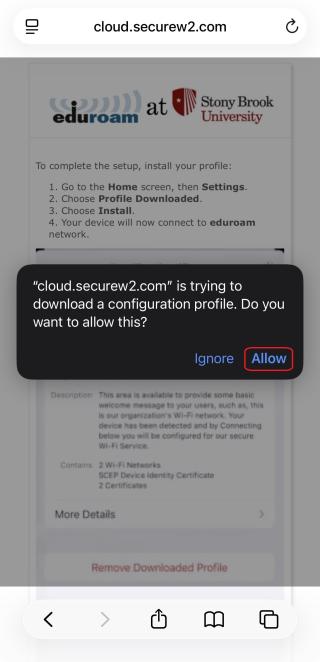
You will be prompted to download the SecureW2 configuration profile. Click Allow, then click Close.
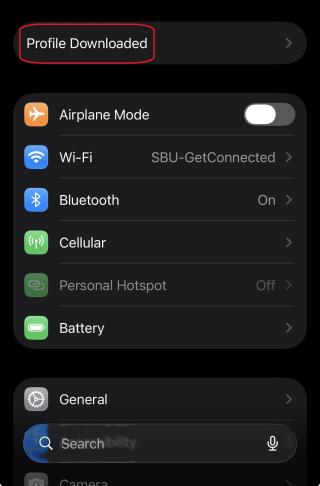
Go back to your iPhone/iPad's Settings app and select Profile Downloaded:
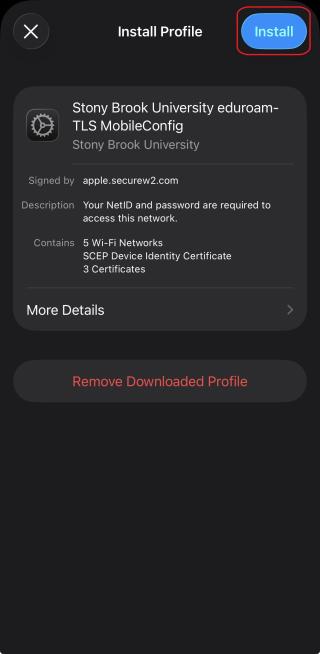
Click Install on the top right to install the configuration profile:
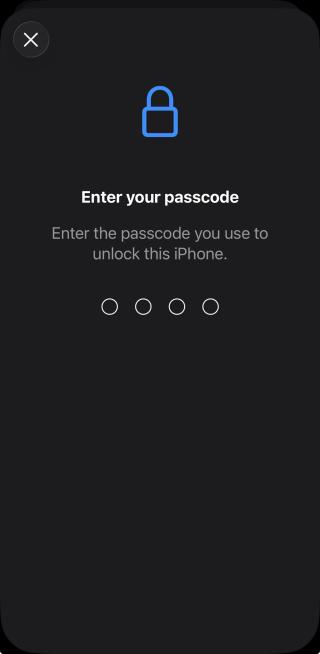
Enter your passcode to unlock your phone:
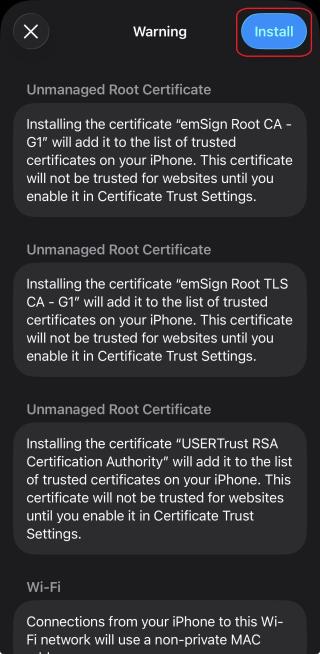
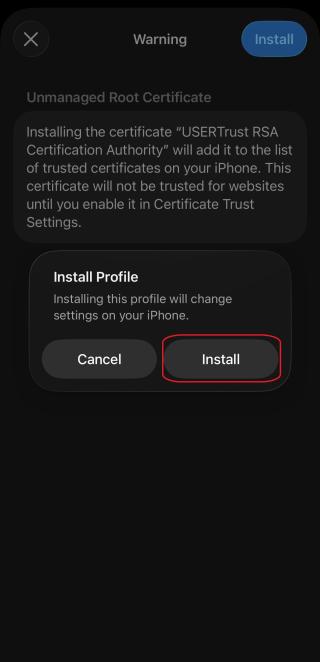
Click Install in the top right corner at the “Warning” screen. You may get a pop-up to confirm the installation. If so, click Install to proceed:
Click on the checkmark in the top right corner to leave the profile configuration page:
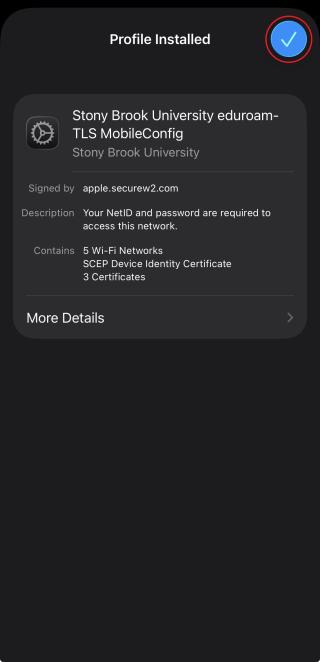
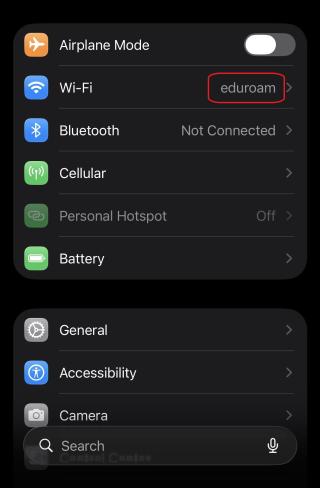
You are now connected to the university's Eduroam network!
Configuring Your Wi-Fi Profile Before Arriving On Campus
If you are not on campus while setting up your Wi-Fi profile, you will not be connected to Eduroam upon getting to the success landing page. However, once you arrive on campus, you may select Eduroam as your Wi-Fi network in your device. It should then connect automatically as long as you have successfully followed the above steps before arrival.