Viewing All Protected Documents in Azure Information Protection (AIP)

Audience: Faculty, Guests, Postdocs, Researchers, Staff and Teaching Assistants

This KB Article References: Azure Information Protection (AIP)
This Information is Intended for: Faculty, Guests, Postdocs, Researchers, Staff, Teaching Assistants
Last Updated: August 11, 2020
Average Rating: Not Rated
Your feedback is important to us, help us by logging in to rate this article and provide feedback.
  1. Go to https://track.azurerms.com/

  2. Sign in with your Stony Brook email address and NetID Password.


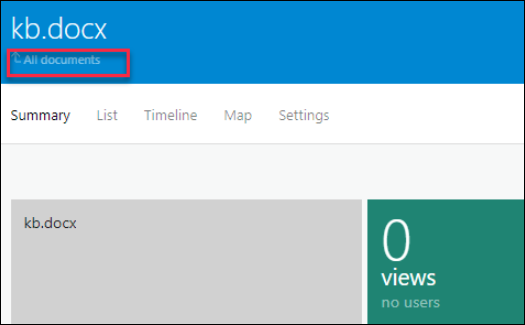
*Additionally, while reviewing a document in https://track.azurerms.com, you can click on All Documents under the title to view other documents’ information.

*Notes on All Documents in https://track.azurerms.com

  1. When protecting at the folder level, you may not see all documents listed in track.azurerms.com.  To correct this, open the file saved on your computer, click Protect > Track and Revoke and then you will see the missing document listed in All Documents.

  2. When protecting at the folder level, if you add a document to a folder and then protect it at the folder level again, you may see the same document listed twice each with different specified access.

Additional Information


There are no additional resources available for this article.

Provide Feedback


Your feedback is important to us, help us by logging in to rate this article and provide feedback.

Sign in with NetID

Getting Help


The Division of Information Technology provides support on all of our services. If you require assistance please submit a support ticket through the IT Service Management system.

Submit A Quick Ticket

Supported By


Customer Engagement and Support