Scheduling Meetings from the Zoom Client (Desktop Application)
You can schedule a meeting in the Zoom Client, and it will appear on your Google Calendar or Outlook Calendar, as explained on this page.
You can schedule a meeting in the Zoom Client and it will appear on your Google Calendar or Outlook Calendar.
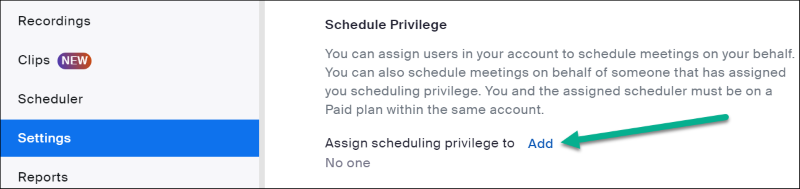
If you schedule meetings for others, to save you some time ask your colleagues if they will allow you to schedule meetings for them in Zoom's settings by following these instructions:
- Log into stonybrook.zoom.us
- Click Settings.
Scroll down to the bottom of the page. Next to Assign Scheduling Privilege to, click the + sign and add your assistant's email address.
*If a message appears that they are not a user in your Zoom account, ask them to sign in to Zoom correctly so a Stony Brook account is created for them.
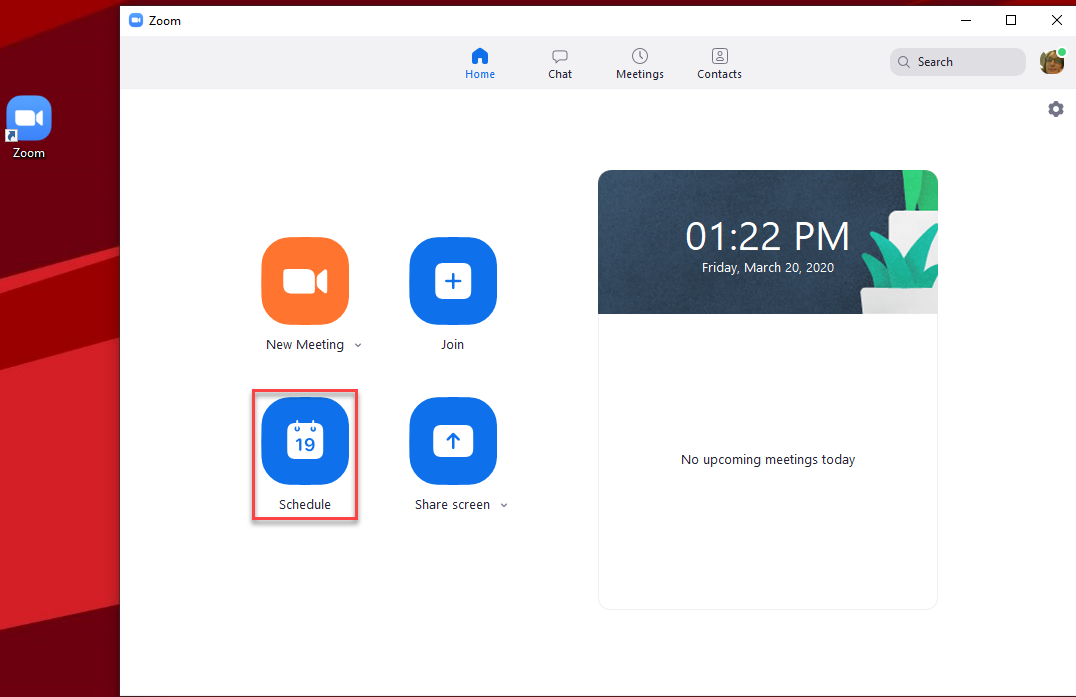
- Open the Zoom Client. DoIT Managed Computers may already have the client on their desktop. Otherwise, you can follow the instructions here to get the Zoom Client

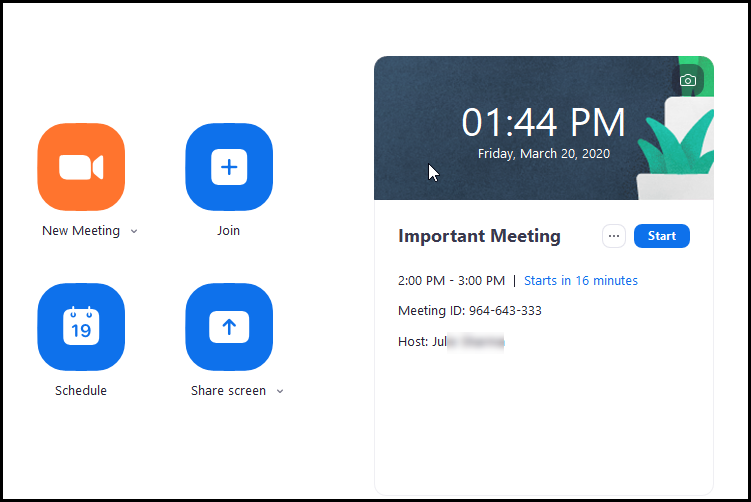
- Click Schedule
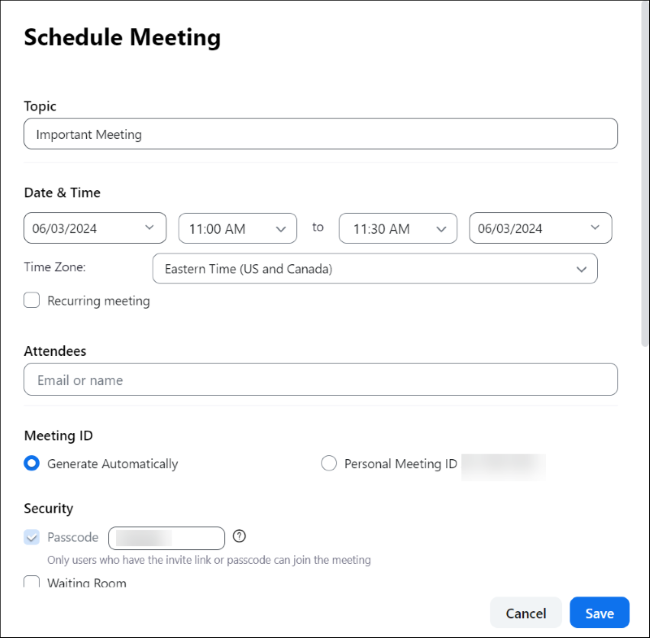
- Enter information into the scheduling form. This information will populate the Title, Date, and Time fields of the Google or Outlook Calendar invitation.
- Recurring Meetings:
- To ensure that the URL (address) of the Zoom room does not expire, be sure to check off Recurring Meeting. You will create the recurring meeting in Google or Outlook Calendar.
- Calendars:
- Google - When you select Google Calendar, you will be asked to choose a Google Calendar (choose your SBU address) and allow Zoom to access it. Next, your Google Calendar will open and you can finish your meeting invitation by selecting the calendar the meeting should appear on and adding guests.
- Outlook - You must have Outlook open and logged in. When you select Outlook Calendar, an Outlook meeting invitation will open and you can finish and send your meeting invitation.
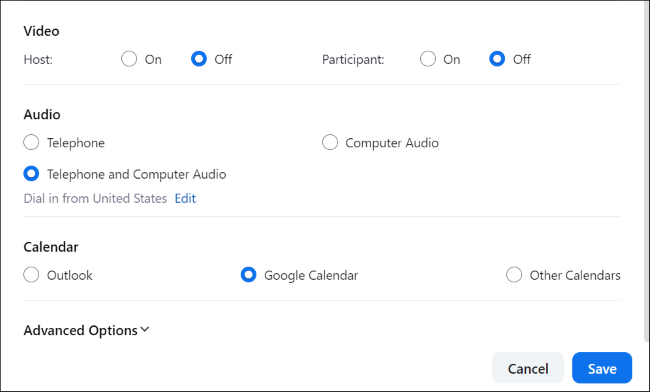
- Click Advanced Options to expand it. And check to see if any options apply to your meeting.
If you are scheduling this meeting for someone else, and your colleagues allow you to schedule Zoom meetings for them, you will see it under Schedule For:. Check off Schedule for: and choose a name. Otherwise if they did not, you can add them as an alternative host.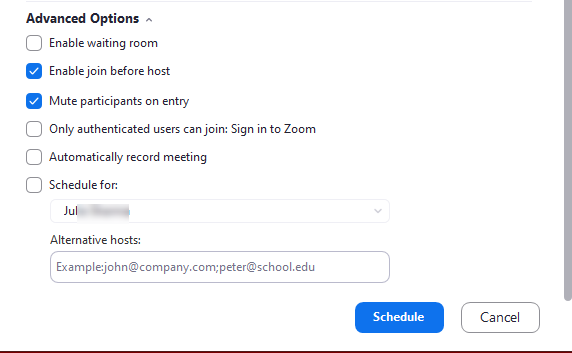
- Click Schedule. Next, your calendar will open depending on which calendar you chose:
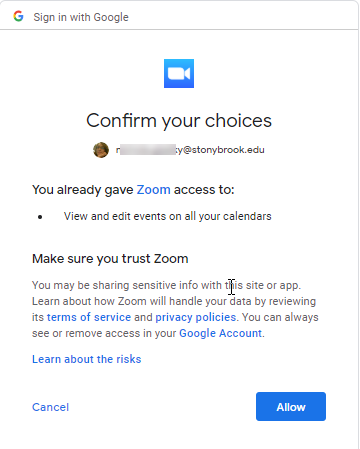
- Google:
Choose a Google Account and then Confirm your choices and click Allow
Next, choose the calendar this meeting should be on and add guests to send the invitation.
Likewise, you may set up the rate the meeting should recur if this is a recurring meeting.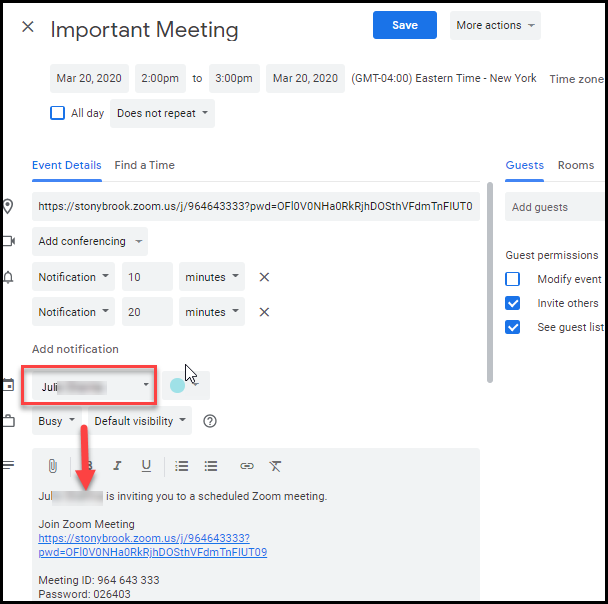
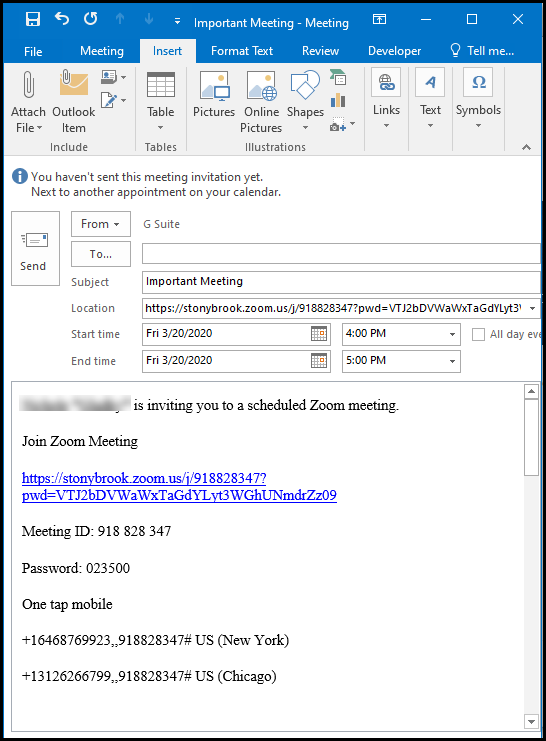
- Outlook: Your Outlook calendar must be signed in and open on your computer.
- Google:
- Finally you can open the Zoom Client to see what are upcoming:
Supported By
Customer Engagement and Support