Scanning from a Personal Scanner Connected to Your PC into Onbase
If you have a small personal scanner connected to your computer you can use these instructions to scan documents into Onbase.
- In Onbase, on the Home page click on Import:

- Click Acquire on the Import menu to start your scanner.
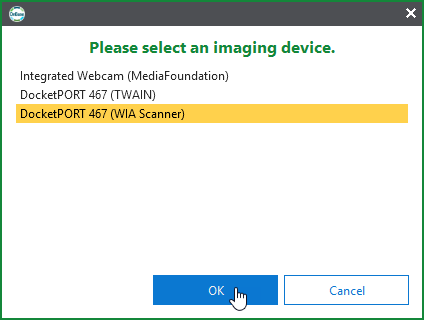
- Next, choose your scanner. You'll be presended with options similar to the screenshot below:
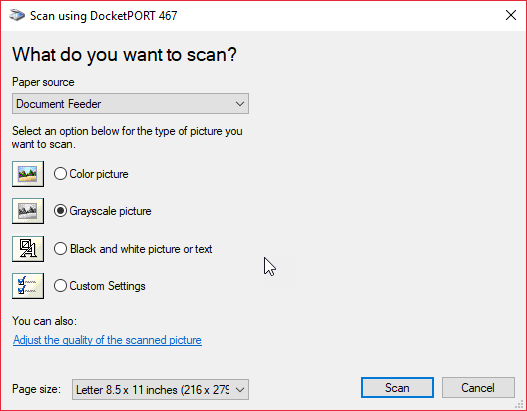
- The next screen will allow you to select picture option and paper size. Click Scan.
- The scanning status will tell you how much longer scanning will take:

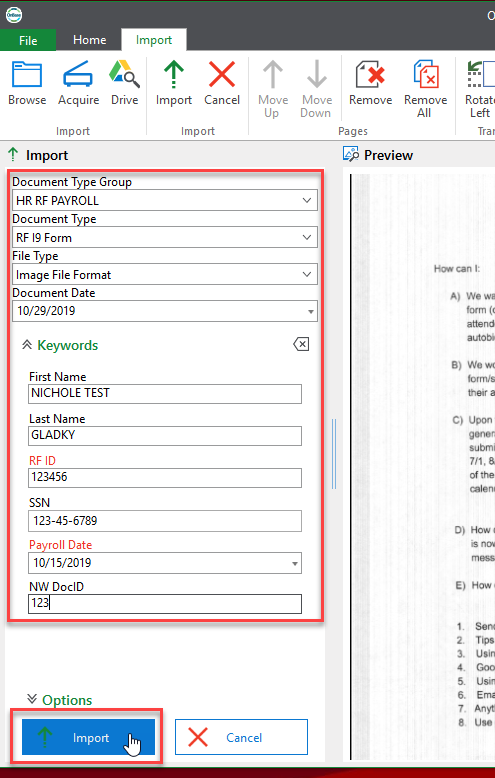
- Once the scanning is finished, by default you will see the preview of the document and you will be able to enter the indexing and keyword information on the left side of the screen. Click Import when finished to import the scanned document into Onbase.
- The Document screen will appear so that you may work on the document (update keywords, reindex, send to email or envelope, add notes, etc):
