Push Button Media System Classroom Help Guide
This is a general help guide for all classrooms with this style touch panel. While the steps and location of buttons are the same regardless of which style room you are in, there may be slight discrepancies in font, color, options and icons, dependent on the slight differences in hardware.
For specific details about your classroom, please refer to the Installed Classroom Equipment Guide or contact AV.
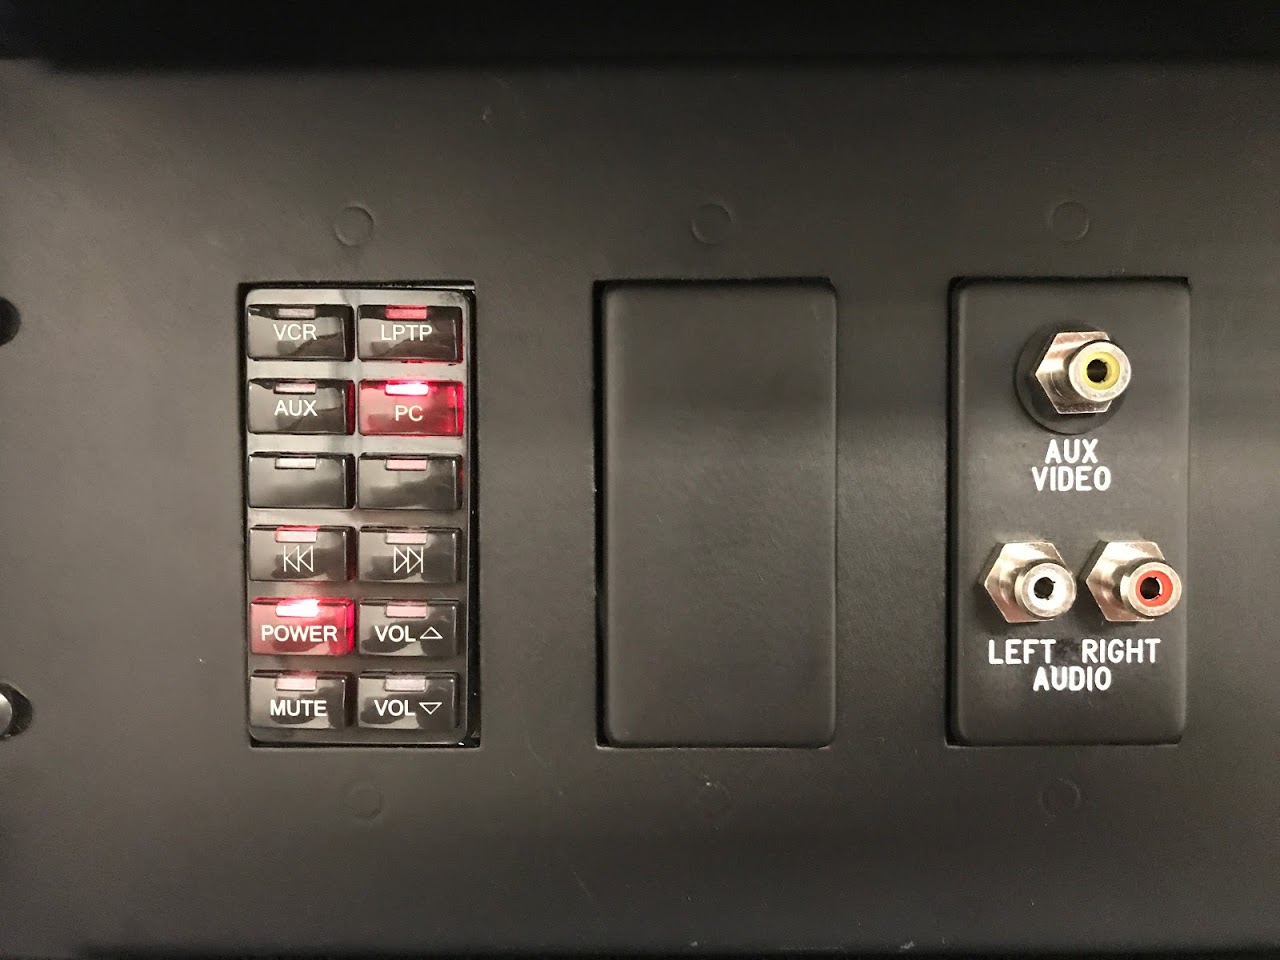
Step 1: Locate the touch panel.
Power on the system at the touch panel. While the system is powering on you will be unable to perform other functions. This process can take up to 20 seconds and the light will flash.
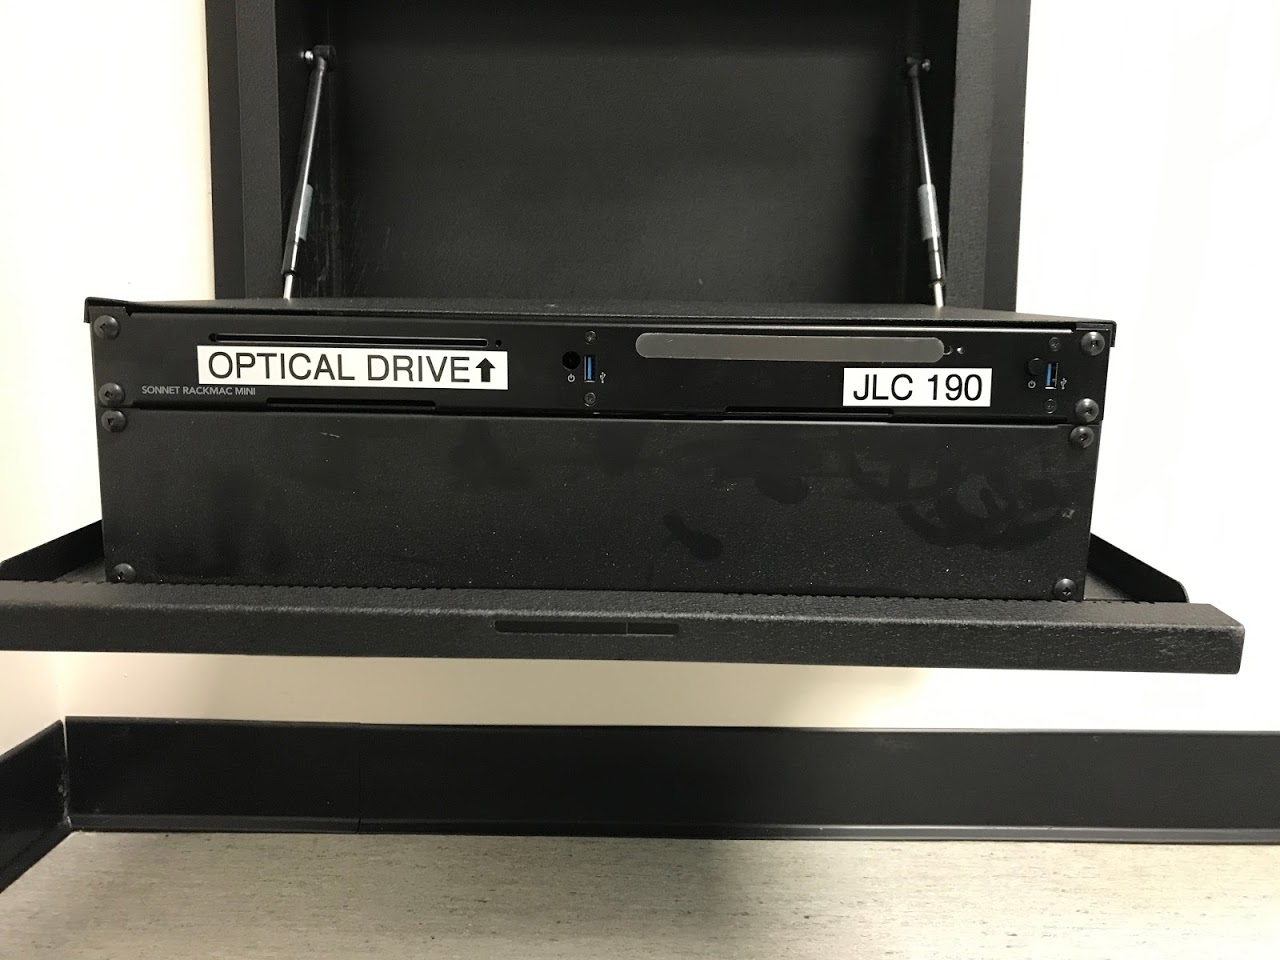
Step 2: Log into the Classroom Computer or connect your device.
To use the classroom computer, please log in using your NetID and Password credentials. Locate the wireless mouse and keyboard and use these devices to login. Please make sure both of them are powered on. Power buttons can be located either beneath the device (mouse) or along the top edge (keyboard).
To use your personal device, please plug it into the media station using the appropriate cables. Standard cables such as HDMI can be provided by the Support Office. If your device requires an adapter, please provide your own. We are available to offer suggestions for reliable adapters.
Step 3: Turn on the projector by selecting the power button.
After you make your selection, the 'Power' button will flash while the system warms up.
The 'Power' button will now appear red to indicate the projector is on, and the source will default to "Laptop".
Step 4: Select the appropriate source.
Once it has been fully powered on, choose the source you would prefer to use if not “Laptop”.
Step 5: To power off the system, press the 'Power' button.
The power button will flash while the system cools down.