Printing Brightspace Quizzes with Respondus 4.0
Instructors ONLY: This article provides step-by-step instructions for printing quizzes from Brightspace using Respondus 4.0; this is not Respondus LockDown Browser/Monitor. You must download Respondus 4.0 from Stony Brook University's software distribution site (Softweb) and not from Respondus's site.
Downloading Respondus 4.0
- Login to Softweb with your NETID username and password.
Go to Faculty & Staff Applications and then click Respondus.
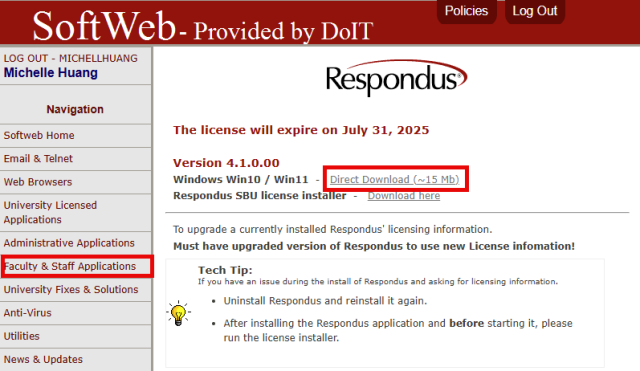
- Click the direct download link.
- Go through the installation steps.
- Note: Installing Respondus Equation Editor is optional.
- The Respondus 4.0 application is now installed on your computer.
Connecting to Brightspace
- Login to Brightspace with your NETID username and password.
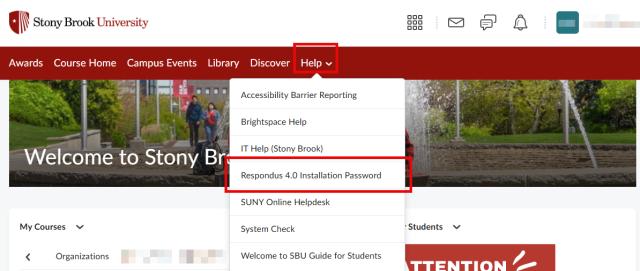
Click Help in the navigation bar and then click Respondus 4.0 Installation Password. This will open a document containing licensing details.
- Run Respondus 4.0.
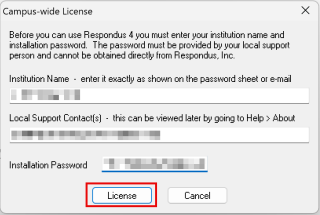
When prompted, enter the Institution Name, Local Support Contact, and Installation Password, exactly as shown in the license document, and then click License.
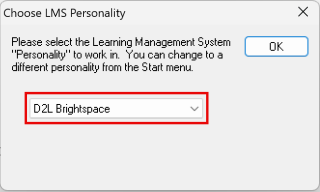
When prompted, select D2L Brightspace for the LMS Personality.
Retrieving Assessments
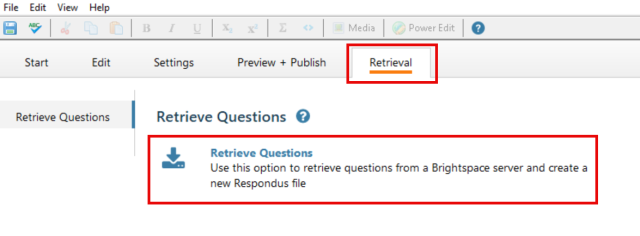
Go to the Retrieval tab, and click Retrieve Questions.
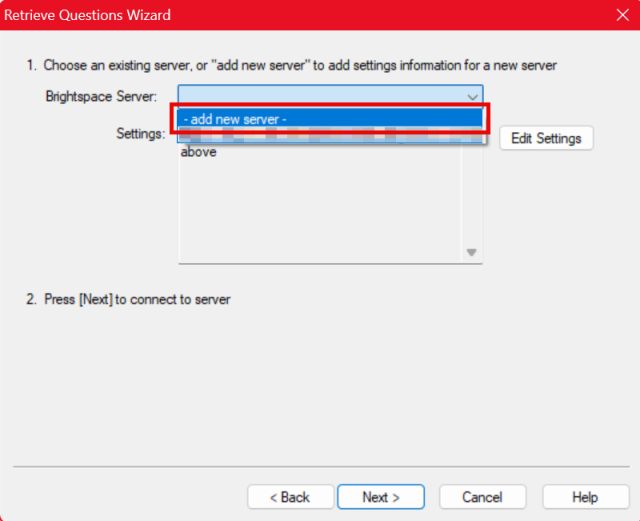
From the dropdown, select -add new server-.
- Note: If you have connected to your Brightspace before, you can instead select that server in the dropdown and skip to step 7.
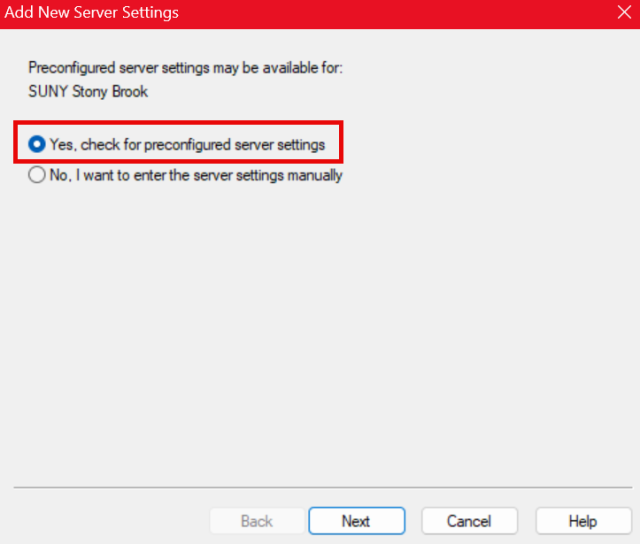
Click the first option: Yes, check for preconfigured server settings.
Enter a name, save your username and password to the computer (only if it is not a shared computer), and optionally select Run connection test. Click Next.
- You will have to log in once for basic login and once more for course list retrieval.
- Note: If an Authentication Module Download notification appears, download it by clicking Ok.

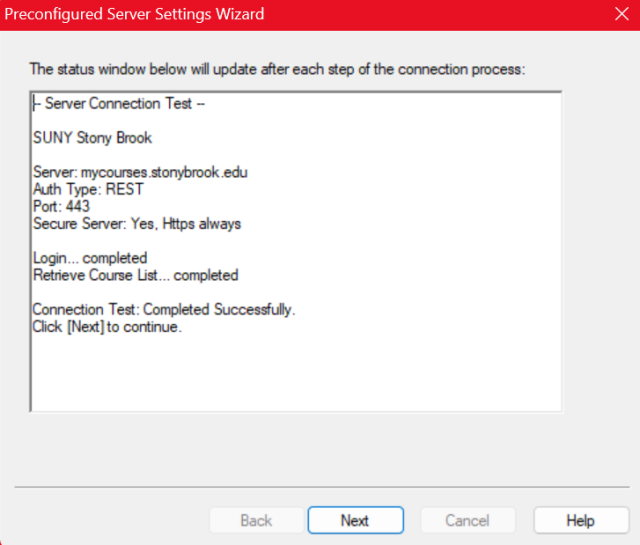
You will see this screen upon success. Click Next, and then click Finish to add the new server.
- This server now has access to all courses wherein you are an Instructor or Teaching Assistant; for courses where you are neither, you will not see them.
- If you are added to a course after you set up the server, it will appear on the server i.e. no re-configurations or new servers needed.
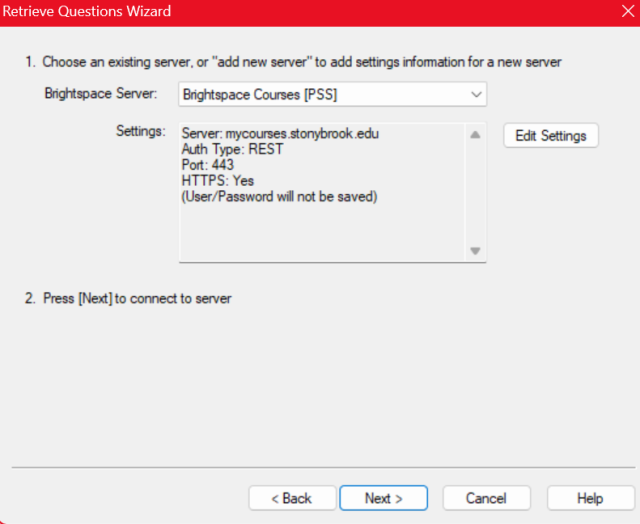
Click Next with the server specified.
- You will have to log in again.
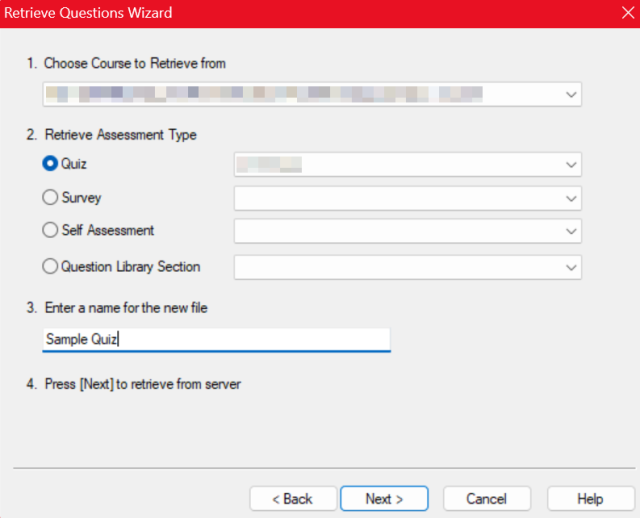
From the dropdown, select the desired course, select the specific assessment, enter a name for the assessment's file (.rsp files are used in Respondus 4.0), and click Next.
You will see this screen upon success. Click Finish.
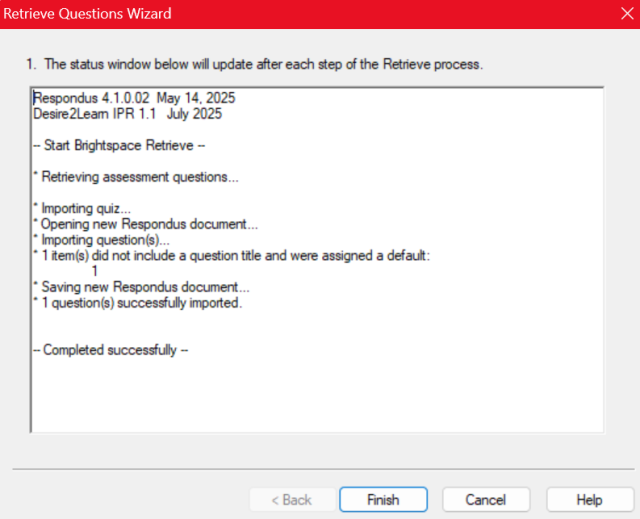
- Go to the Preview + Publish tab and click Print Options in the left sidebar.
Print Options
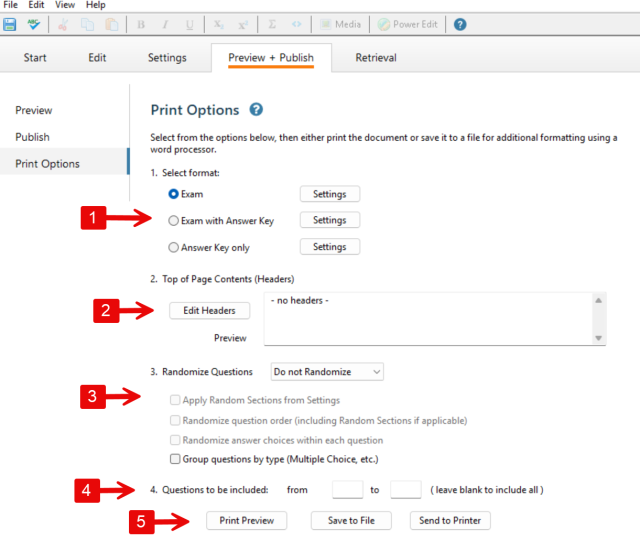
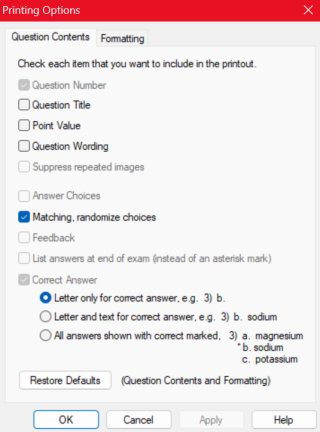
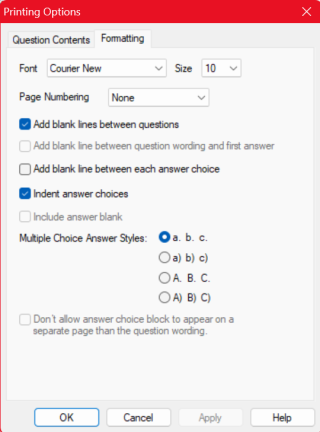
- Each format has different required settings (the grayed-out options). The images below depict the Answer Key only settings.
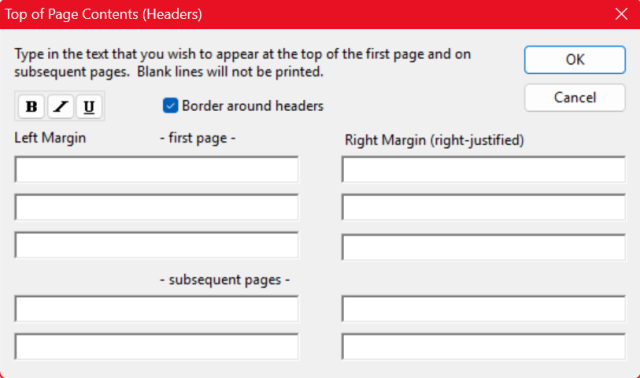
The headers of each page can be customized.
- There are randomized variations to select from. Random Sections need to be configured in the Settings tab and is similar to Question Pools in Brightspace.
- A question range can be specified.
- Finish and print the quiz.
- Print Preview: Opens a new window in the Respondus 4.0 application with a preview of the file.
- Save to File: Saves a Microsoft Word, Rich Text, or Plain Text (.doc, .rtf, or .txt) file to the computer.
- Send to Printer: Can either save as a PDF or print directly. The collate setting will change the order that the copies' pages are printed out.

