Permanently Deleting a Document in Sharepoint
"Deleting" a document just moves it to the recycle bin. If you want to permanently delete a document you will need to delete it from the recycle bin.
This KB Article References:
This Information is Intended for:
Instructors,
Researchers,
Staff,
Students
1. Moving a Document to the Recycle Bin
Note: If you want to delete a document, you must first close all windows in which that document is open.
- Sign into SharePoint and navigate to your library
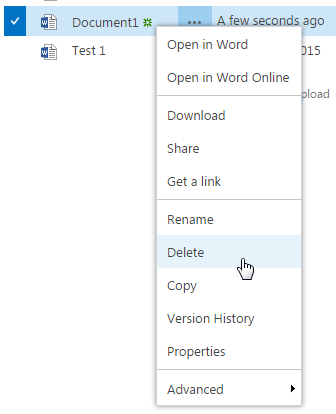
- If you want to delete a single document, simply right click the document and select "Delete"
- If you want to delete multiple documents, click the check boxes next to each document, click More, then Delete
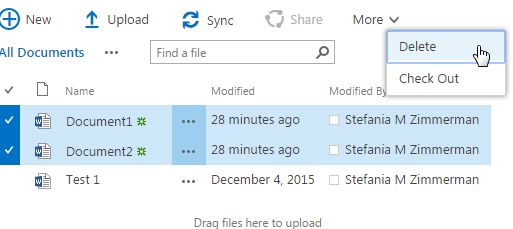
- If you want to delete multiple documents, click the check boxes next to each document, click More, then Delete
- You'll get a warning about moving these files to the Recycle Bin, click OK

- If you receive an error message - you'll need to close all windows with the document open and repeat steps 1-3
At this point the document isn't deleted, it's just in the recycle bin, and it can still be restored back to its original folder.
2. Permanently Deleting a File
Warning: If you do this - the file will be gone forever, it CANNOT be restored after this point
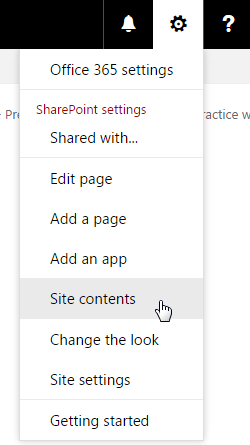
- Click on the gear next to your name (top right)

- Click on "Site Contents"
- Click on "Recycle Bin"

- Mouse over the file and click the circle to select it
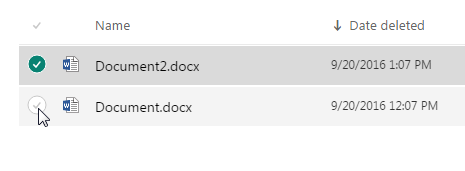
- You can click the check at the top to select all files
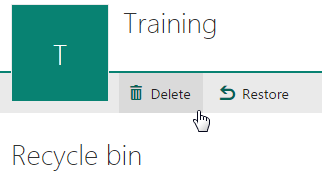
- Click Delete
This Content Last Updated:
04/08/2024
