Legacy Style Systems Help Guide
This is a general help guide for all classrooms with this style touch panel. While the steps and location of buttons are the same regardless of which style room you are in, there may be slight discrepancies in font, color, options and icons, dependent on the slight differences in hardware.
For specific details about your classroom, please refer to the Installed Classroom Equipment Guide or contact AV.
There are 2 styles of rooms that have the Legacy System:
- Lectern Classrooms - equipped with a built-in computer, connections for laptops and mobile devices, and an interactive monitor to annotate directly over presentation materials.
- Walk-up Media Station Classrooms - equipped with a built-in computer, wired connections for laptops and mobile devices.
Step 1: Power on and/or connect your device.
Logging in to the Classroom Computer
In a Lectern Style Classroom, wave the mouse to wake up the computer.
Enter your NetID and Password
Connecting Your Own Device
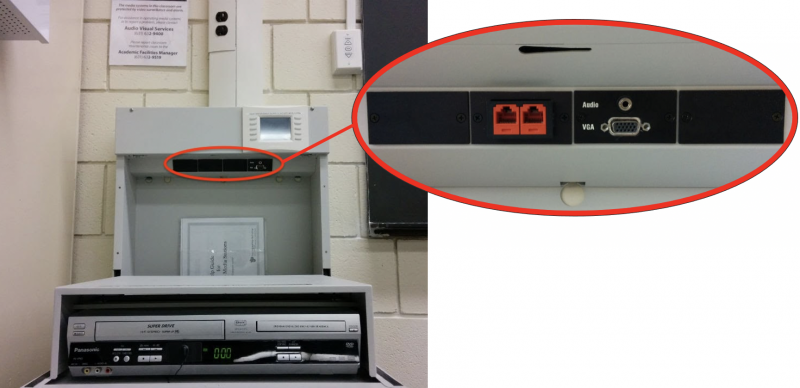
If using your own device, plug in the necessary cables
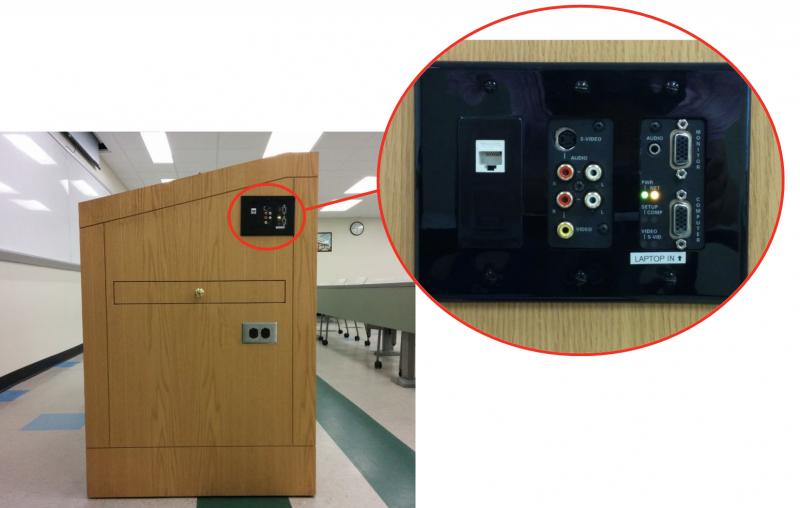
In a Lectern Style Classroom, locate the AUX input plate on the side of the lectern.
Want to Present Wirelessly?
If you are interested in using wireless presentation (Apple TV or Solstice) please contact AV for further instructions.
Step 2: Waking Up the Touchscreen Display
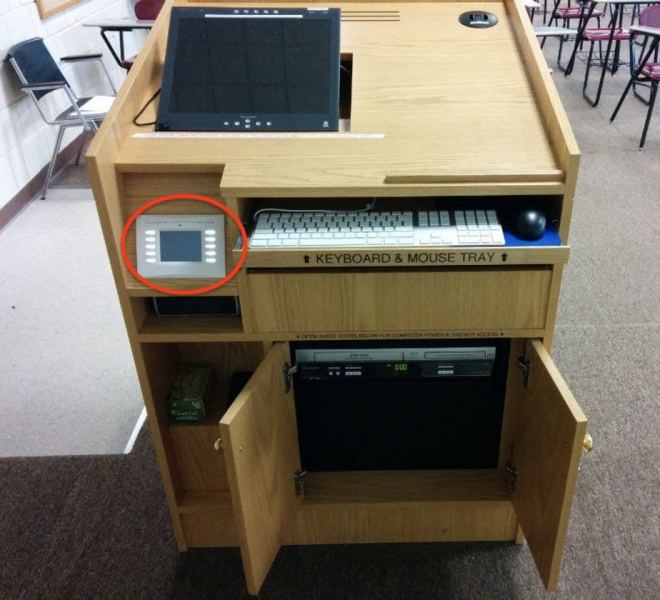
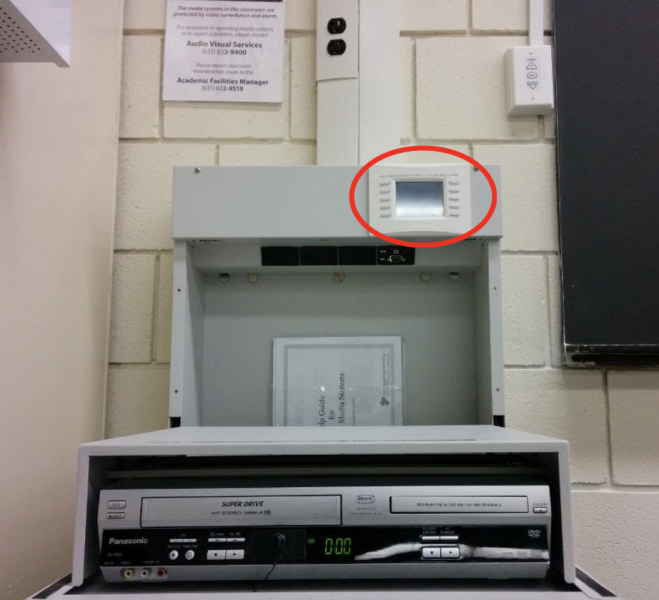
- Locate the touch panel which can be found on either the lectern or media station.
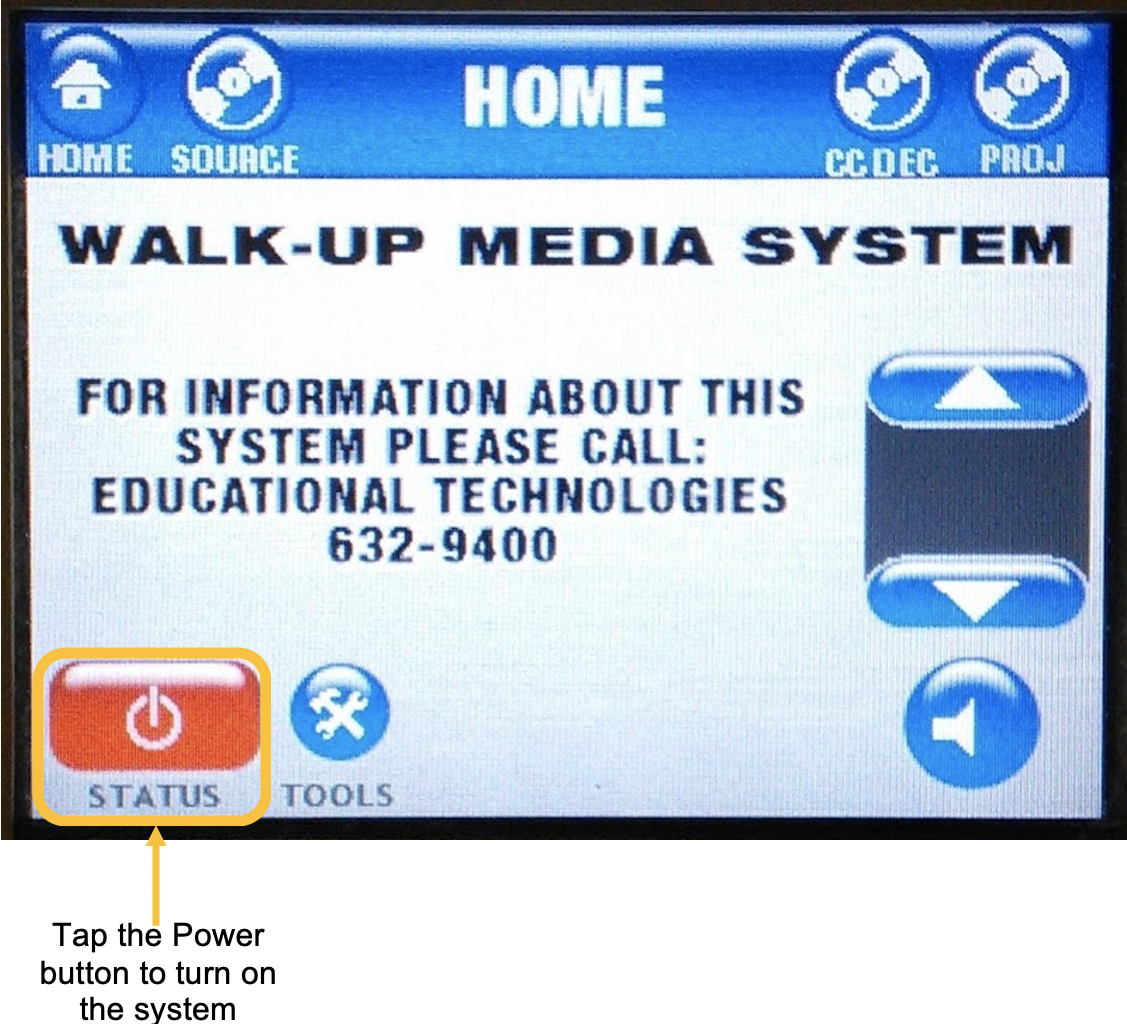
Step 3: Turning on the Projector
- Select the power button in the bottom left corner of the touch panel, it will be red if the projector is off and yellow if it is on.
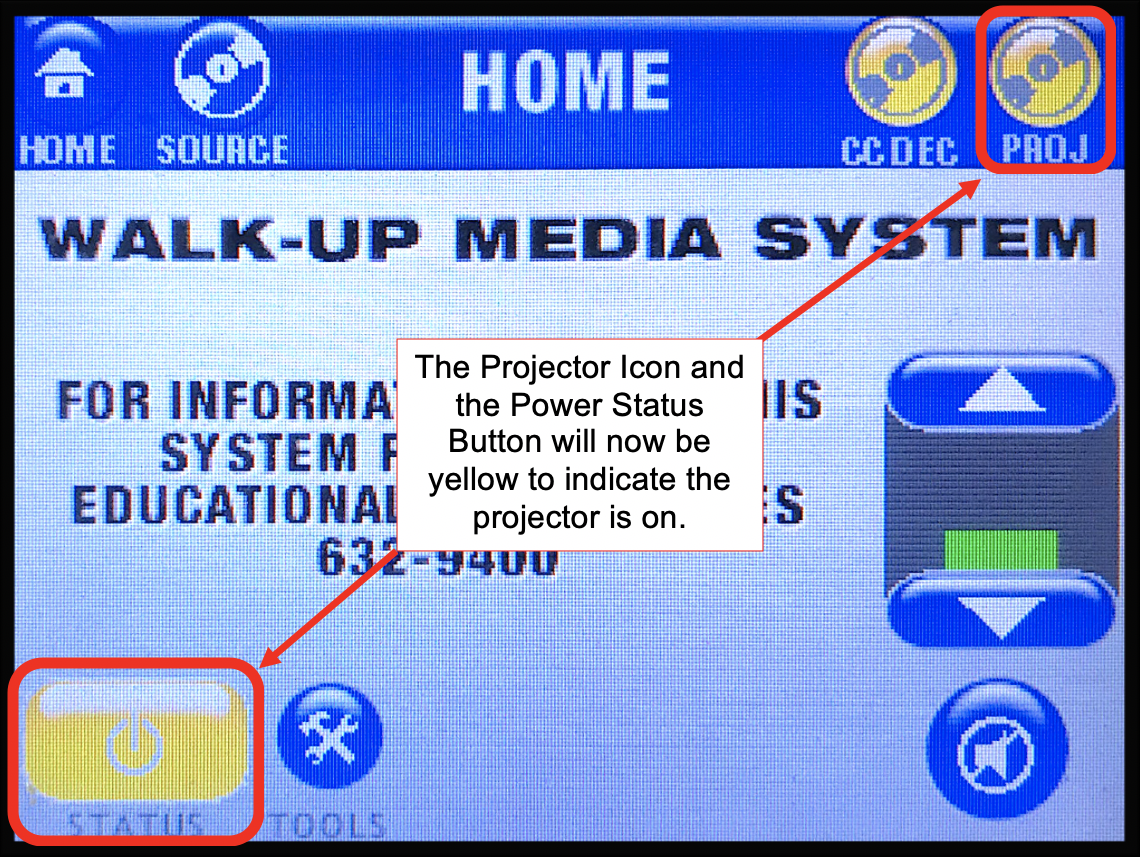
Step 4: Wait for System to Warm Up
- After you turn on the projector, a "Warming Up" screen will lock the touch panel for a couple of minutes while the system warms up.

- The 'Power' button on the lower left-hand corner of the screen will now appear green to indicate the projector is on, and the chosen source will be indicated on the screen.
Step 5: Choosing a Source
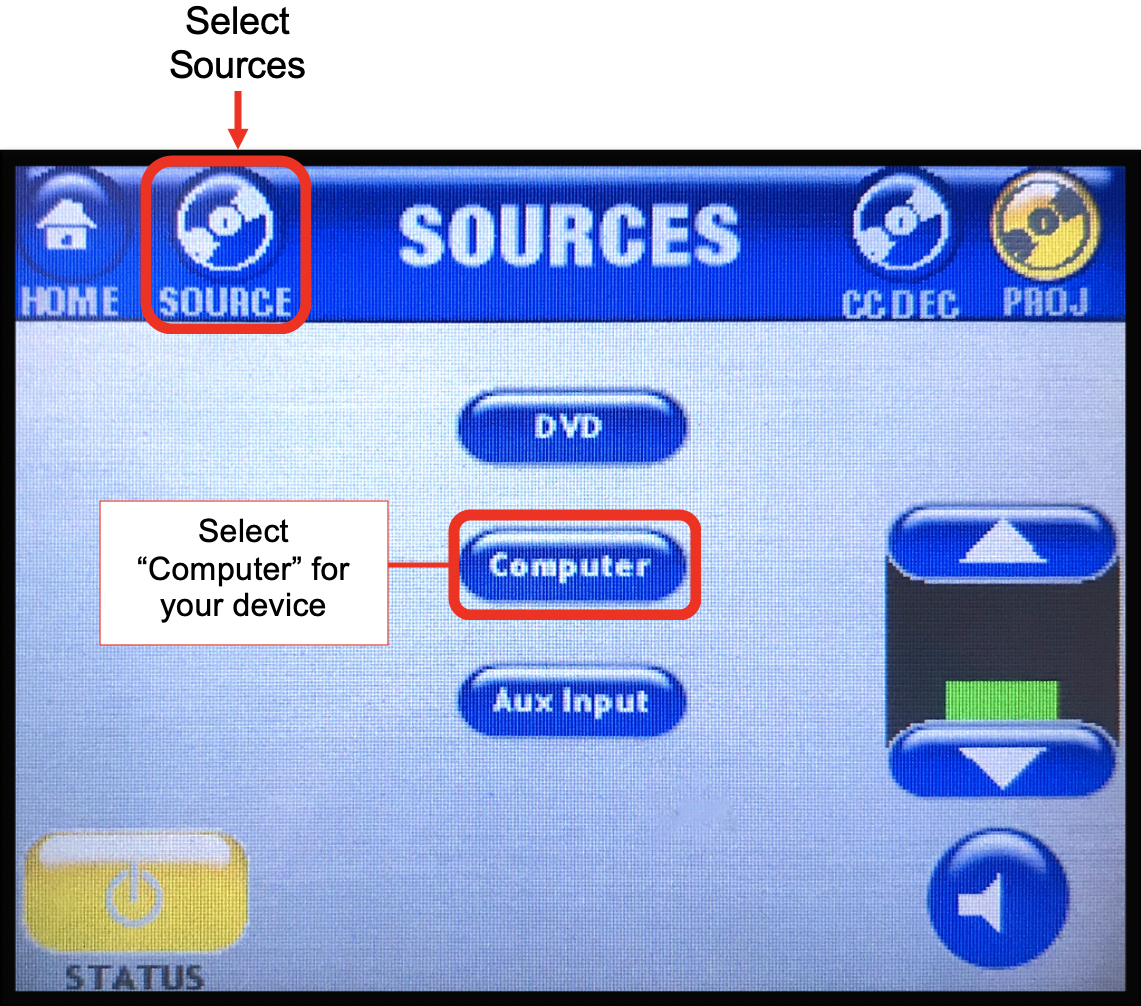
For Walk-up Media Station Classrooms:
Select the 'Sources' button on the top of the screen.
Select the 'Computer' button for your device.
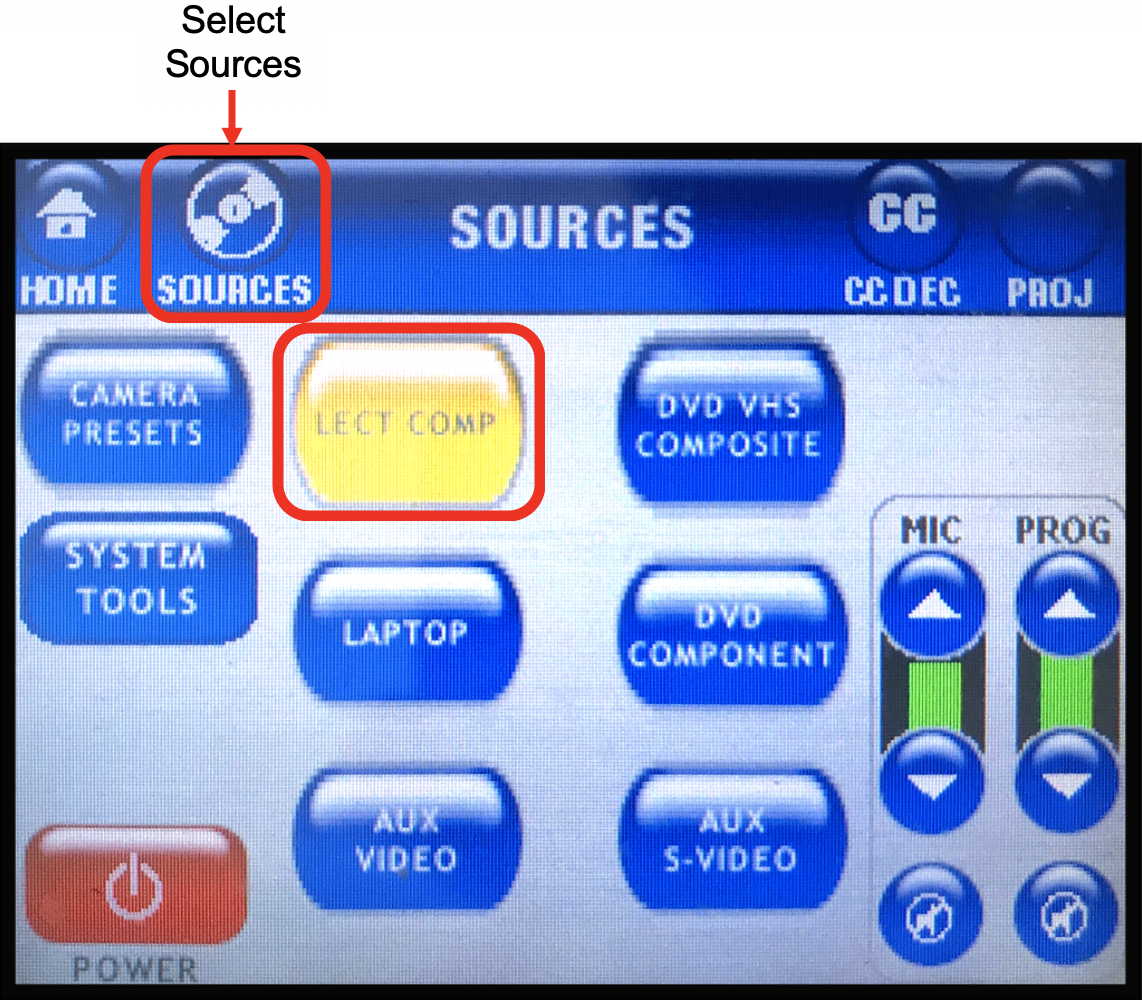
For Lectern Classrooms:
Select the 'Sources' button on the top of the screen.
Select the 'Lect Comp' button for the installed computer OR select the 'Laptop' button for your connected device
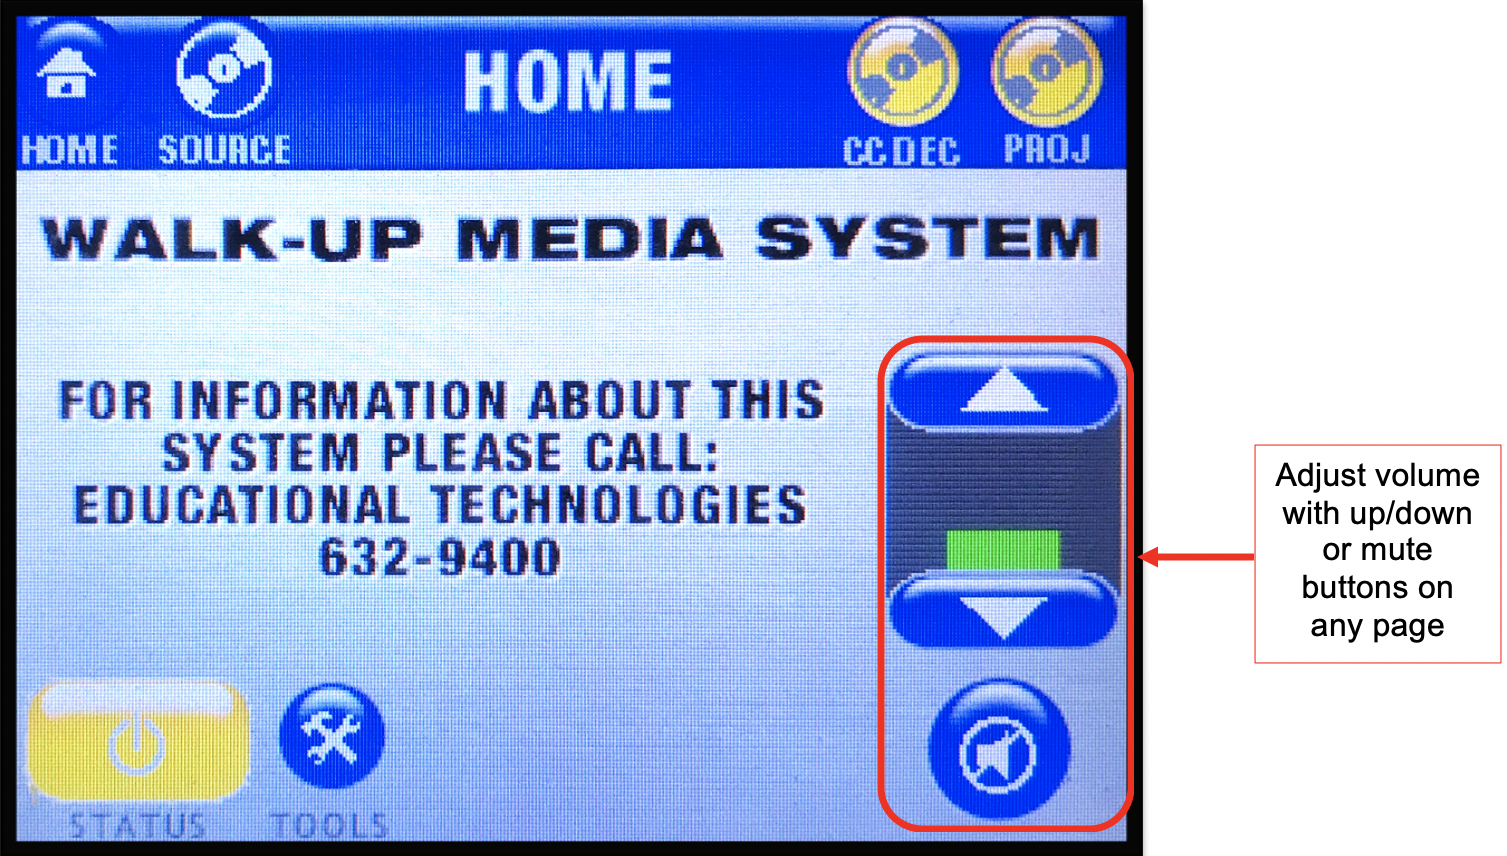
Optionally Adjusting Volume
- You can mute or adjust the volume up or down using the volume controls on any page.
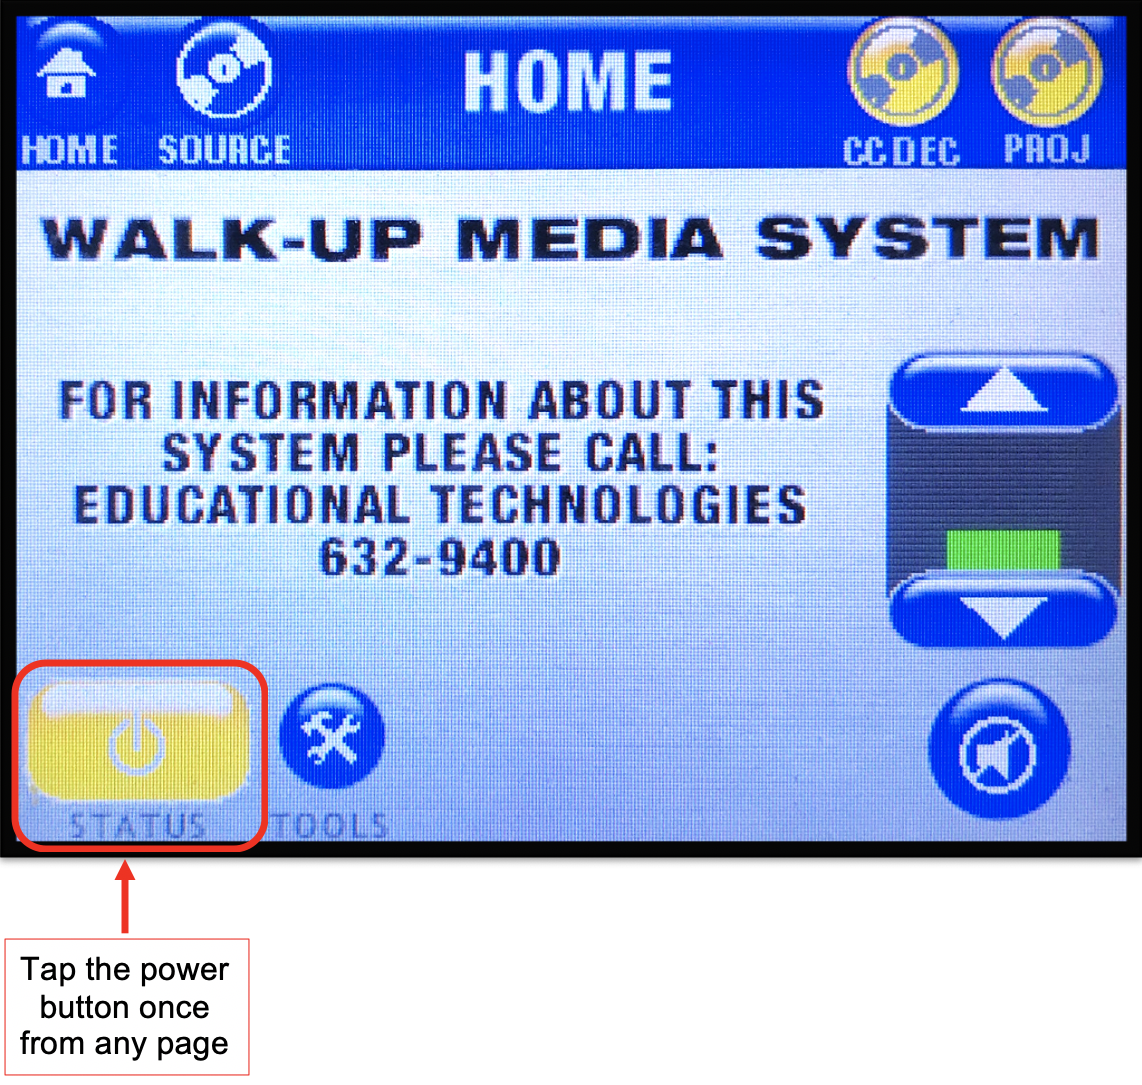
Step 6: Power Off the System
- Press the 'Power' button in the lower-left hand corner from any page.
- You'll be prompted to confirm you are ready to power off the system.
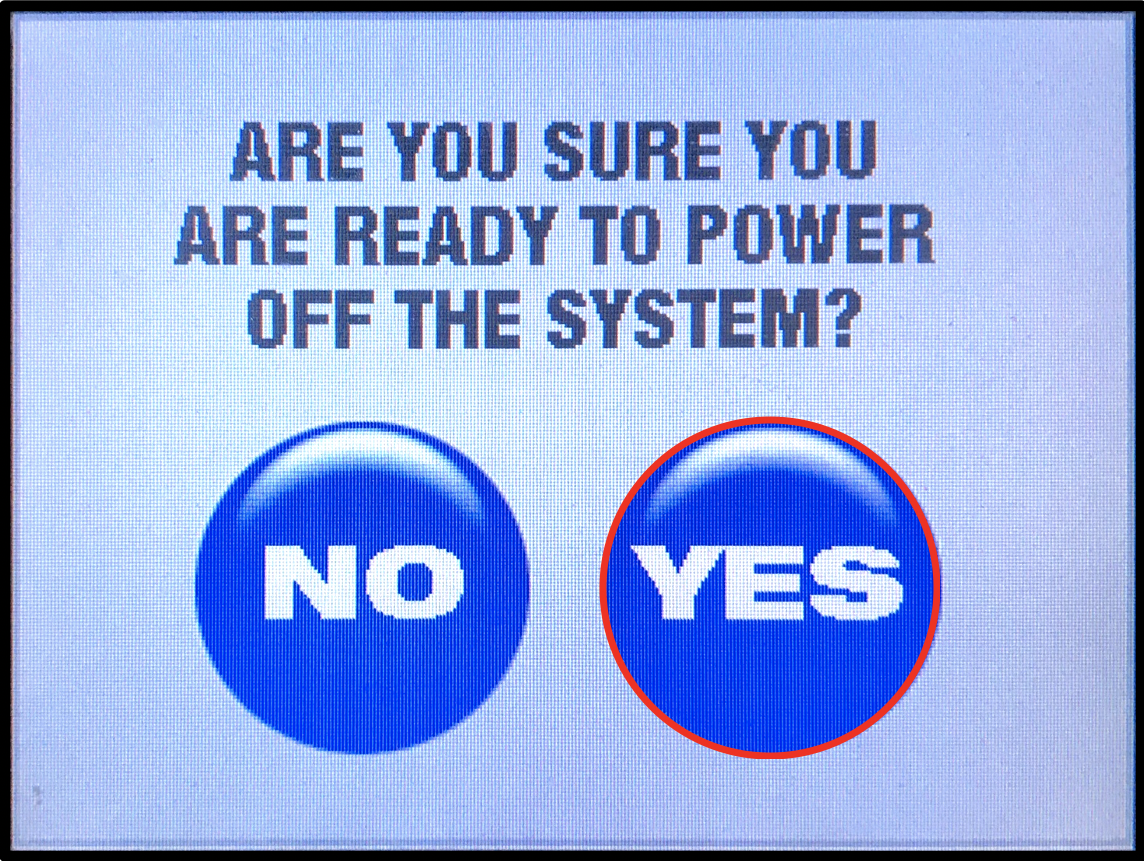
- After you make your selection, a "System Cool Down" page will lock the touch panel while the system powers off. The system will be ready to be used again once it disappears.