Intelligent Agents in Brightspace
The Intelligent Agent tool allows instructors to set up criteria to create a report of students who completed or did not complete an action within the course. Once the instructor sets up the criteria, s/he can enable automatic emails to students who met the criteria or just use the report.
The Intelligent Agent tool allows instructors to set up criteria to create a report of students who completed or did not complete an action within the course. Once the instructor sets up the criteria, s/he can enable automatic emails to students who meet the criteria or just use the report.
Examples of criteria that can be set up include, but are not limited to the following:
- Login Activity: If the student has or has not logged into Brightspace
- Course Activity: If the student has or has not accessed the course
- Assignments: If a student has or has not submitted an assignment
- Discussions: If a student has, or has not posted to a discussion topic
- Quizzes: If a student has achieved a specific score, if they have completed a quiz attempt, or if they haven't completed a quiz attempt
- Content: If a student has completed, not completed, viewed, or did not view a content topic
- Grades: If a student received a specific score on a grade item or if they haven't completed a graded item
Access the Intelligent Agents tool
- Go to Course Admin from the Navbar
- Select Intelligent Agents
Creating an Agent
- Select New Agent
- Type in your Agent Name and optionally add a description

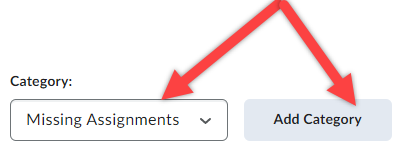
- Optional - Select or add a Category for this agent. (Categories allow you to sort your intelligent agents.)
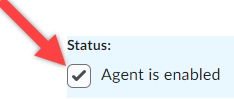
- Decide if you would like to enable the agent once created by selecting the "Agent is enabled" checkbox. If you don't want this enabled, leave the checkbox unselected.
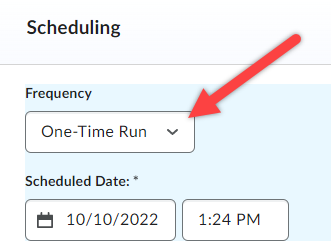
- Decide the schedule for the agent, your options are:
- One-Time Run
- Hourly
- Daily
- Weekly
- Monthly
- Annually
- Choose if you would like this agent to apply to all within the class, or to users with specified roles (e.g., Learners, Undergraduate TAs, Graduate TAs, etc.)

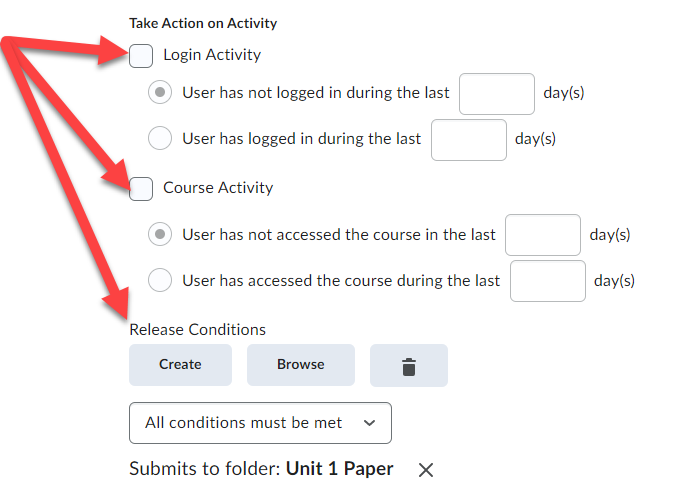
- Choose what criteria you would like to identify, options include:
- Login Activity: If the user has or has not logged into Brightspace during the last set amount of days
- Course Activity: If the user has or has not accessed your course during the last set amount of days
- Release Conditions: Identify if a student did or did not complete a specific action within your course. Options include but are not limited to discussions, assignments, quizzes, content, and grades.
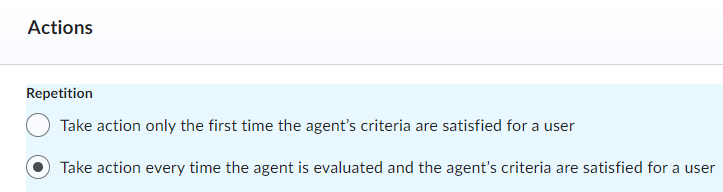
- Decide if you would like to take action only the first time the criteria is satisfied for the user, or every time it is satisfied.
- Decide if you would like to send an automated email for those who meet the set criteria.
- To make sure student(s) who met the criteria receives the email, in the To, Cc, or Bcc field, type in the replacement string {InitiatingUser}. (This will be replaced with students' email addresses.)
- Include the name of your course in the subject field so students recognize where the email is coming from. You can either type the name of the course or use the replacement string {OrgUnitName} to have it automatically appear.
- Type out the message that the student will see in the body of the email when they meet the set criteria.
- Decide if you would like to add an attachment to the email


Please note! If you do not want to send a message to students, and you instead would like to notify yourself that a student has met the criteria of your agent, you can enter your own email address.
- Select Save and Close
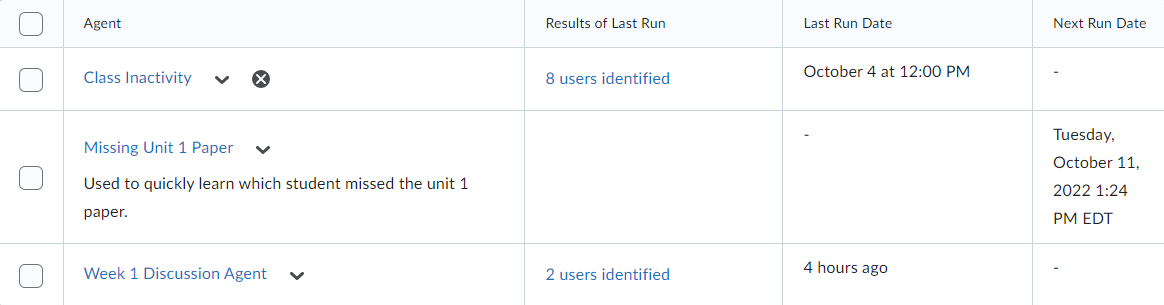
Once your agents are created, in the intelligent agent menu, you can view your agents, the results of it's last run, the last run date, and the next run date. By clicking on the results of the last run, you can view the students who met the criteria of the run.
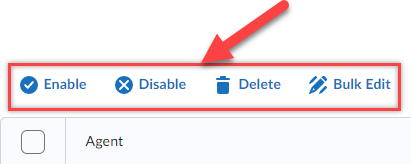
You can also decide if you would like to enable, disable, delete, or bulk update your agents.
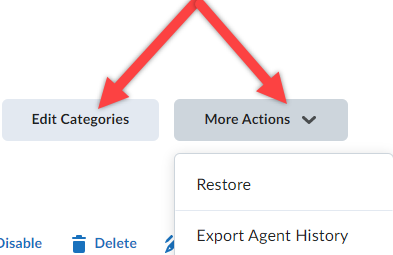
And you can edit categories or select More Actions to restore deleted agents, or export a .csv file containing the results of agents that were previously run.
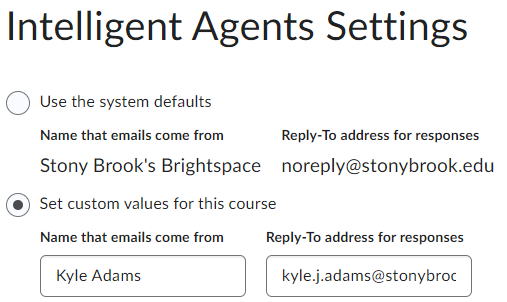
By selecting Settings, you can view the Name that emails come from and you can also view the Reply-To address for responses. By default, Name that email comes from will be Stony Brook's Brightspace and the default Reply-To address is noreply@stonybrook.edu, however these can be customized.
Note, Name that emails come from cannot be set to your personal email address due to how spam filters operate. However, the Reply-To address can be a personal email address.