Installing Microsoft Office for Mac from the Office 365 portal
You can download the latest suite of Microsoft Office applications from the Office 365 portal for up to 5 devices.
Requirements
To install Office for Mac you will need
- Internet connectivity
- Active SBU student (registered or eligible to register for classes) or active west campus employee (currently receiving a salary) status
- Your campus email (first.last@stonybrook.edu) and your NetID password
- Mac OS 10.10 or later for Office 2016
- Administrator access to the computer
Access Installation Options
- Before beginning, uninstall any trial versions of Microsoft Office that may exist on your computer
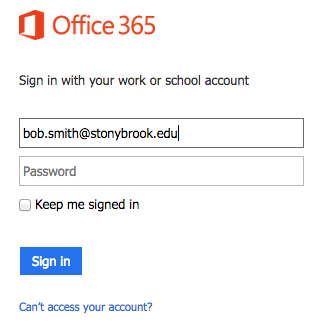
- Go to Microsoft 365 portal
- Enter your Stony Brook Email Address as username and select Sign In (don't enter a password yet)
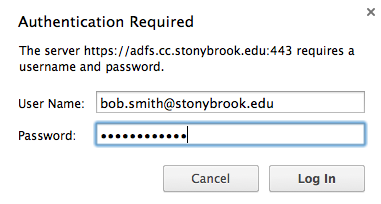
- In the Authentication Required window, enter your campus email address and NetID password and then select Log In
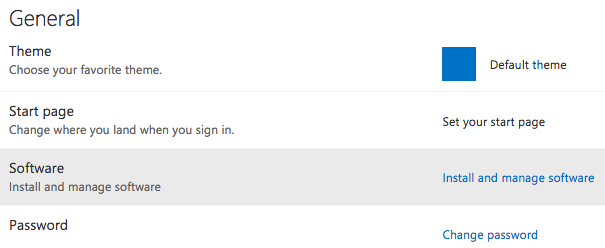
- In the upper right hand corner, click Settings gear icon and select Office 365 Settings

- Select Install and manage software
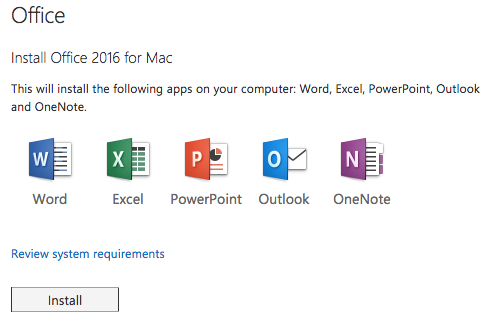
Install Office 2016
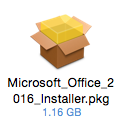
- After Office downloads, double-click Microsoft_Office_2016_Installer.pkg (in Downloads)
- Click Install below Install Office 2016 for Mac
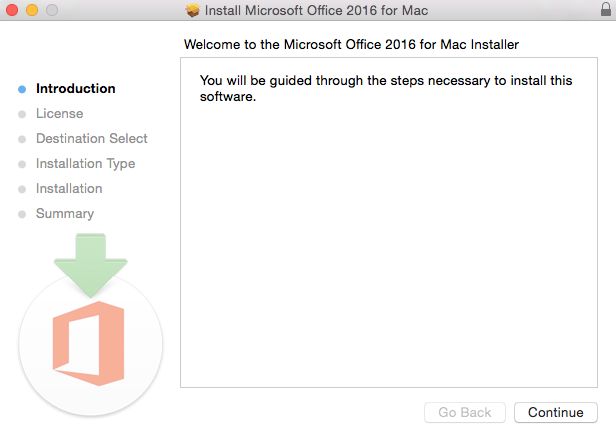
- Follow the steps in the Microsoft Office 2016 for Mac Installer to complete the installation (if your computer has a password, you'll be prompted to enter it).
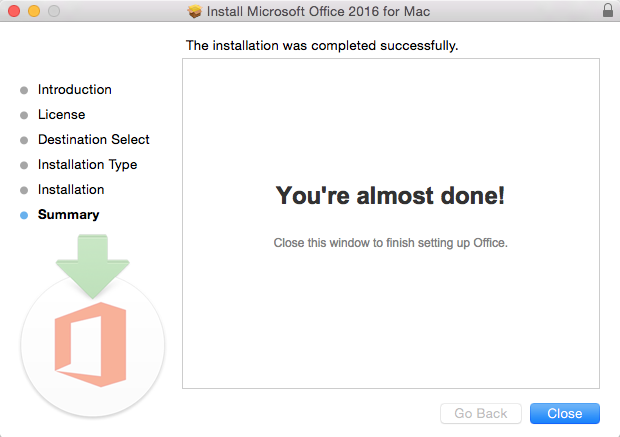
- When complete, the "You're almost done message" will display. Select Close to continue.
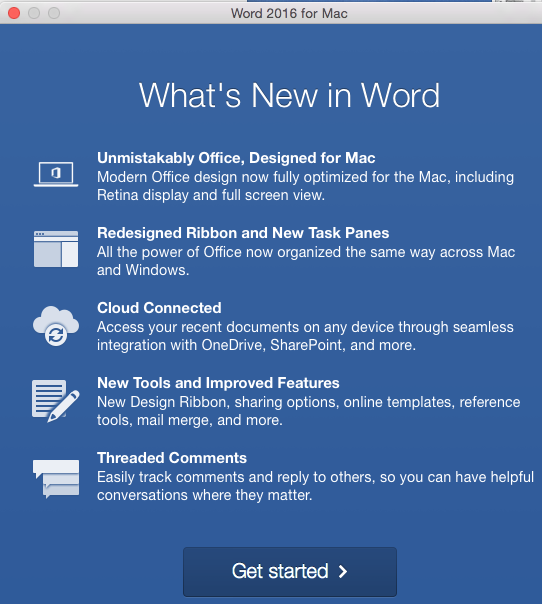
- A What's New in Word window will display. Select Get Started.
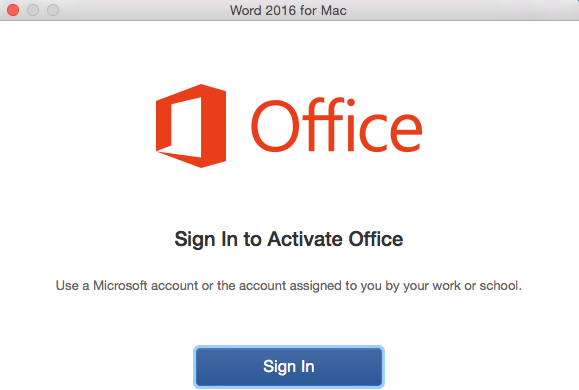
- Sign In (if you have trouble signing in, change your NetID Password and try again):
- Select Sign in to Activate Office
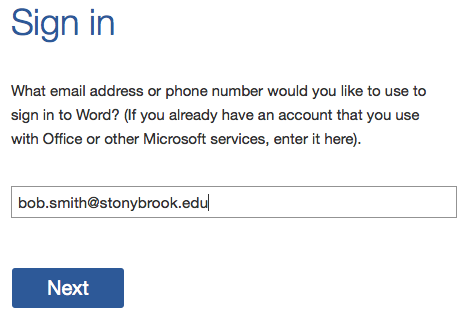
- Enter you Stony Brook email address in the box and select Next
- If prompted, select Work account (and/or Work or school account)
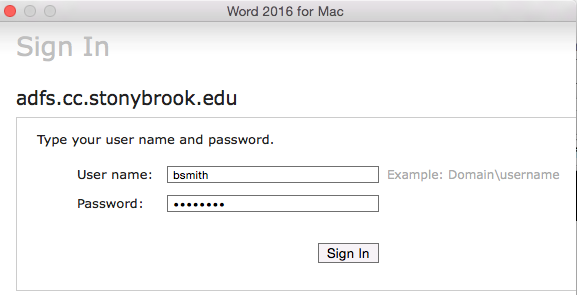
- In the adfs.cc.stonybrook.edu Sign In window, enter your NetID and NetID password and select Sign In
- Select Sign in to Activate Office
- Choose Office Look preferences and select Continue

- Select Start Using Word

Supported By
Customer Engagement and Support