Customizing Each Module's Picture in the Visual TOC in Brightspace
You can change what images appears for a module in the visual TOC on the Brightspace Course Home by adding/changing the image in each Module's description.
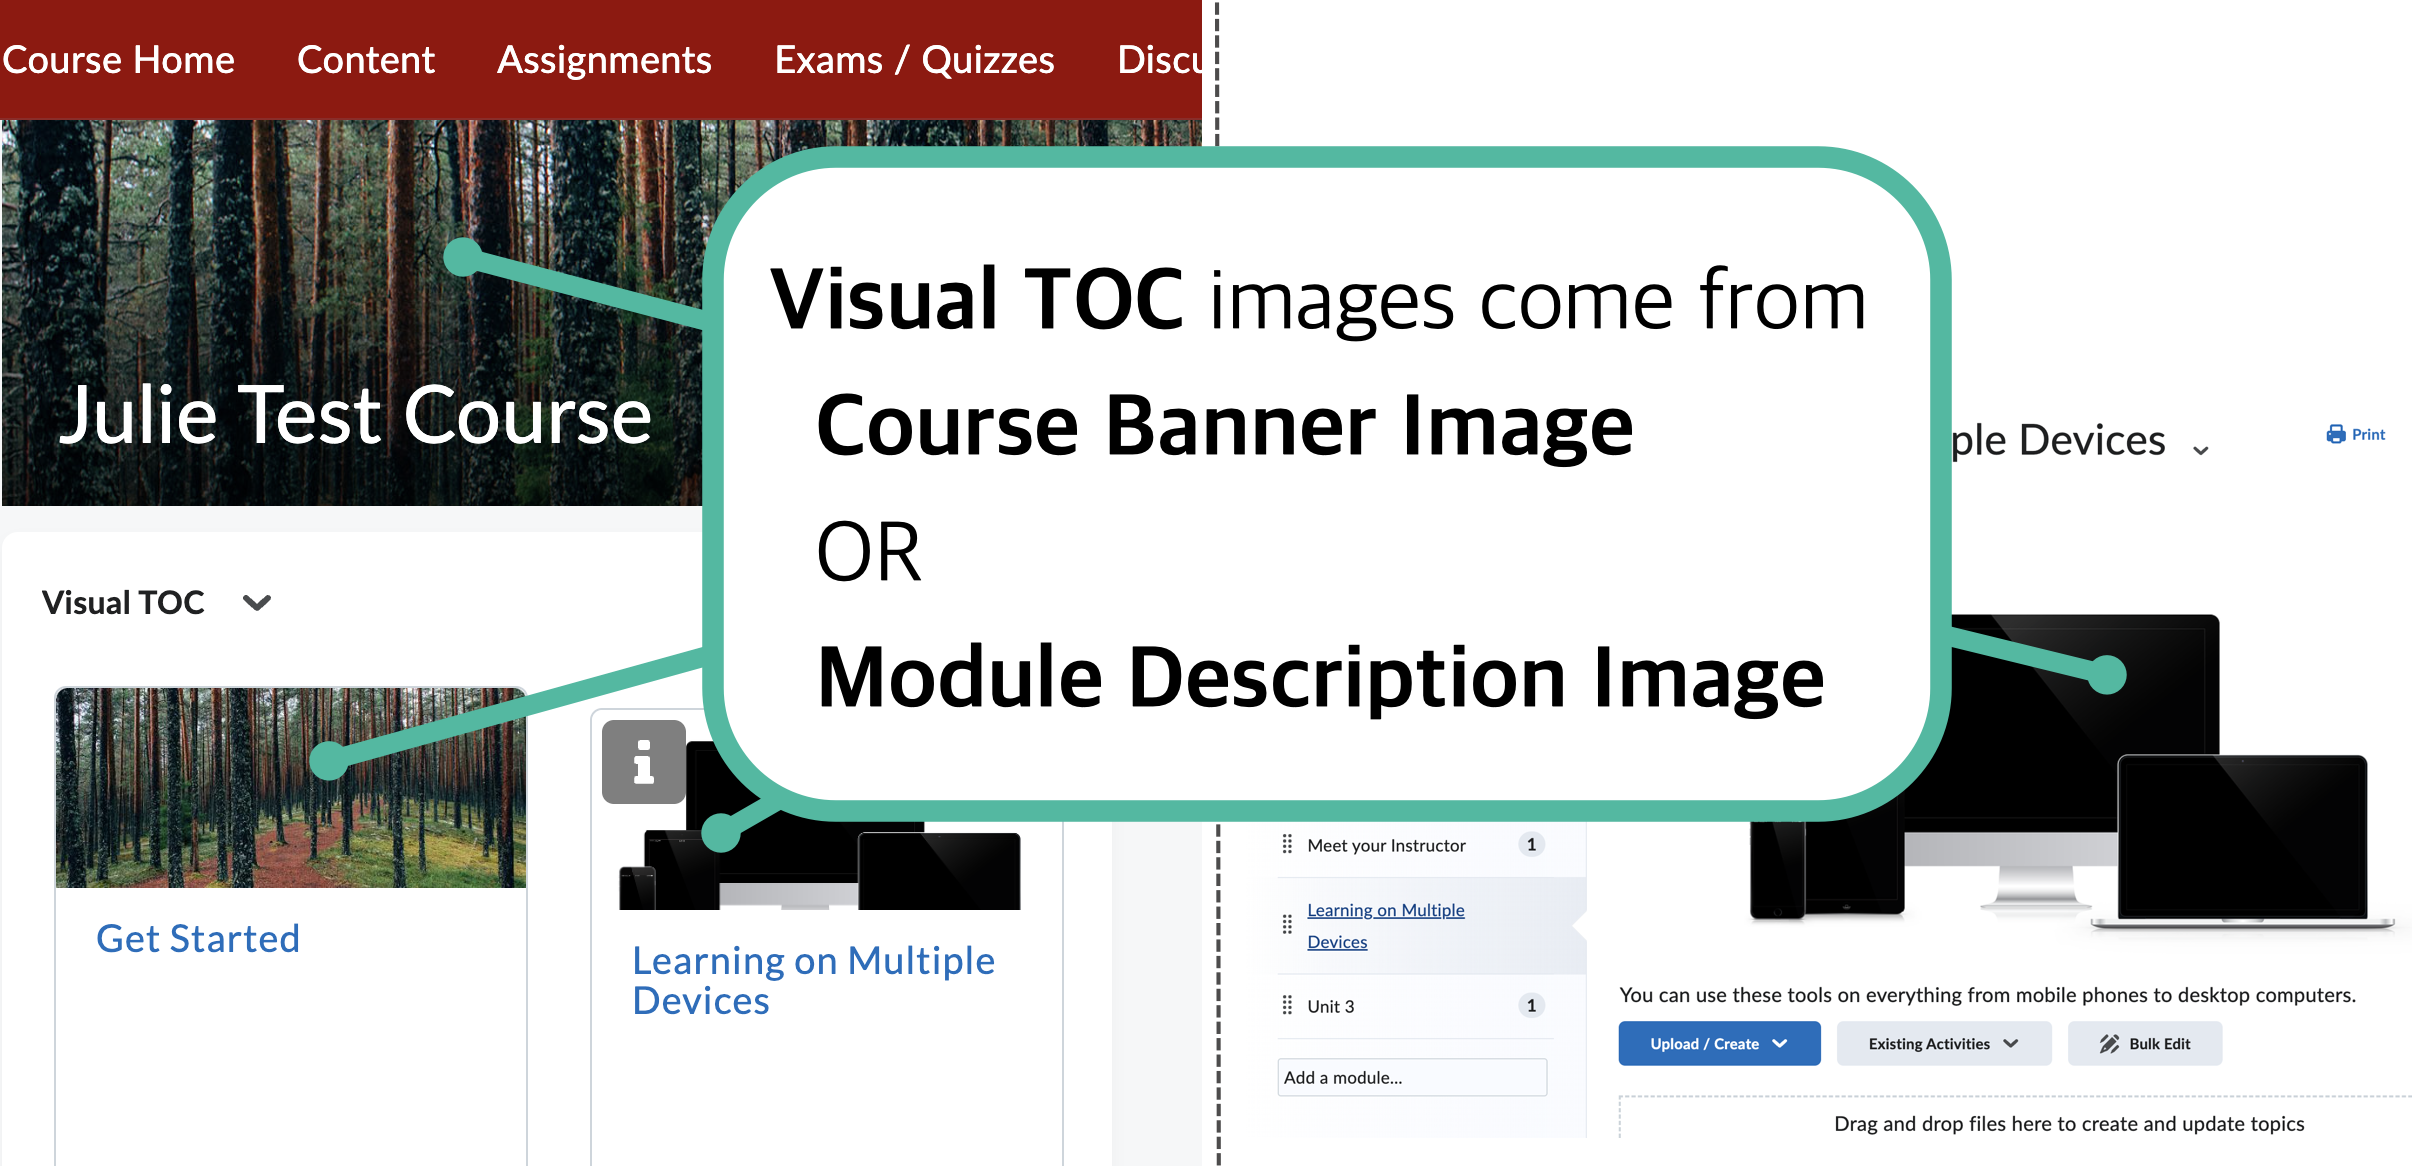
In the Visual TOC on Course Home, each module has an image either from the Course Banner or, if the module's description field has an image, from the description. By adding an image to the module's description, you can customize the images in the Visual TOC.
Finding Appropriate Images
To add an image to a Module's Description, you will need to find and download your own images and then upload them to the description (there aren't any images built into Brightspace to choose from). Be sure you have the appropriate permissions to use any images before adding them to your course.
Here are a few website that have copyright free images you can download: pexels.com, freepik.com, pixabay.com.
Recommendations
When choosing images, here are some things to look for:
- Images that match your course/module content
- Images with uncomplicated visuals; avoid images with text
- Images with content in the top left corner because the Visual TOC will only show the top left portion of larger images (The recommended size for module images is 768 pixels x 400 pixels. If your image has different dimensions it will display fully in the module, but be cropped in the visual table of contents)
Adding an Image to a Module's Description To Customize the Visual TOC Image
- Before starting, download the image you'd like to use to your computer
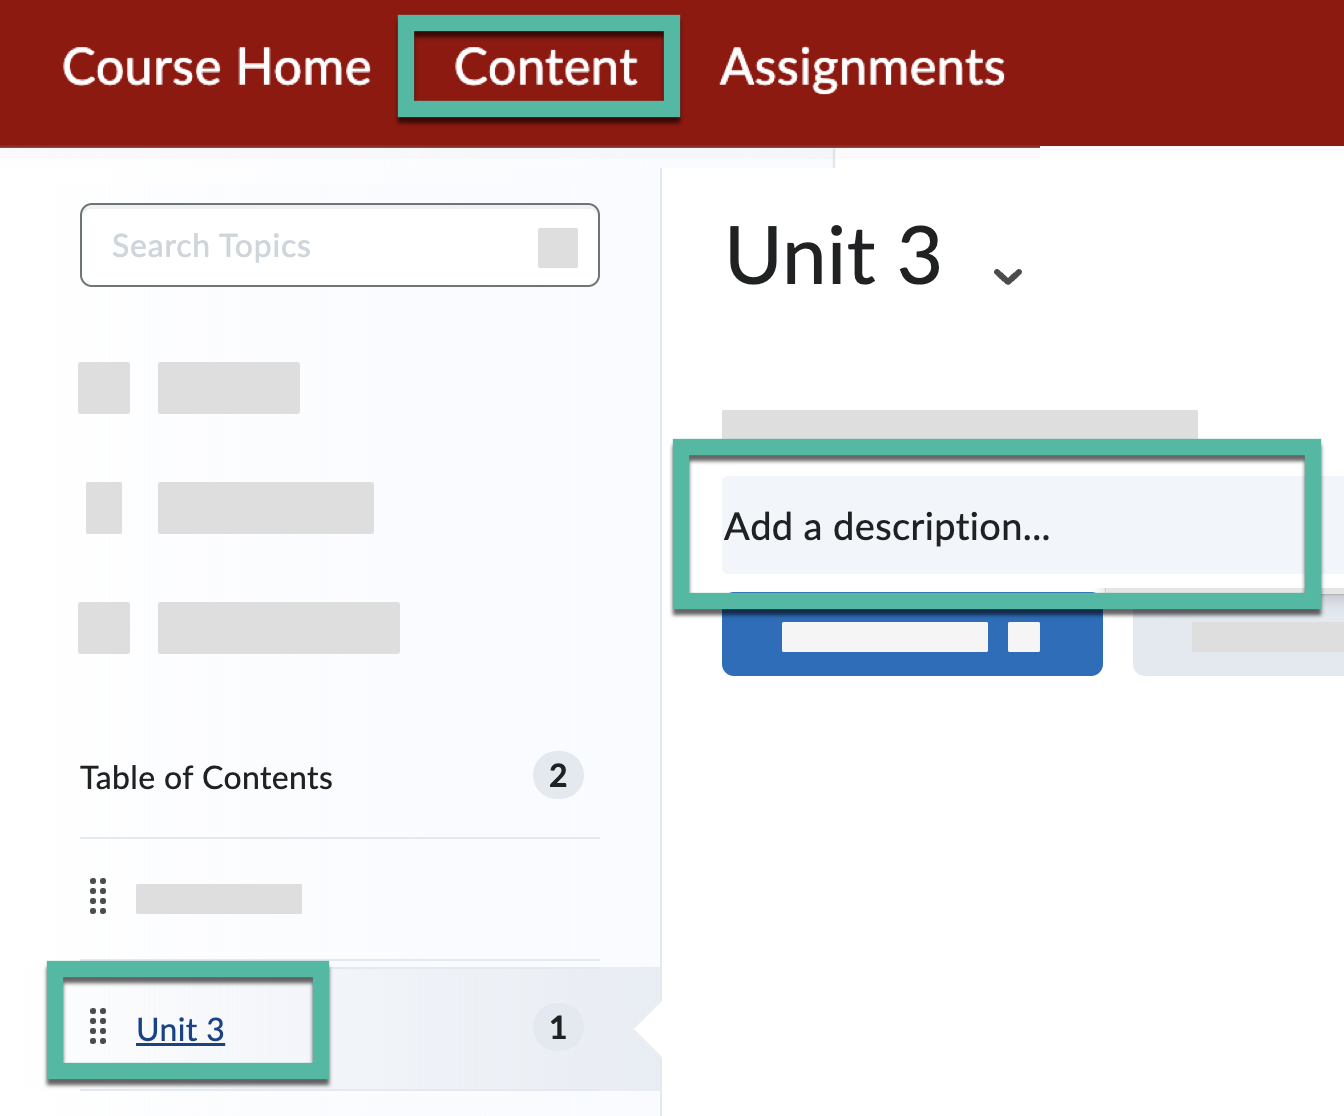
- In your course in Brightspace, in the Navbar, click Content
- On the left, select the module you'd like to add an image for
- With the module selected, near the top center, click Add a description... (or click to edit the existing description)
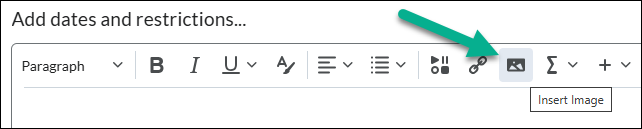
- In the description editor, click Insert Image
- Select My Computer
- Select Upload, select the image you download to your computer and select Open
Tip: The recommended size for module images is 768 pixels x 400 pixels. If your image has different dimensions it will display fully in the module, but be cropped in the visual table of contents. - Select Add
- Fill in the alternative text (e.g., image of multiple devices) and if the image is decorative, check the box for ☑︎ This image is decorative
- Select Ok
- Select Update under the Module Description
- To see how the image looks in the Visual TOC, near the top left click Course Home and scroll down to see the images on the modules in the Visual TOC