Creating an Event in 25Live
- Sign in to 25Live
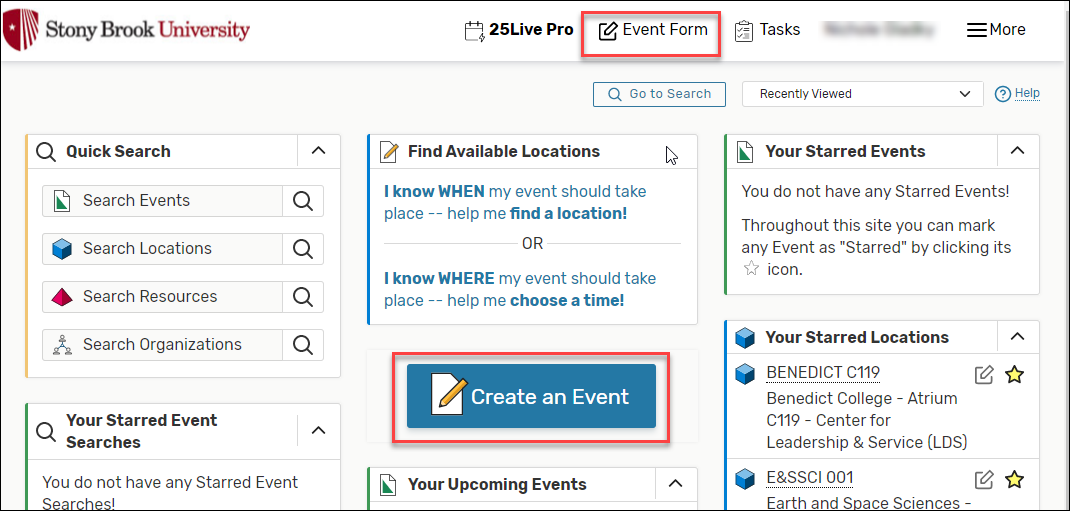
- Click Event Form at the top of the page or the Create Event button if you do not wish to trigger the event wizard by searching for a location first.
- Enter the Event Name and Event Title. These are both required. They can be the same thing.

- Event Type: The event type you choose is important!
- If you would like to use SAC Space, you MUST choose a SAC Event Type
- Similarly if you would like to use a UGC Space, you MUST use a UGC Event Type
- All other events may use Department Related, Exam or Review Session
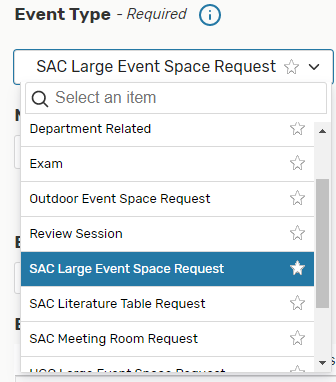
*If you have an event type you use often you can add it as a favorite by clicking on the star next to it.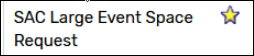
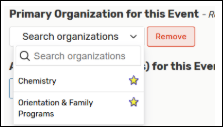
- Ever your Organization. As with Event Types, you can "favorite" your Organization and then it will appear in the future in your drop down menu.
- Enter in Expected Headcount. This will help you to find a room that can fit your expected size.
- Enter in your event description. Feel free to copy and paste from any flyers you may have created.
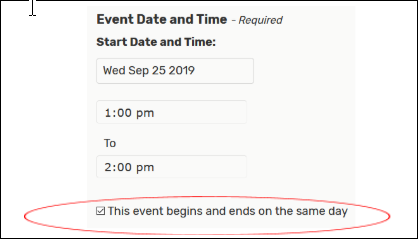
- Enter your event date and time. If you are asking for multiple days you do so in the next section. Your event will ALWAYS start and end on the same day. Never uncheck this box.
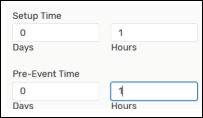
- If you need time before the start of your event to set up your space this is where you enter it
- Setup Time: Used by event centers to set up the room as you need. Please enter in 1 hour when asking for large event spaces
- Pre –Event Time: This is your time in the space before an event. Time to decorate tables, set up computers, etc
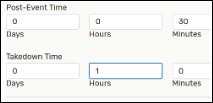
- If you need time at the end of your event to clean up
- Post Event Time: This is your time in the space after your event. This is to clean up and collect your things.
- Takedown Time: Used by event centers to reset the room. Please enter in 1 hour when asking for large event spaces.
- See Repeating Events to ensure that events repeat daily, weekly, monthly and they don't have to be in a pattern!
- Location: You can search for a location using either
- A starred location
- A location search that you created previously
- Or by searching the location name

- You can narrow down your search by clicking
- Hide Locations with Conflicts: Only those spaces that are available for EVERY date you have will appear. If no spaces populate that means nothing is available for EVERY date. If you uncheck that box, you will be able to see what is available.
- Enforce Headcount: Will only show you spaces that can fit your proposed headcount.
- If you want to see more information on a space, simply right-click on the location and open in a new tab or click details.
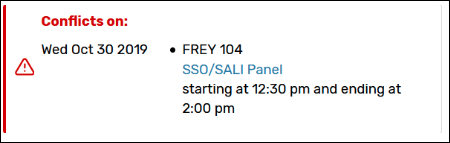
- If a space is available, click the Request button. If it is not, it will state that it is unavailable and provide an option to view the Conflict details
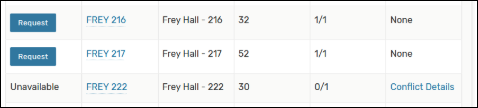
- If a space is available but not on every date you will see this. It will show you how many dates are available in that space.

- If you click on Conflict Details it will tell you which date isn’t available. You can then ask for the space on the dates where it is available by clicking Request Available.
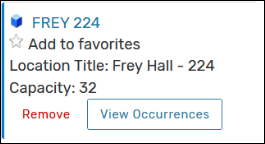
- Once you have clicked on a space, it will say "Added Below". You will then see the space listed:
- Enter the contact information for the event. You don't have to fill in all the fields.
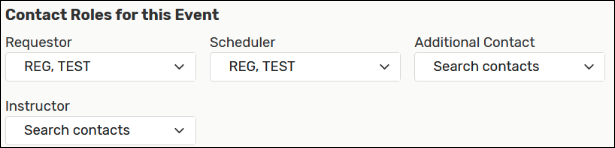
- Agree to the terms by clicking the checkbox.
- Click Save and your request will now go off to the building that controls the space you are asking for. It will also bring you to the events details page:
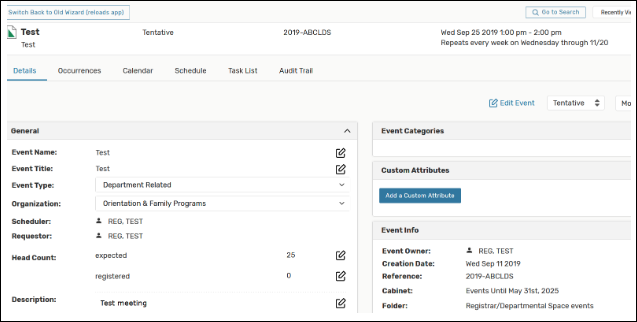
- Clicking the Occurrences tab will provide a list of all event occurrences

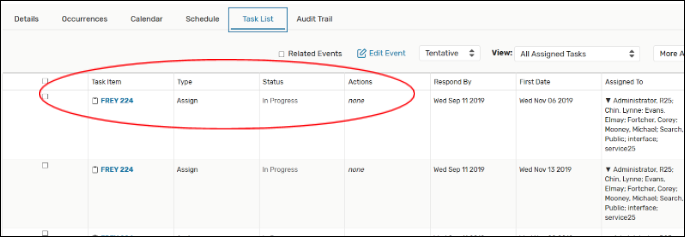
- You can check on the status of your requests under the Task List
- Once your event is approved the space becomes blue and will no longer be "awaiting approval". You will also receive a confirmation email from the building schedulers.
- Once your event is approved the space becomes blue and will no longer be "awaiting approval". You will also receive a confirmation email from the building schedulers.
Supported By
Customer Engagement and Support