Creating an Announcement in Brightspace
Creating announcements in Brightspace is a great way to communicate important updates, reminders, or course-related information to your students. If you're wondering how to get started, this article will walk you through the steps to create an Announcement in Brightspace effectively.
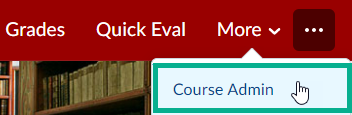
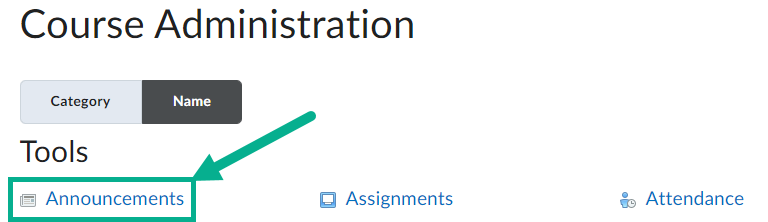
- From within your course, go to the Course Admin menu and select Announcements
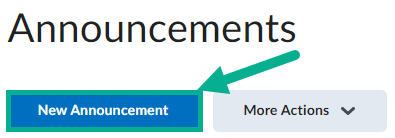
- Select the New Announcement button
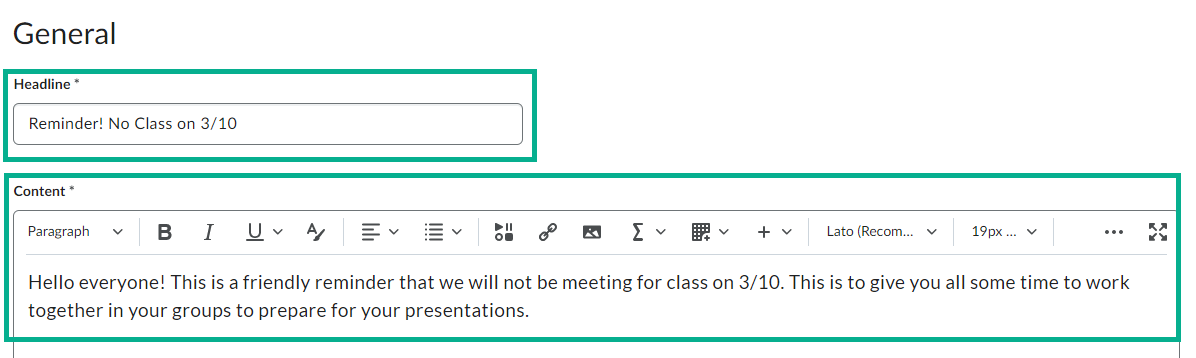
- Type your Headline and Content for your Announcement
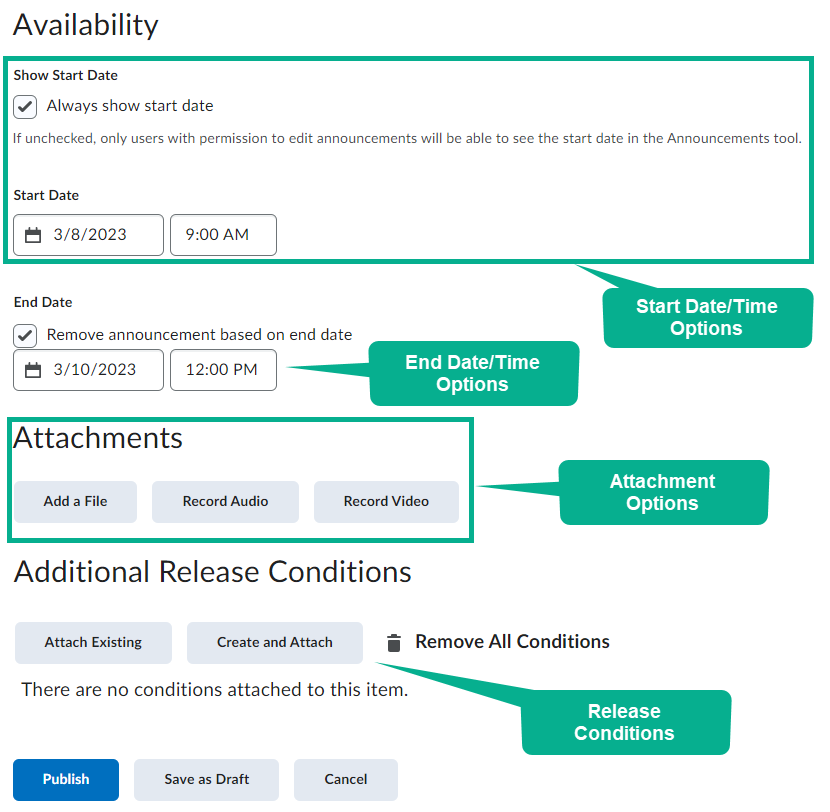
- Choose a Start Date and Time. You have the option to show this start date to students.
- Optionally, you can choose an End Date and Time. Once this date and time happens, your announcement will no longer be available to students.
- If you would like to add an attachment to your Announcement, you can do the following:
- Upload a file from your computer or Google Drive
- Record Audio to attach to the Announcement
- Record yourself on Video to attach to the Announcement
- If you would like to have your announcement sent after certain conditions have been met by your students, then you can create a release condition for your Announcement
- Select Publish
If your course has a start date that's in the future (or if the course has an end date that's in the past), creating an announcement will not trigger a notification in Brightspace.
Supported By
Academic Technology Services
(631) 632-9800
Brightspace Support via SUNY Helpdesk
Phone: 1-844-673-6786