Creating a Personal Contact Group (Label)
You can create personal contact groups to make it easier for you to communicate with groups of people. However, depending on your needs, you might also consider listserve or Google Groups.
If you need to frequently email a group of people, you can make a personal contact group. Then instead of entering each person's email address in the To field of an email message, for example, you simply type the contact group's/label's name and all the members of that group are automatically added to the email.
Other Options To Consider
There are limitations to how many people you can email at a time, in a day, etc., so for large email distribution lists, you may want to consider a listserv or Google Group email list. In addition, if more than one person needs to use the contact group, a Google Group email list may be a better option than a personal contact group.
Create a Contact Label
- Go to Google Contacts
- In the list on the left under Labels, click Create Label
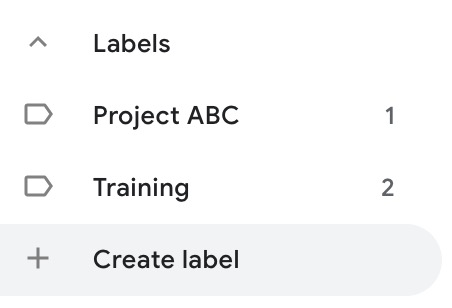
- Type your label name and click OK and you will see your new group in the list on the left
Add a Label to Contacts
- Go to Google Contacts
- In the search bar at the top, enter the name of a person you'd like to add to the group and click the magnifying glass button (or tap enter/return on your keyboard)
- Add the label by selecting the contact or opening their contact card:
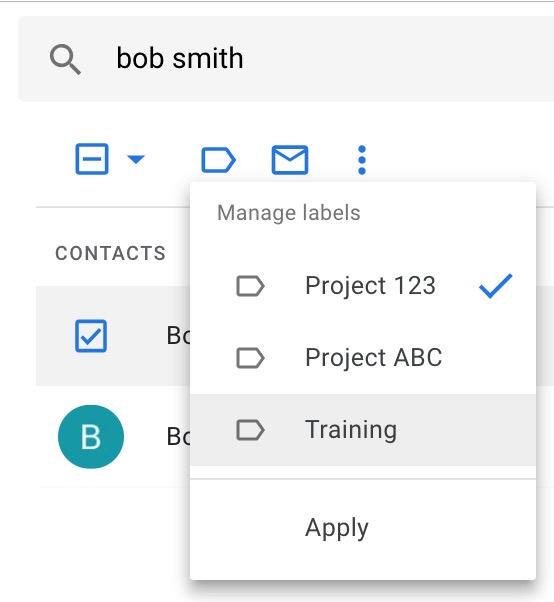
- Select the contact and add the label:
- Select the contact you'd like to label (by holding your mouse over the contact and checking the box that appears on the left side)
- Click the label button and select the group(s) you'd like to add the person to (if the groups button doesn't appear, first select the checkbox to the left of the person's name).
- Click Apply
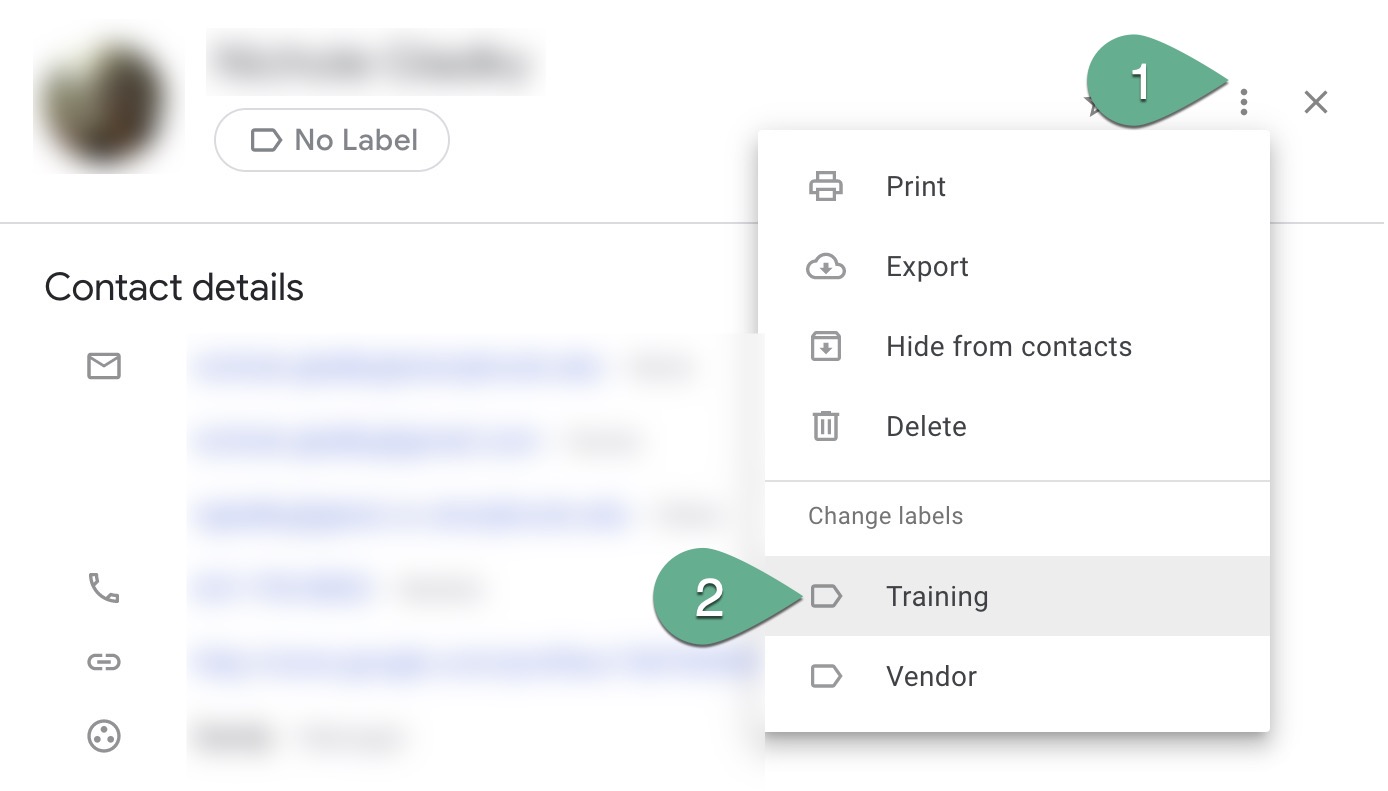
- Open their contact card and add the label:
- Click on the contact's name to open their contact card and click the ⋮ near the top right
- Click the name of the label you want to add
- Select the contact and add the label: