Using IVQ to make your videos interactive
Please note that Feedback Fruits is a more modern and feature filled way to add interactivity to your videos.
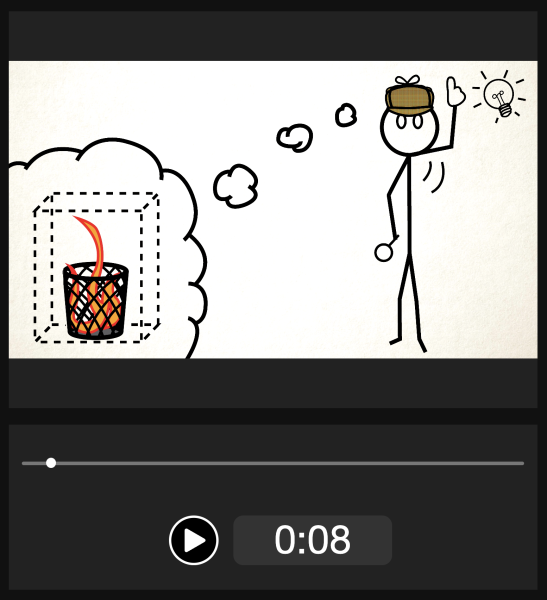
Before we get started, take a look at this final version of this quiz made from this tutorial.
Getting Started & Uploading Your First Video
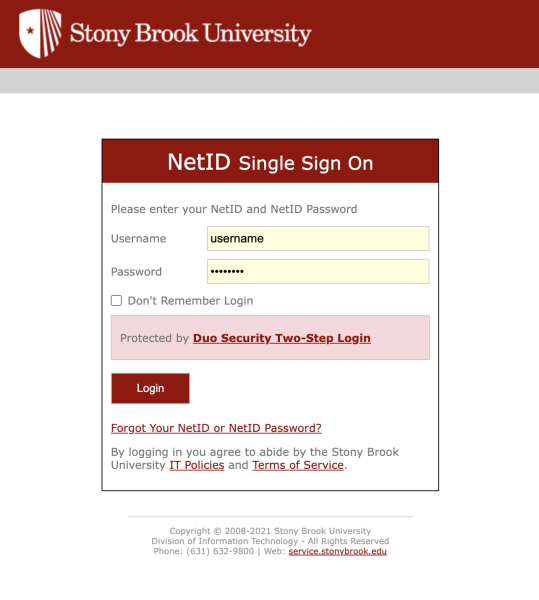
- Launch the IVQ Portal and authenticate using your NetID and NetID Password.
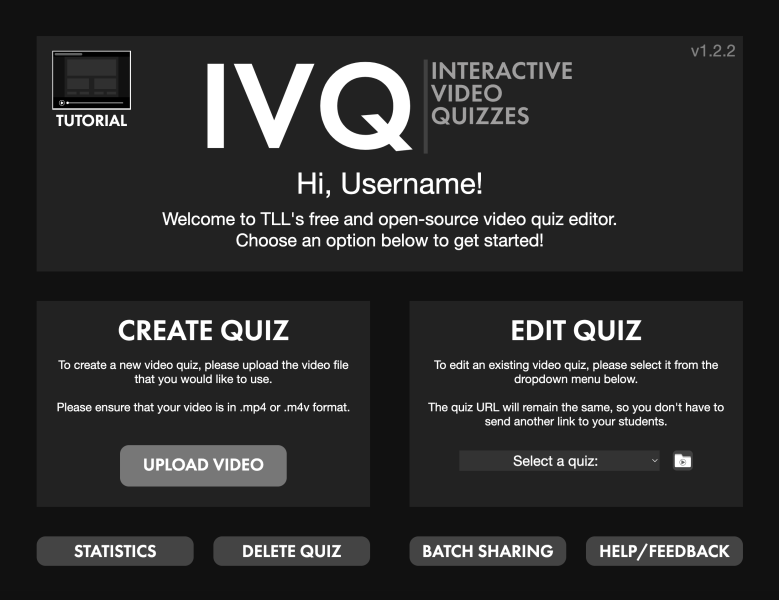
- This should bring you to IVQ’s home page, scroll over to the “CREATE QUIZ” box on the page and click the “UPLOAD VIDEO” button within it.
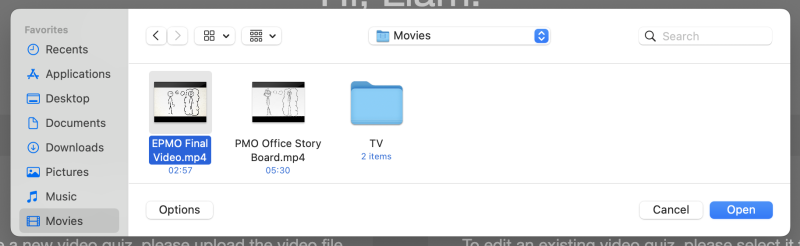
- This should bring up a window of your operating system’s file manager. Locate the .mp4 or .m4v video file of your choice and click open on the bottom of the window.
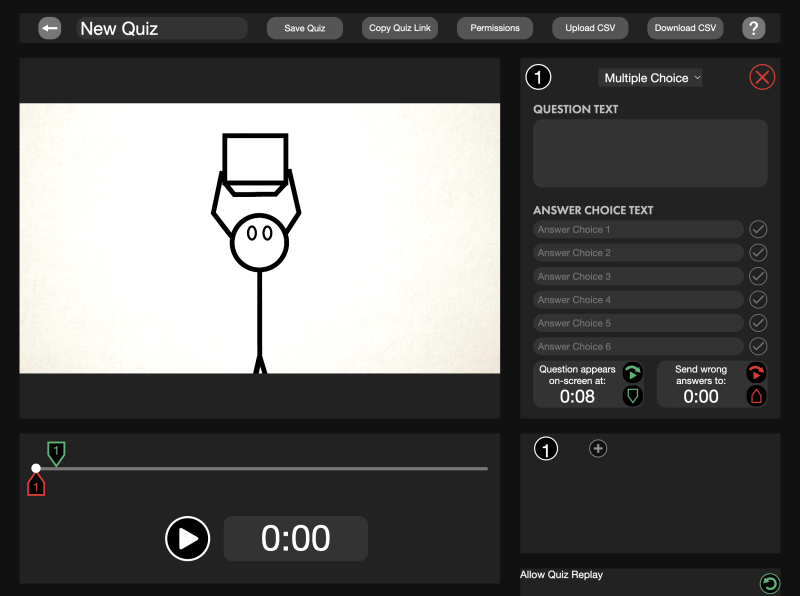
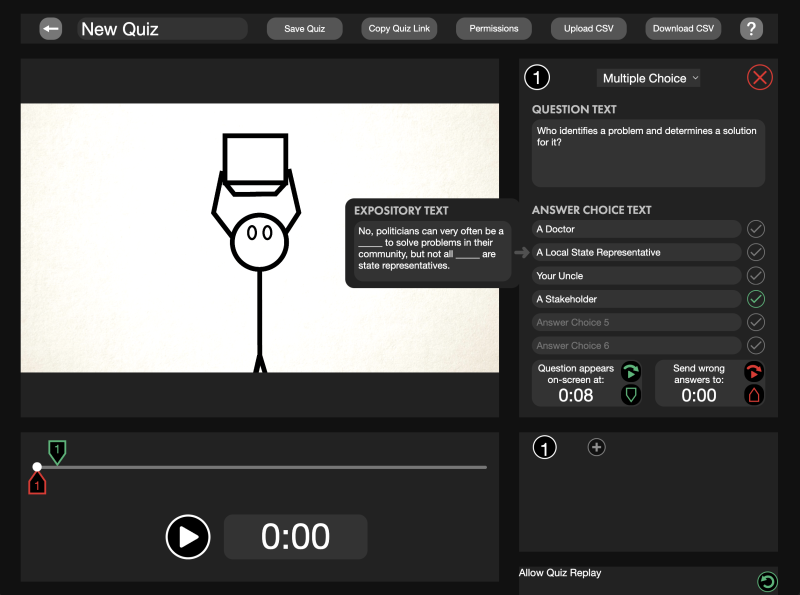
- You should now be in the Quiz Editor Interface where you can add and edit question and answers for the video you uploaded.

How to Add a Question Marker
Adding Question Markers - To insert a question into a video, one needs to mark a timestamp for when the question will appear on the screen.
- First find a spot in the video you want to insert your question, you can preview the video through the interface by pressing the play button below the video player and timeline. To move freely to a specific point in the video, drag the pointer on the timeline to the desired position.
- Once you figure out when you want your first question to occur, you can place a Question Marker by scrolling to the bottom of the Question box to a nested box that says “Question appears on-screen at:” and clicking the bottom green pentagon marker.

- You should now see a similar green marker on the timeline with the number 1 inside it, indicating that ‘Question 1’ will appear at that moment in time. You should also see the “—:—:—“ in the “Question appears on-screen at:” box transformed to the timestamp of the ‘Question 1’ marker.

Adding a Wrong Answer Marker
When a student answers a question wrong, you may want to send them back to the point of the video where the answers they need begin to be presented. To do this we can add a Wrong Answer Marker, very similar to the process of adding a Question Marker.
- First find a spot in the video you want to send a viewer back to. You can preview the video through the interface by pressing the play button below the video player and timeline. To move freely to a specific point in the video, drag the seeker on the timeline to the desired position.

- Once you figure out the spot in the video you want to send the viewer back to, you can place a Wrong Answer Marker by scrolling to the bottom of the Question box to a nested box that says “Send wrong answers to:” and clicking the bottom red pentagon marker.

- You should now see a similar red marker on the timeline with the number 1 inside it, indicating the information needed to answer ‘Question 1’ will appear at that moment in time. You should also see the “—:—:—“ in the “Send wrong answers to:” box transformed to the timestamp of Question 1’s Wrong Answer Marker.
Writing a Question
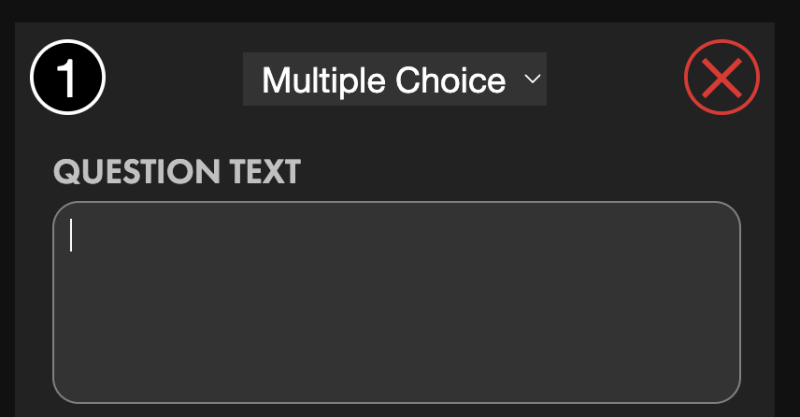
- To write a question, scroll to the Question box, and click the blank text box below the text “Question Text” to enable the type function so you can start typing it out.
Writing Multiple Choice Answers
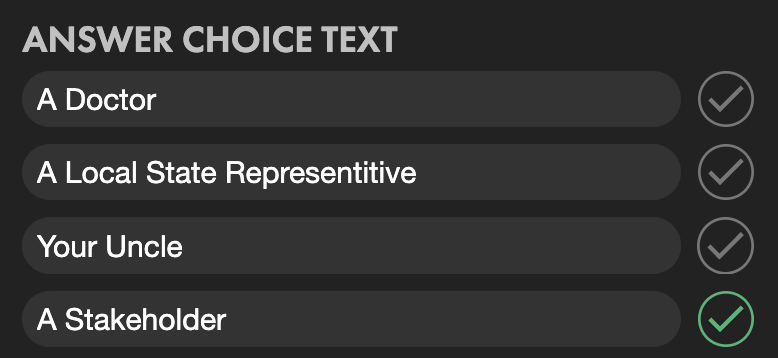
- For ‘Multiple Choice’ questions you have to provide answers that students can be automatically graded on. To type in the text for the choice, you scroll to the Question box and click on the text boxes below the text “Answer Choice Text” that should say “Answer Choice 1”, “Answer Choice 2”, etc. To indicate which answer will be graded as correct, click the check marks symbol next to the answer you want, and the symbol will promptly turn green.
- You can also write “Expository Text” for each individual multiple choice answer by hovering over each multiple choice answer and moving your mouse over the window bridge to the Expository Text box that pops up. The Expository Text will appear after the viewer has submitted their answer.
Adding Additional Questions
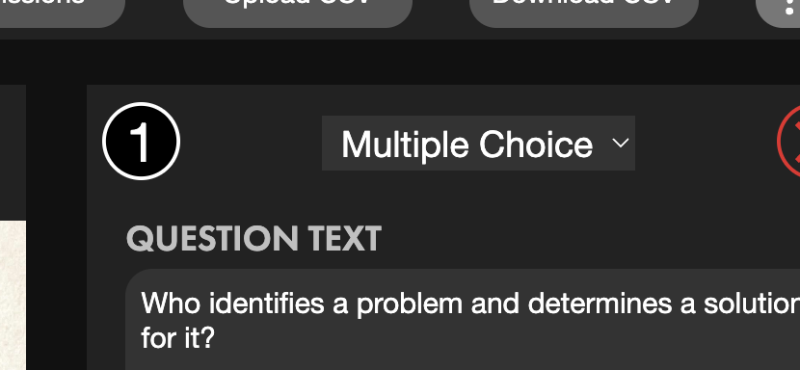
- Each question, as stated before, is indicated by a number. On the timeline each marker is marked with a number of the question it applies to, and in the Question Box, the question number you are working on is indicated in the top left corner.
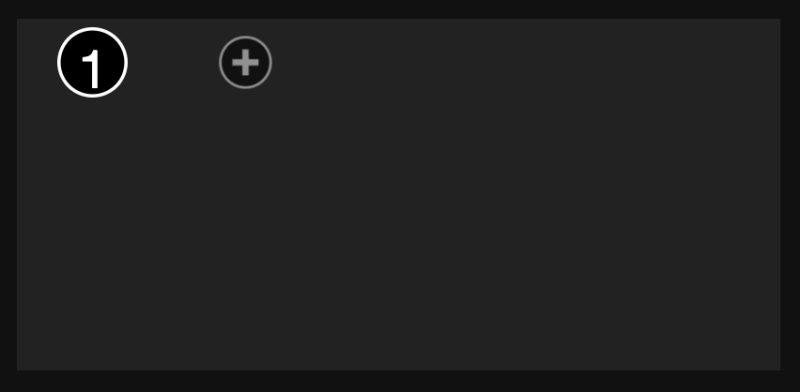
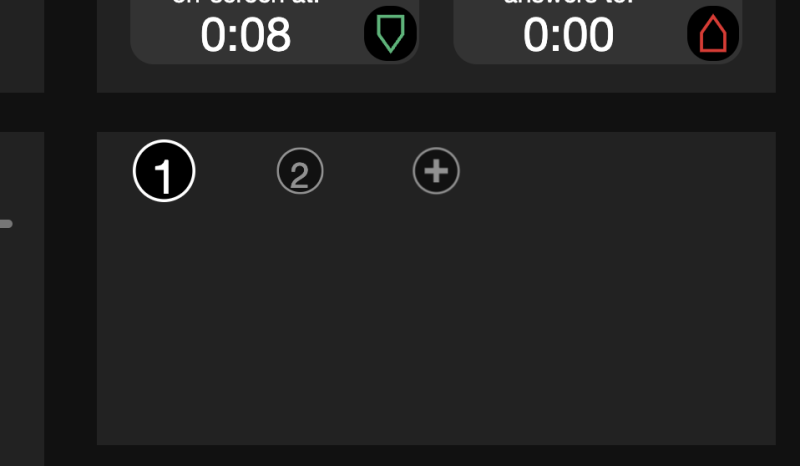
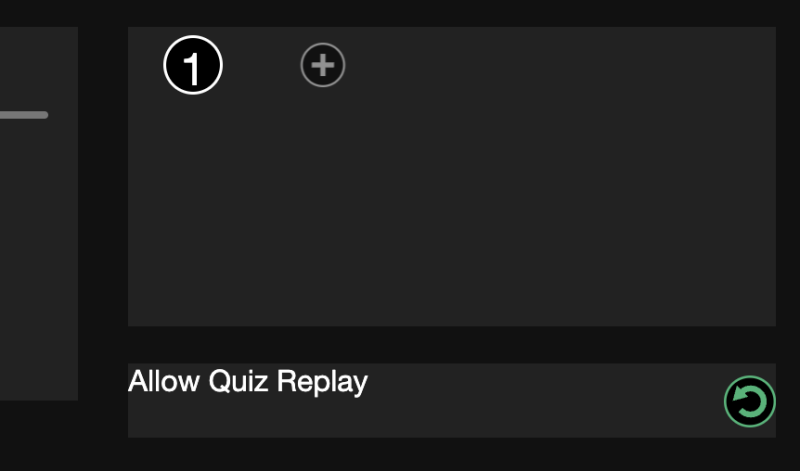
- To add an additional question, scroll to the box below the question box, and press the circle with a plus.
- A “2 '' should appear in its place and the question box should indicate it’s now editing question “2” in the top left corner.

- To switch between editing questions, click the corresponding number to the question you would like to go to in the box below the Question Box.
Turning Off the Ability to Replay a Video
- You can prevent viewers from replaying your video by toggling the Allow Quiz Replay. Clicking anywhere on the box will allow the setting to be turned on and off, with the green hue of the spinning arrow symbol indicating it being on.
Adding Permissions for Who Can and Can’t Access My Quiz
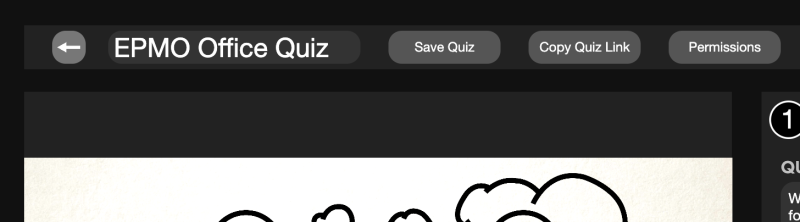
- On the top menu ribbon of the interface, there should be a button labeled Permissions.

- By clicking it you will open up the permissions window.

- By default, all individuals with a netID, and a link to a quiz, can access the quiz.
- In the box labeled “options” you can restrict who can access each quiz by checking the Enable Private Mode box. This will only allow students and admins who are white listed to see the quiz.
- You can create a white list for administrators and students, by typing netIDs in the corresponding text boxes in the Permissions box. Students will only get access to the quiz, but administrators will be additionally given access to view and download the quiz data.
- In the Options Box you can also make the quiz public to any user with the link, without requiring them to login, by checking the Enable Public Mode option. When in this mode, no data will be collected on how users did.
- To apply your permission setting, click the green “submit” button in the bottom box of the permissions window.
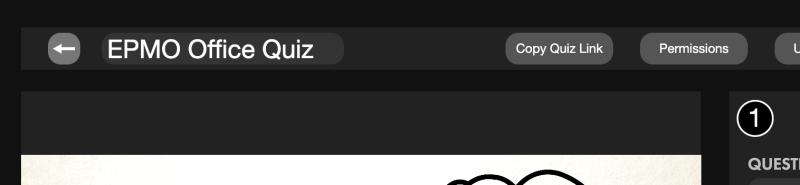
Giving Your Quiz a Title
- To title your quizzes, scroll up to the top menu ribbon, and click the top left box that is currently titled “New Quiz”, and type in your own custom title.

Saving Your Quiz Edits
WORK IS NOT AUTOSAVED
Be sure to save periodically in case you accidentally exit the page.
- To save your work, simply scroll up to the top menu ribbon, and click the “Save Quiz” button.
Sharing Your Quiz
In order to share the quizzes to your students, you have to give them the URL link.
- To get the quiz link, simply scroll up to the top menu ribbon, and click the “Copy Quiz Link” button, and the link should be copied to your clipboard to paste anywhere.