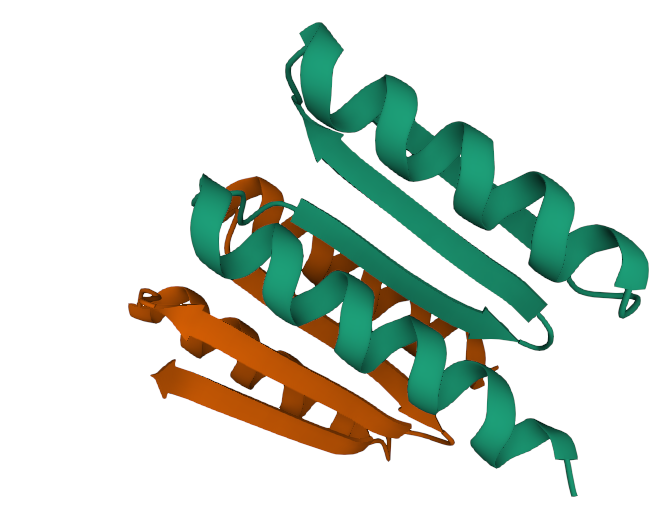
Using Alphafold2 on SeaWulf
Alphafold2 is a GPU-based Machine Learning method for protein structure prediction. This article will explain how to access the software on SeaWulf and provide an example of its use.
While Alphafold2 is designed to be run using Docker, SeaWulf, like many other HPC clusters, does not permit the use of Docker due to security concerns. Instead, this FAQ article will explain how to run a Alphafold2 using Singularity.
First, ensure that the slurm module is loaded and then load the following module:
module load alphafold-deps/1.0
The module above will activate a conda environment that contains the software dependencies of Alphafold2.
Because we intend to make use of Alphafold2's GPU capabilities, we will submit a batch job to one of the A100 GPU partitions:
#!/bin/bash

#SBATCH --nodes=1
#SBATCH -p a100-long
#SBATCH --gpus=1
#SBATCH --mem=175G
#SBATCH --time 48:00:00
#SBATCH --job-name alphafold
#SBATCH --output alphafold_spike_test.log

# load the necessary modules

module load alphafold-deps/1.0

# set the path to the directory with the alphafold2 databases
export DBDIR=/gpfs/software/AlphaFold2_DBs

# set the path to the Alphafold installation directory
export ALPHAFOLD_DIR=/gpfs/software/alphafold/alphafold-2.3.2


# bind the scratch and software directories so that they're accessible in the Singularity image
export SINGULARITY_BIND=/gpfs/scratch,/gpfs/software

# specify where the output will go and create the directory
OUTPUT=/gpfs/scratch/<NETID>/alpahfold_output

mkdir -p $OUTPUT

# execute the alphafold2 wrapper script

python ${ALPHAFOLD_DIR}/singularity/run_singularity.py \
--data_dir $DBDIR \
--output_dir ${OUTPUT} \
--model_preset multimer \
--fasta_paths sarscov2_spike.fasta \
--max_template_date=2022-01-01 \
--models_to_relax none \
--verbosity 1
When running the run_singularity.py script, you should specify the full path to the directory containing the database files, along with the paths to your input protein fasta file and output directory. Any directory other than your home directory which needs to be accessed by Singularity should be added to the SINGULARITY_BIND environment variable.
In the above example, we are running Alphafold2 on GPUs using the "multimer" model, searching against the full set of databases, and using a recent max template date. Depending on the aims of your analysis, you may wish to change some of the optional parameters. To get a list of parameter options, you can call the wrapper script without any additional arguments, or see here for a list of options.
In addition to the alphafold arguments, be sure to request 1 GPU and at least several dozen GB of memory for your job when running in the A100 queues.
Let's call this slurm script "run_alphafold.slurm" and submit it:
module load slurm
sbatch run_alphafold.slurm
Once Alphafold2 has finished running, your output directory structure should look something like the following:
<name of protein>
├── features.pkl
├── msas
│ ├── A
│ │ ├── bfd_uniclust_hits.a3m
│ │ ├── mgnify_hits.sto
│ │ ├── pdb_hits.sto
│ │ └── uniref90_hits.sto
│ └── chain_id_map.json
├── ranked_*.pdb
├── ranking_debug.json
├── relaxed_model_1_multimer_v2_pred_*.pdb
├── relaxed_model_2_multimer_v2_pred_*.pdb
├── relaxed_model_3_multimer_v2_pred_*.pdb
├── relaxed_model_4_multimer_v2_pred_*.pdb
├── relaxed_model_5_multimer_v2_pred_*.pdb
├── result_model_1_multimer_v2_pred_*.pkl
├── result_model_2_multimer_v2_pred_*.pkl
├── result_model_3_multimer_v2_pred_*.pkl
├── result_model_4_multimer_v2_pred_*.pkl
├── result_model_5_multimer_v2_pred_*.pkl
├── timings.json
├── unrelaxed_model_1_multimer_v2_pred_*.pdb
├── unrelaxed_model_2_multimer_v2_pred_*.pdb
├── unrelaxed_model_3_multimer_v2_pred_*.pdb
├── unrelaxed_model_4_multimer_v2_pred_*.pdb
├── unrelaxed_model_5_multimer_v2_pred_*.pdb
There will be a subdirectory named after your your input fasta file (in this example, the input fasta file was "sarscov2_spike.fasta"). Within it will be a directory containing the multiple sequence alignment (MSA) results of the sequence similarity searches. In addition, there are several other output files, of which the *.pdb files are the main structure prediction file which you may wish to download and view in a PDB viewer of your choice. Note that the ranked_0.pdb file contains the structure with the highest model confidence. See more information about the output files here.

For More Information Contact
Still Need Help? The best way to report your issue or make a request is by submitting a ticket.
Request Access or Report an Issue