Navigating in PeopleSoft
- Near the top left, click Main Menu
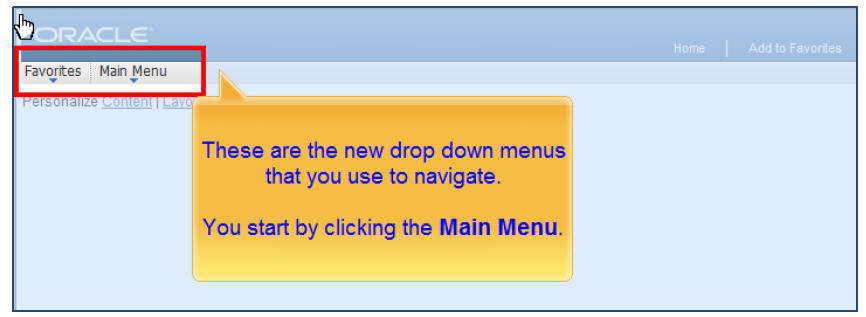
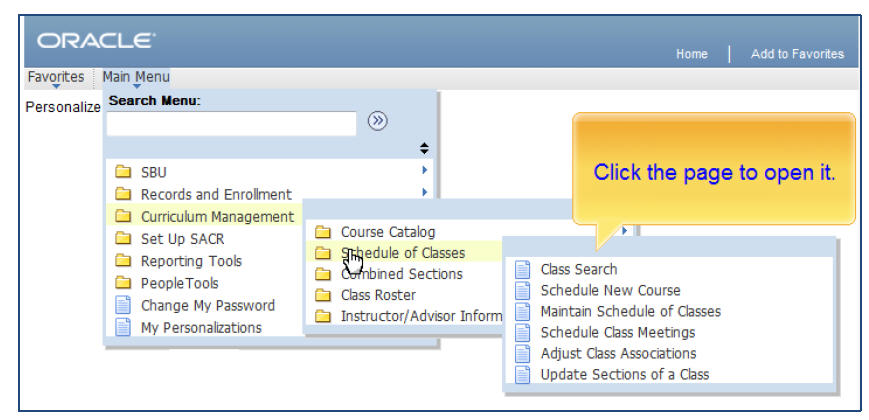
- Select an item from the menu or hold your mouse over a folder to expand it. Select a page to open it.
- Or, type the name of the page in the Search Menu box.
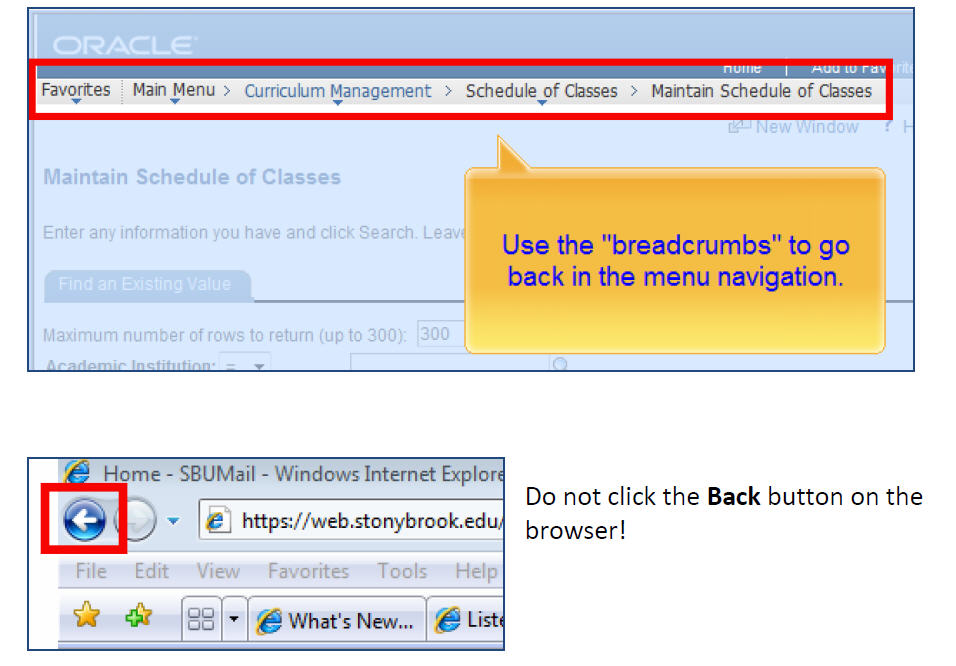
Go Back
- Use the "breadcrumbs" at the top to go back (do not use the back button on the browser to do this)
- Or, click Home in the upper right corner to return to the PeopleSoft Home Page.

Save Often
If you are entering information, save (found at the bottom of most editable pages) frequently. If you are idle you may be timed out of your PeopleSoft session.
You may see the word "Processing" and ![]() blinking in the right upper corner of the window. You must wait for it to stop blinking to continue.
blinking in the right upper corner of the window. You must wait for it to stop blinking to continue.
Add to Favorites
- To bookmark a PeopleSoft page for easy access in the future, select Add to Favorites near the top right while viewing the page
Sign Out
- When finished, select Sign out near the top right.
Viewing Records

Use the options at the top right of the records list when viewing records:
- Customize: the data by personalizing the columns and changing the sort order
- Find: a keyword among the records
- View All: data rather than scrolling through the pages
 Pops data into its own window
 Download the data into a spreadsheet (you may have to scroll horizontally to see this button)
 Use the arrows to scroll through the pages of data
 Some pages have a Download to Excel button. Click this button to download the information to an Excel spreadsheet.
Options on the Bottom of Pages

- Save: when entering data, save frequently
- Return to Search: brings you back to the search page so that you can search for another record.
- Next in List: brings you to the next record in the search result list. This is especially helpful when you are approving time sheets.
Using the Look-up Function
Some fields have a ![]() magnifying glass (Lookup button) next to them. Click this button to go to the Look Up page for this field.
magnifying glass (Lookup button) next to them. Click this button to go to the Look Up page for this field.
For example, to find a 4-digit Zip code in the Look Up tool
- Click the Look Up button to view all valid values
- Use the
 and
and  or View All to view additional options
 - Click a value to select it.
- Click Cancel to return to the original page without selecting a value.
- Click Clear to clear the search and start over.

Supported By
Customer Engagement and Support