Legacy Walk-up Media Station Classroom Help Guide
This is a general help guide for all classrooms with this style touch panel. While the steps and location of buttons are the same regardless of which style room you are in, there may be slight discrepancies in font, color, options and icons, dependent on the slight differences in hardware.
For specific details about your classroom, please refer to the Installed Classroom Equipment Guide or contact AV.
This KB Article References:
This Information is Intended for:
Instructors,
Staff
Step 1: Connect your device to the media station.


Flip down the media station to locate the Aux Input Plate.
Available connections may differ in your room but can include:
- HDMI
- VGA
- 3.5mm Audio
- Wired Internet
You will need to bring relevant cable to connect your device. Contact Classroom Technology & Support Solutions for assistance in identifying the appropriate cable for your specific device.
Step 2: Locate the touch panel and tap the screen to wake up the display.

Step 3: Turn on the projector by tapping the power button in the bottom left corner of the screen.

Step 4: After powering on the projector, a message will appear that the system is warming up and the touch panel will be locked while this happens.
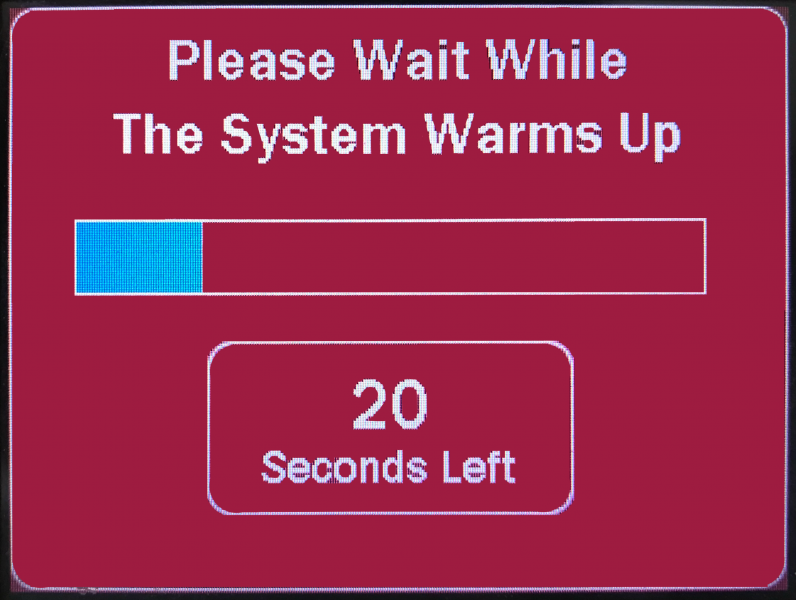
Step 4a: The 'Power' button on the lower left-hand corner of the screen will now appear blue to indicate the projector is on and the chosen source will be indicated on the screen.

Optional steps to navigate system controls:
-
"Room Elements" allows you to directly control the projector or the image it displays.
- Under "Projector Power", you can power down or power the projector ONLY, leaving everything else unchanged.
- Under "Image Mute", you can hide what is shown on the projector from the viewers.
- This does not effect the power status of the projector, it will remain "on", but will not display anything.
- This does not effect the video source choice. It will remain on HDMI, VGA, or DVD/VHS.
- While "Image Mute" is active, it will flash between black and bright blue repeatedly.

Room Elements is shown highlighted here
-
Select the "Audio" button at the bottom of the panel to control volume.

- You can control the volume of the selected Source.
- Tap and hold "Volume Up" or "Volume Down" to raise or lower the volume respectively.
- Tap "Mute" to quickly silence the audio.
- Adjusting these settings has no effect on the projected video image.
- Sliding up or down on the slider on the left will allow you to control the volume from ANY SCREEN.
-
Select the "Advanced Routing" button on the bottom of the screen.

In "Advanced Routing" you can choose to mix-and-match audio and video.
- For Example, you can plug in your personal computer via HDMI to show a slide presentation but choose to play audio from a CD inserted into the DVD/VHS Player.
Please note that to operate properly, select the Source first, followed by the Destination.
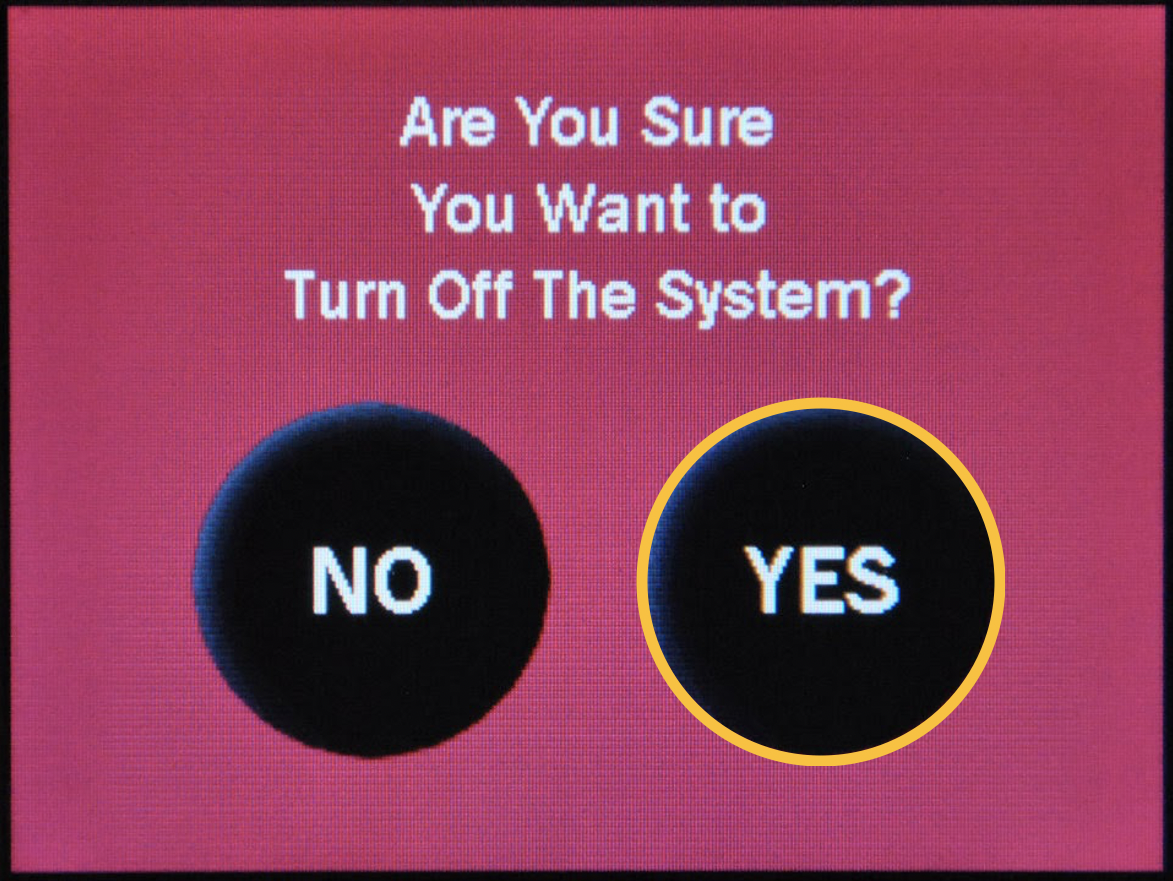
Step 5: To power off the system, press the "Power" button in the lower left corner from any page.
Step 6: Confirm to power off when prompted
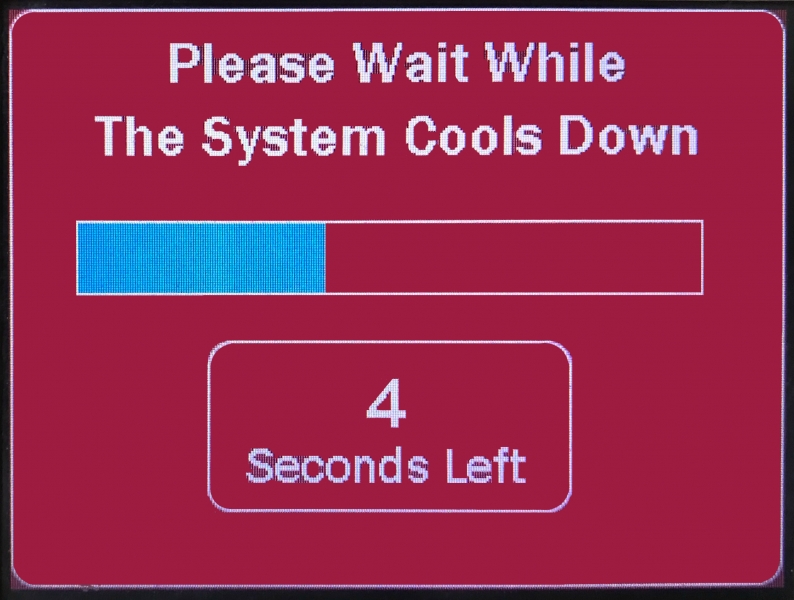
Step 6a: After you make your selection, a "System Cool Down" page will lock the touch panel while the system powers off. The system will be ready to be used again once it disappears.
This Content Last Updated:
03/31/2023
Supported By
Classroom Technology & Support Solutions West Campus
(631) 632-9800 (Option 3)
Classroom Technology & Support Solutions Website