Installing the Windows 10 Disk Cleanup onto My Computer
The Disk Cleanup removes unnecessary files from your Windows computer's hard drive to make room for software updates and the patches. The Disk Cleanup does not remove your saved files only temporary internet files, temporary Windows files, old update source files, and associated log files. Your saved files, programs, and settings will not be disturbed.
-
Go to KACE Self-Service Portal at https://tltkace.sinc.stonybrook.edu/user and enter:
-
Login: NetID
-
Password: NetID password
-
Organization: Client Support
-
-
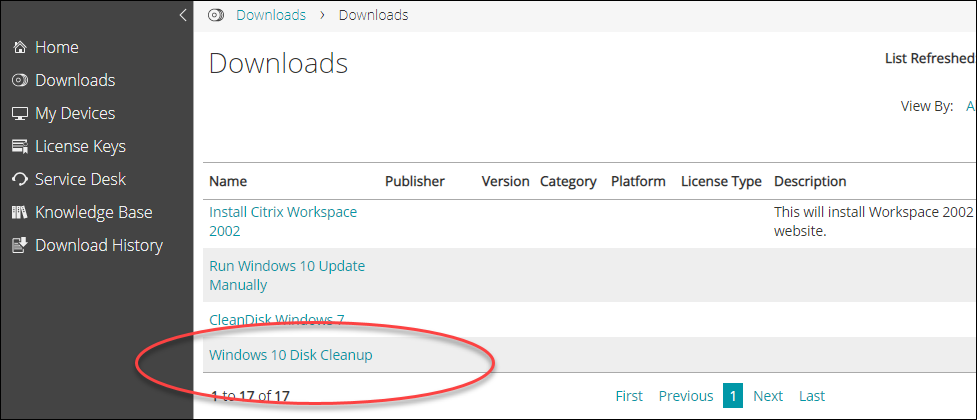
On the KACE homepage, click Downloads:
-
Click Windows 10 Disk Cleanup to download and install the application.
-
On the next screen, if you own more than 1 Stony Brook device, you'll need to select the Device to install software on:
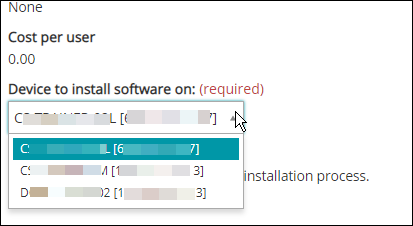
See Finding the Name of your Windows Computer to select the correct device to install software on.
-
Click the Install button when ready.
-
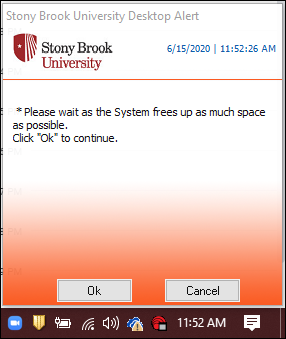
An orange screen will appear to confirm that you want to deploy the application. Click OK.
-
A couple of screens may appear and then disappear. This is the application working and finishing. You do not need to do anything else.