Installing the AIP Plugin on a Windows Machine

Audience: Clubs, Faculty, Guests, Postdocs, Researchers, Staff, Students and Teaching Assistants

This KB Article References: Azure Information Protection (AIP)
This Information is Intended for: Clubs, Faculty, Guests, Postdocs, Researchers, Staff, Students, Teaching Assistants
Last Updated: August 11, 2020
Average Rating: Not Rated
Your feedback is important to us, help us by logging in to rate this article and provide feedback.

You must be an administrator on your computer to install this application.  If you need this installed on your workstation have your IT department install it.  The plugin requires at least Windows 7 service pack 1.

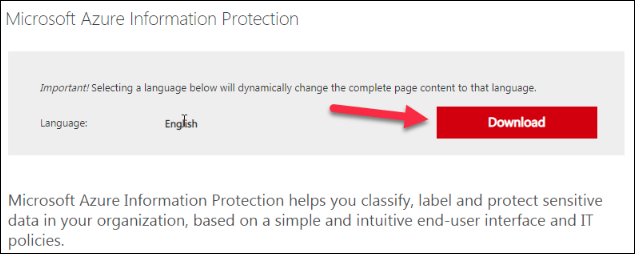
  1. Download the Windows Client for your Windows Machine.   You can download and run the file AzInfoProtection.exe here: https://www.microsoft.com/en-us/download/details.aspx?id=53018
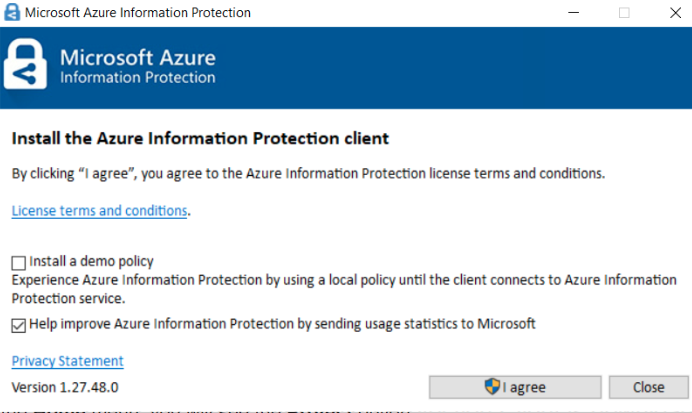
  2. Agree:
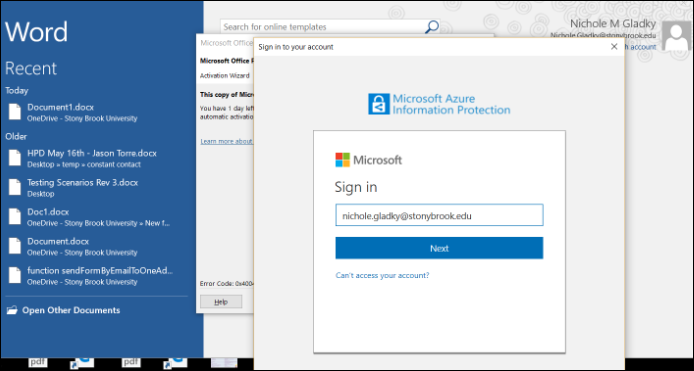
  3. Open Word or Excel, and if prompted, sign into Microsoft using your Stony Brook Email and then NetID Password:
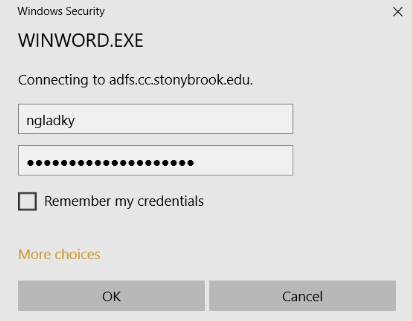
  4. If prompted, Sign into Windows Security (adfs.cc.stonybrook.edu) with your NetID and NetID Password:
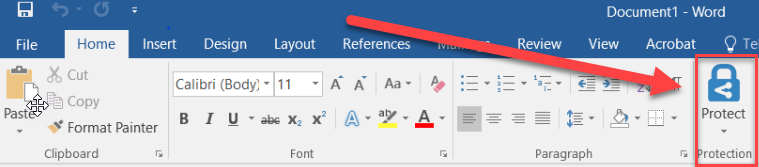
  5. You will now see the Protect icon in the Home menu:
  6. You may need to restart your computer.
     

Additional Information


There are no additional resources available for this article.

Provide Feedback


Your feedback is important to us, help us by logging in to rate this article and provide feedback.

Sign in with NetID

Getting Help


The Division of Information Technology provides support on all of our services. If you require assistance please submit a support ticket through the IT Service Management system.

Submit A Quick Ticket

Supported By


Customer Engagement and Support