Customizing Your Google Calendar
You can personalize your Google Calendar by adjusting views, enabling experimental features, and adding calendars for holidays, sports schedules, and local weather.
You can customize your calendar by:
- Changing the view (day, week, month, etc.)
- Enabling Labs
- Adding holidays
- Adding sports team schedules
- Adding the local weather
Changing the View
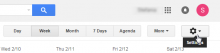
- Go to Google Calendar
- At the top right of the page, under your name and icon, there is a list of different timespans - clicking these will change the view

Note: The Agenda view will only render 50 entries per day. To view agenda entries for a specific time period, click on a date in the Mini Calendar (top-left of calendar)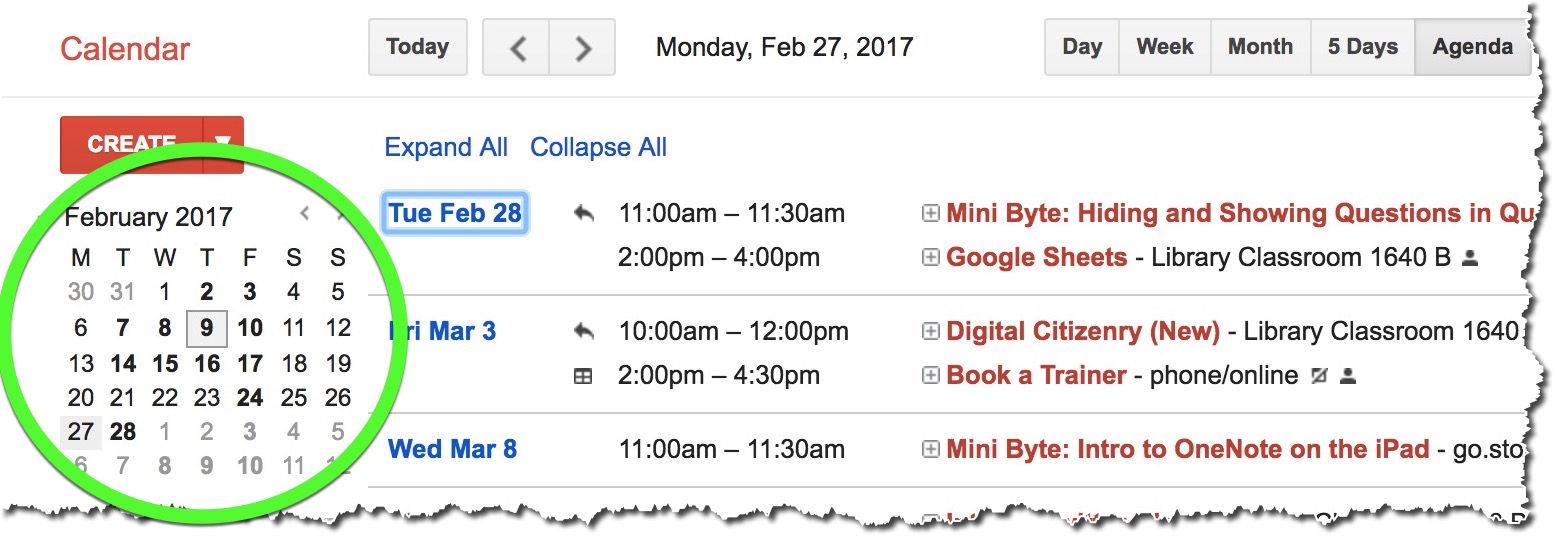
Enabling Labs
Google Calendar Labs allow you to try experimental new features created by developers. You can enable and disable Labs at any time. Note: Labs are experimental, by using them you accept the risk that they may not properly work.
- Go to Google Calendar
- Click on the gear in the top right corner ("Settings")
- Select Labs
- Select which labs you want by clicking Enable
- Click Save at the bottom of the page
Adding Holidays
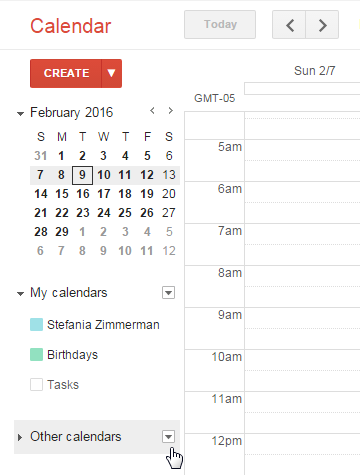
- Go to Google Calendar
- On the left, click the arrow next to Other calendars
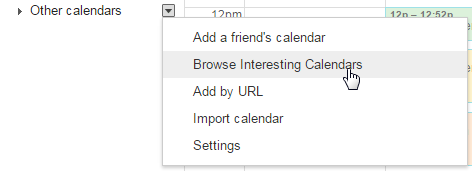
- Select Browse Interesting Calendars
- Find a holiday calendar you'd like and click Subscribe
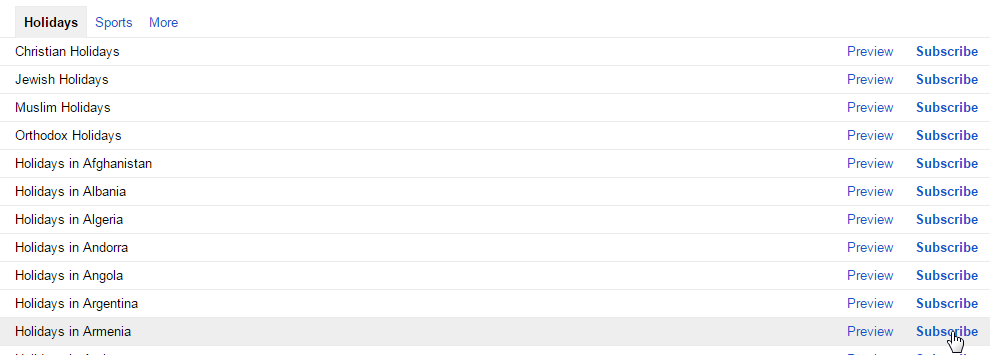
- If you accidently subscribe to a calendar, or you no longer want a particular calendar, follow the above steps and click Unsubscribe
Adding Sports Team Schedules
- Follow steps 1-3 above, click on the "Sports" tab at the top of the interesting calendars page

- Select the sport of the team you are looking for
- Select the league of the team you are looking for
- Find the team, then click Subscribe
Adding the Local Weather
- Go to Google Calendar
- Click on the gear icon (top right) and select Settings

- Click General at the top of the settings page
- Scroll to Location, to the right, enter your location (either city name or zip code)
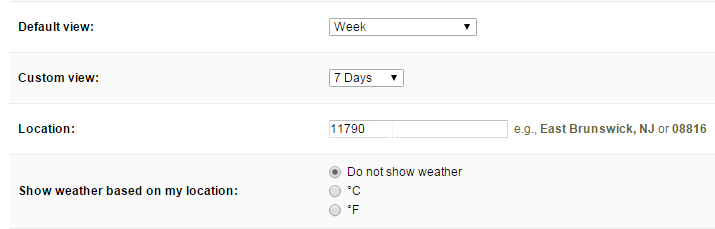
- Next to Show weather based on my location select your unit of temperature

- Click on Save at the bottom of the page
Supported By
Customer Engagement and Support
Need Help? The fastest way to get support is by submitting a request through our ticketing system.
Get Help With Google Calendar