Editing Header: Creating New Pages in an ePortfolio (Digication)
In order to add a page, or edit pre-existing pages, you must edit the Header of your ePortfolio.
The header is locked by defult, to make any edits you must hover over the header so the lock icon appears. Clicking on the lock will unlock it allowing you to edit it.

1. Click the lock to make the header editable. It will look like this unlocked:

2. You can select the gear icon underneath the now open lock icon to set a color or image as your header background.
3. While the header is unlocked, you can also select the blue plus icon in the bottom right of the screen to add any content that you would add to a typical page.
Note: Whatever you add to the header will be on every page, try to keep it visually simple as it is the navigation bar for your ePortfolio.
4. The preexisting "text box" shown above shows all of the pages in your ePortfolio.
You can select the gear icon to open the Module Settings allowing you to edit the color of the bar, the color of the font, the hover color and the color of the active page (i.e. what page the visitor is on).
You can resize and move the box, as well as adjust the alignment of the text in the box.
5. To add, remove or rearrange pages select the Edit option (the pencil icon).
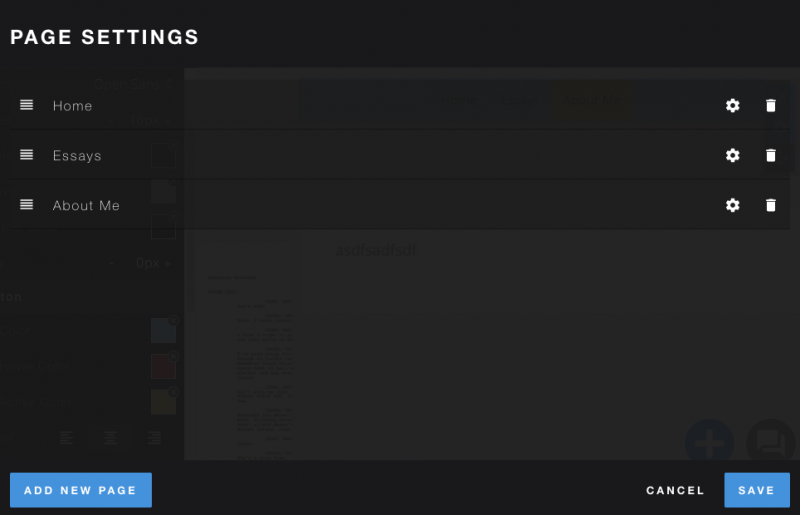
6. To delete a page click the trash icon to the right of the name
Note: If you delete a page it will not ask you to confirm the deletion until after you hit save.
7. Select the "Add New Page" option in the bottom left to add a new page. By default, it will be added as the last page in the list with the top most page being the page viewers will enter your ePortfolio on.
8. To rename a page, hover over the name and double click: the text will highlight.
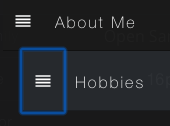
9. To rearrange pages, hover over the stacked lines to the left of the page name: a move icon will appear and you can hold and drag the pages up or down.
To create subpages drag the page under another page and then over to the right. It will now appear indented.
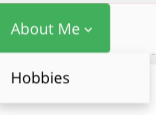
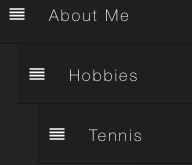
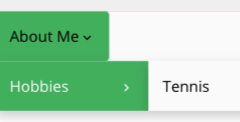
You create subpages in subpages as shown above by moving pages under and to the right of any page you want.
10. You can also view more options for each page by selecting the gear icon to the left of the page's name.

The option "Private" makes the page viewable only to admins, publisher, or editors of the ePortfolio.
Note: You can add people to these roles under "settings"
The option "Heading" makes the page non selectable but still visible. Any content in the page will be preserved and any subpages underneath a page marked "Heading" will still be selectable.
Note: If the page is marked as a heading you will need to unmark it before you can edit any content in that page.