Checking Out and Editing Documents in their Applications in Sharepoint
You can prevent others from editing documents while they are being worked on. These documents must be checked out by a user before editing, and checked in once the user is finished.
What is Checking Out? Checking out is a security feature that you can use to help prevent overwriting - documents that need to be "checked out" can only be edited by one user at a time.
To edit a document, you must first check it out, and then check it back in once you're finished. Use this feature carefully. Users of the system tend to forget to check in documents once they're finished, leaving others locked out of editing them. However, owners of the site can override check out and check the document back in if necessary.
Set up the Document Library for Checking in and Checking Out
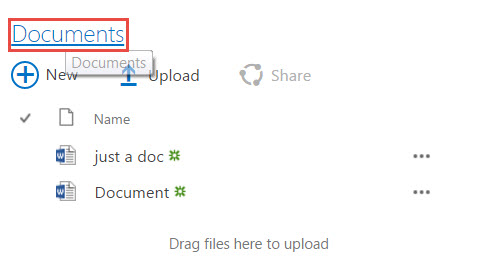
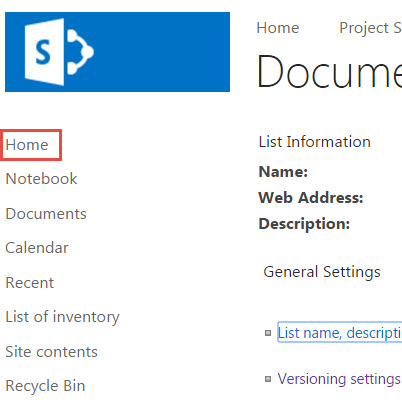
- In your site, click on Documents
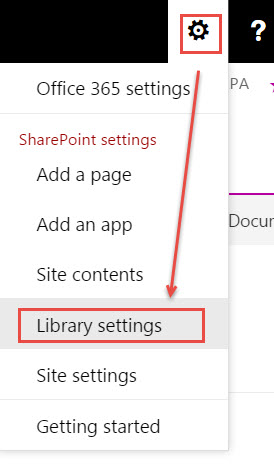
- Then click on the Gear > Library Settings. Note: your document storage here is a Document Library, so you need to go to the Library Settings.
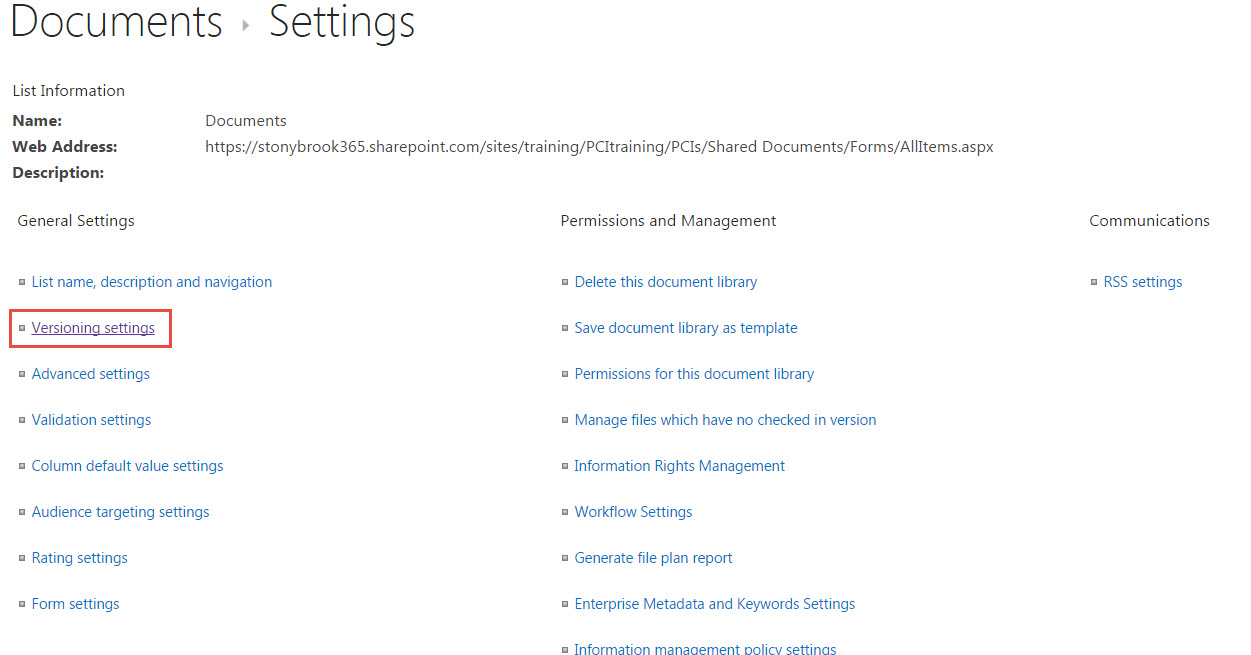
- In Document Settings click on Versioning Settings.
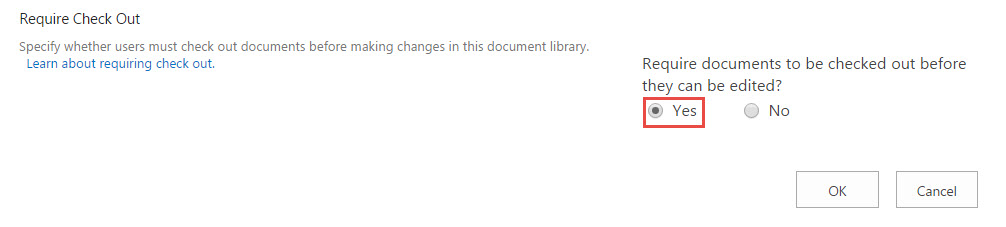
- Towards the bottom of this page under Require Check Out, click Yes to require documents to be checked out and then click OK
- Click Home to go back to your site.
Checking Out a Document, and Checking It Back In
- Click on the document name in your document library. This is the reading view (you can't edit the document).
- To edit and check out click Edit Document > Edit in Word (Excel or PowerPoint)
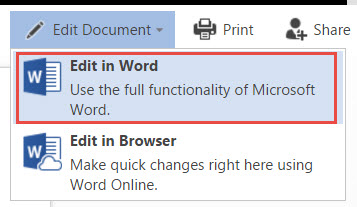
Edit in Broswer does not always work with Check Out. Editing in Word (Excel or PowerPoint) will provide you with the full functionality of these applications.
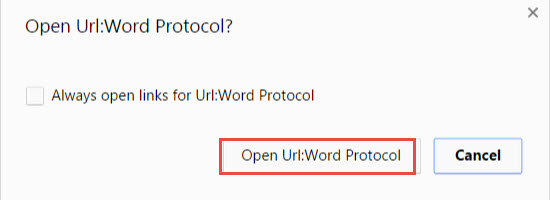
You may get a Prompt asking for your permission to open the document. Click Open***
- When the application opens, click the Check Out button:

- Edit your document as needed. When you are finished be sure to check it in so others can work on it.
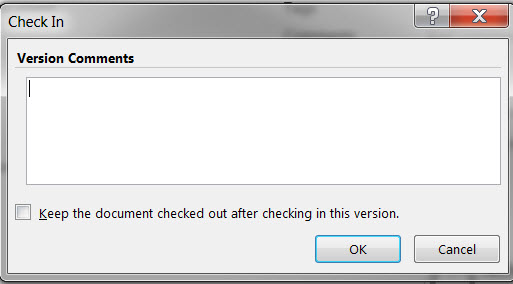
Go to File > Check in (this is important, if you skip this step, other users will not be able to check out the document) 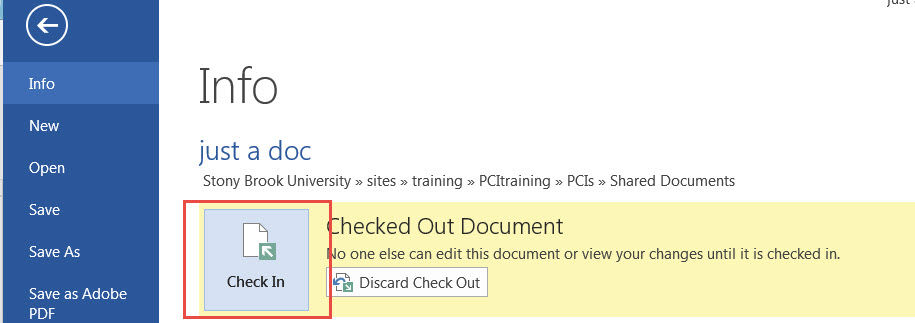
*or you can click the Discard Check Out button to discard your changes.- You can add a comment to this version of the document for recording keeping.
- Close the application when you are finished. Checking in saves the document for you online. If you do not see your edits right away Refresh the screen by pressing the F5 button on your PC keyboard or clicking the refresh arrow (on the top right of most browsers).
Supported By
Customer Engagement and Support