Annotating a PDF in OnBase using the Check Out Feature
The OnBase Unity Client - Document Check Out / In feature can be used to simplify the method used to make revisions on OnBase documents, especially PDFs.
Checking out a document allows you to make edits or annotations to the document before checking it in as a revision or as a new document. This also allows edits to be made locally without making the changes available to other users who are logged into OnBase. Certain file formats, like PDFs, that cannot be edited within the document viewer must be checked out to apply the edits.
By checking in a document, changes will be saved to OnBase and others will see the changes. You may save the changes as a revision or as a new document.
Before this feature can be utilized, the end user must have the following:
- OnBase Unity Client installed
- Adobe Professional installed
- Be a member of an OnBase User Group with permissions to edit the document type
Checking Out and Checking in a Document
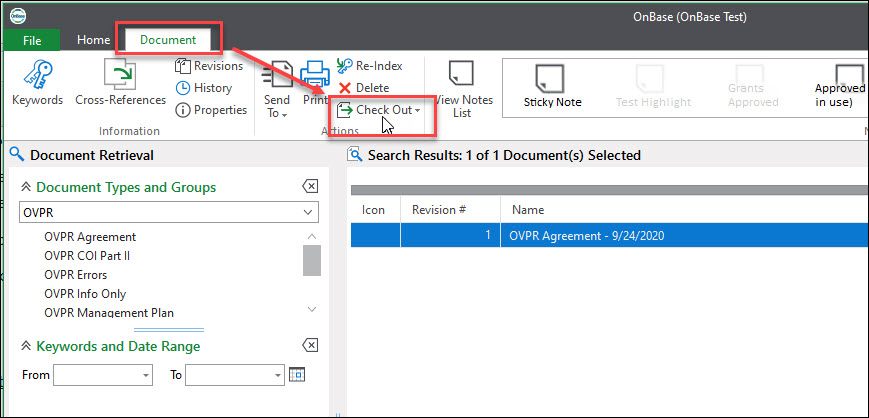
- When viewing a document in the Document tab, click the Check out button:
- If this is a PDF or Microsoft Office document, Adobe Acrobat Reader or a Microsoft Application (Word, Excel, etc.) will open in a separate window. You can make any edits or annotations using the file's native application.
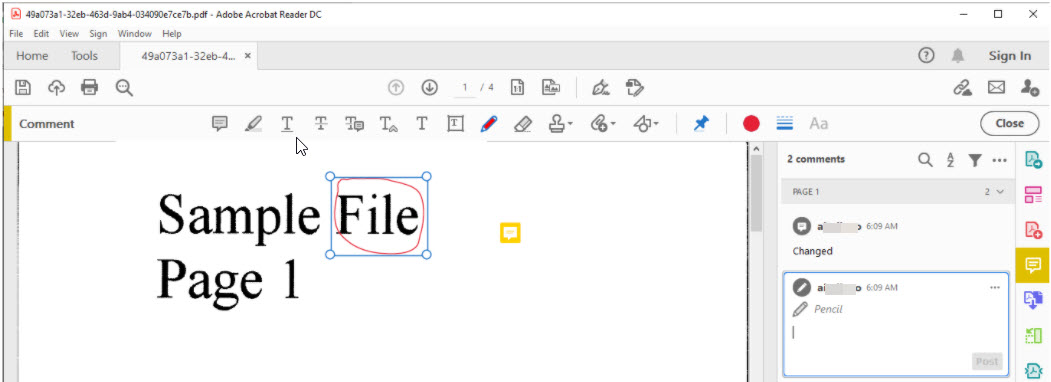
Important: Make sure to save and close the file to save the changes in Onbase. - When finished, be sure to check the document back in so that revisions can be viewed by others.
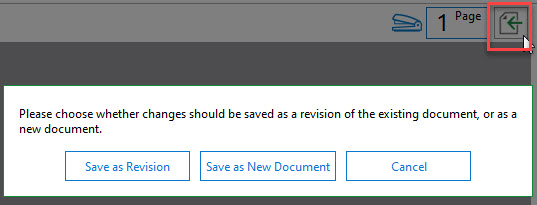
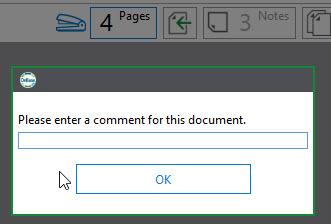
- If you check the file in as a revision, you'll be prompted to make a comment.
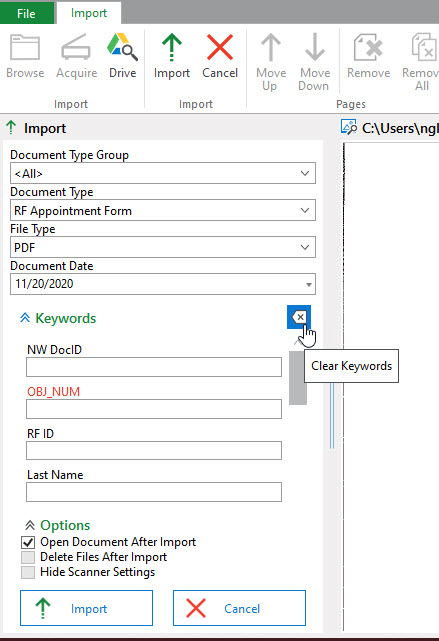
- Otherwise, if you check the file back in as a new document, you'll be prompted to index the file. Clear the keywords using the clear tool then enter the proper keywords and click Import.
- If you check the file in as a revision, you'll be prompted to make a comment.
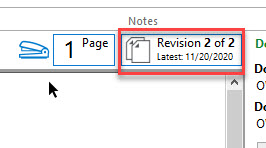
- The document will reflect the changes in OnBase and track the revisions as depicted below. Note: Edits or annotations will not be listed as Sticky notes.
Finding All of Your Checked Out Documents
- Click on My Checkouts to see a lists of files you have checked out.
- Double-click any item in the list to open in it's native application to make annotations or edits.
