Uninstalling Symantec for Windows
If you have administrator rights on your machine, you can uninstall the Symantec Endpoint Application as you would any other application. However, it may not be completely removed from your machine. For example, you may still see the icon near your clock. To completely remove the application from your computer, the vendor offers removal tools specifically designed to uninstall Symantec on your Windows or Macintosh machine.
To remove a program from a Windows machine, press the Windows key on your keyboard and type "programs". In Windows, select "Programs and Features". For Windows 10, select "Add or remove programs", then select Symantec and click uninstall.
To ensure it is, in fact, completely removed, including all virus definitions, use the CleanWipe tool available on the Symantec website.
- Download the Cleanwipe.zip file, find it in your Downloads folder
- To quickly get to the Downloads folder, press the Windows key, type "Downloads", and then press Enter.
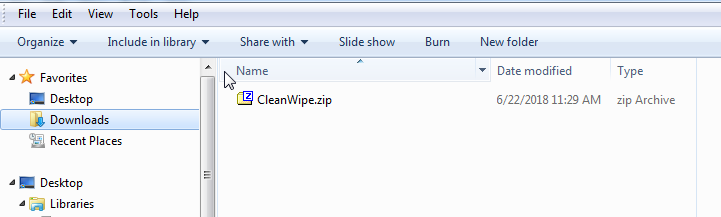
- To quickly get to the Downloads folder, press the Windows key, type "Downloads", and then press Enter.
- Extract the file by right-clicking on it and choosing Extract all (or by using another installed unzipping tool, like 7-zip).
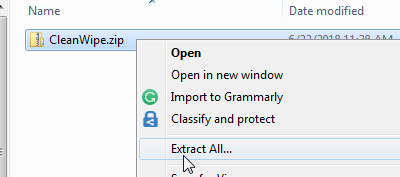
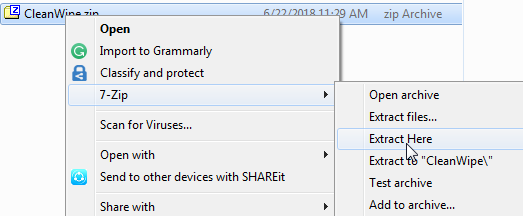
Make sure the extracted file ends up in the Downloads folder: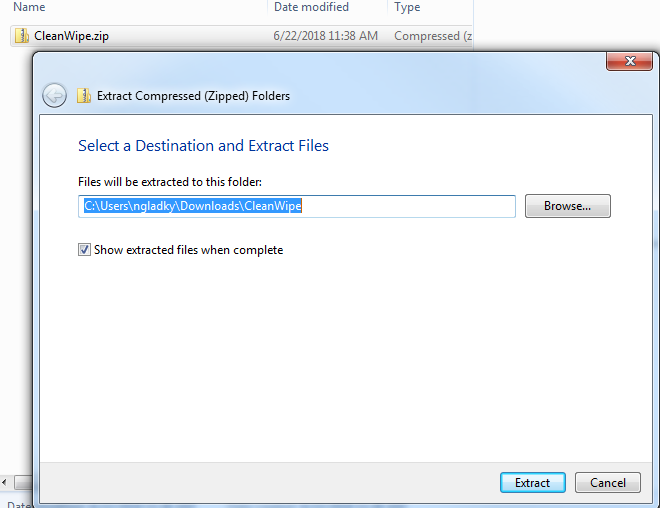
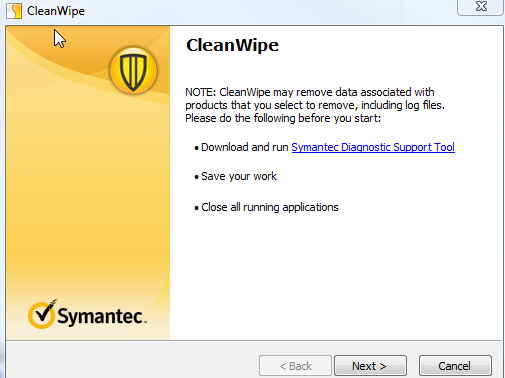
- Double-click to open CleanWipe.exe

- The User Account Control prompt will appear asking you if you want to make changes to this computer. Click Yes.

- Click Next at the CleanWipe screen:
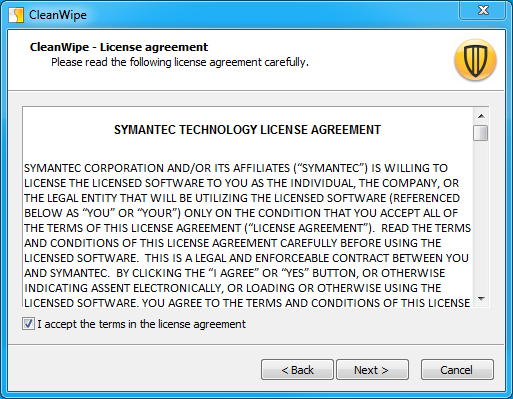
- Accept the License Agreement
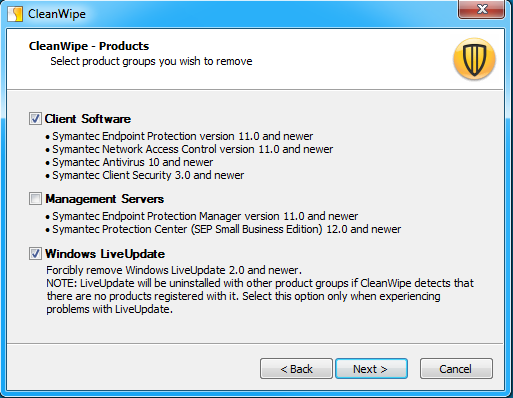
- Choose the Products: Client Software and Windows LiveUpdate and then click Next
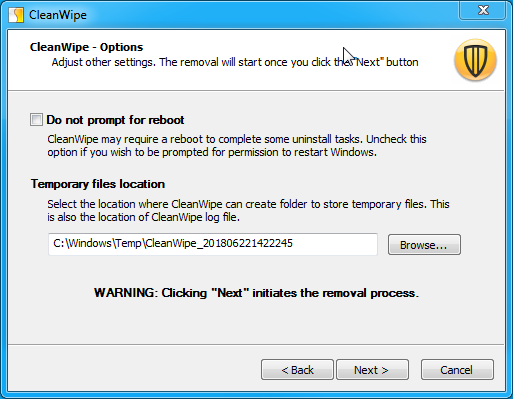
- Click Next in the CleanWipe options window. Do not check off anything here.
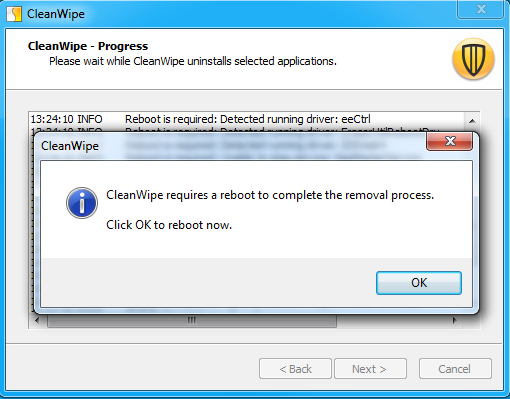
- Click OK to Restart your computer.
- When your computer restarts, the User Account Control prompt will appear asking you if you want to make changes to this computer. Click Yes.
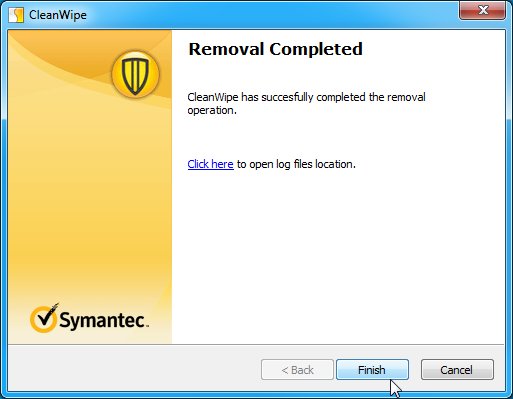
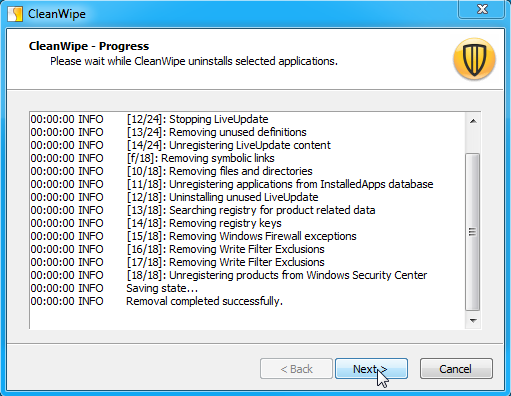
- Once you see "Removal completed successfully" click Next
- Click Finish