Scanning on Toshiba Printers
Step-by-Step instructions to use the scanning function of the Toshiba printers/scanners/copiers located throughout campus.
- Before you begin, make sure you have your original document in either of the following locations:
Top of the printer: The original document should be facing up, and the top of your document goes into the feed first. You will hear a “beep” sound, that sound will indicate that your document is ready for copying.

Inside the Printer: The original document should be facing down, and the top of your document should be lined up with the small white arrow on the top left. Once you have finished placing your documents, please close the lid.

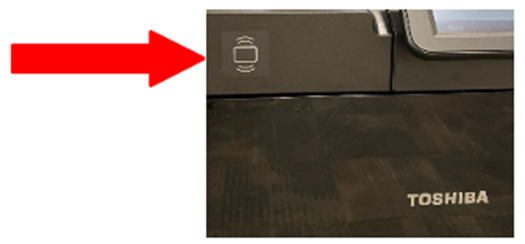
Please tap your student ID above the ID scanner
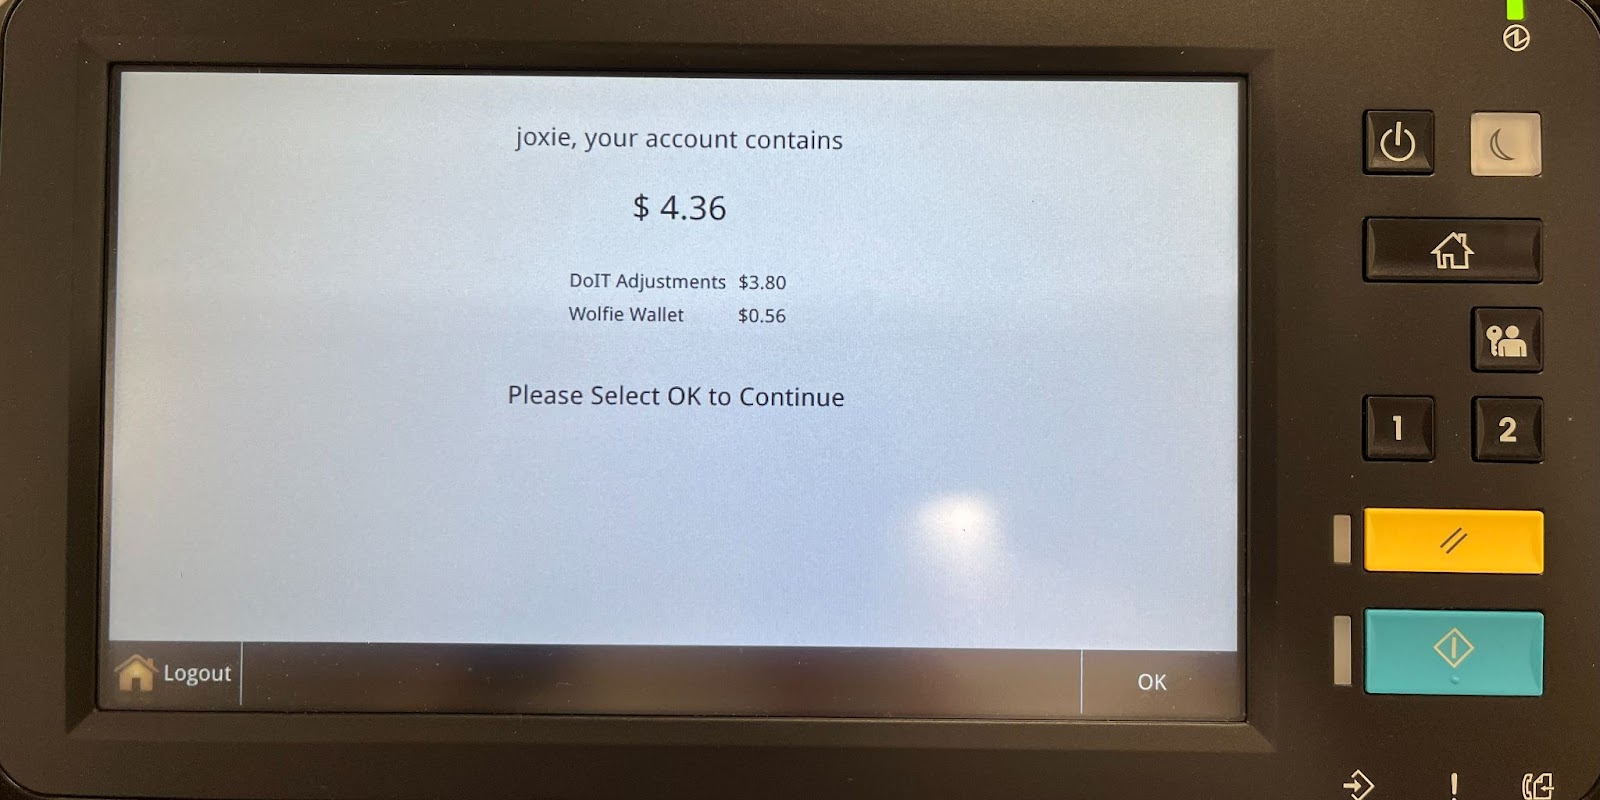
The display will inform you of the amount of quota you have left for the corresponding semester. Press “OK” to continue
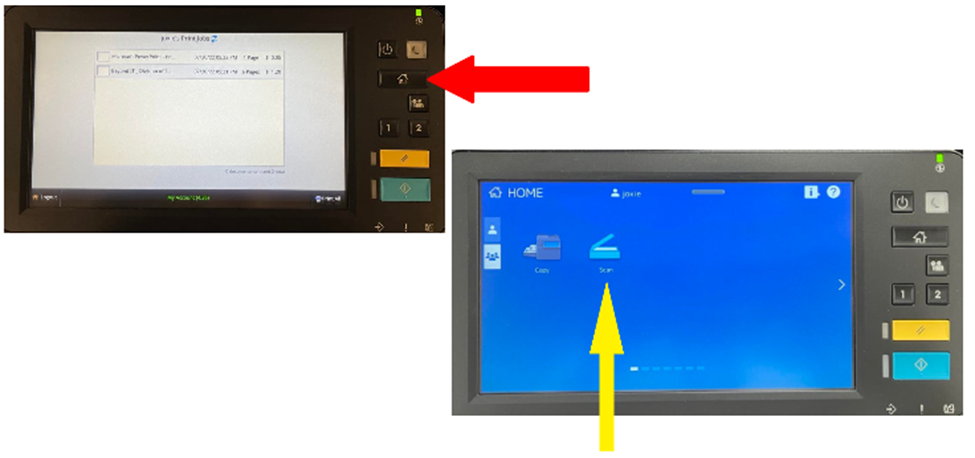
Click the “Home” button to reach the following screen, then click “Scan”.
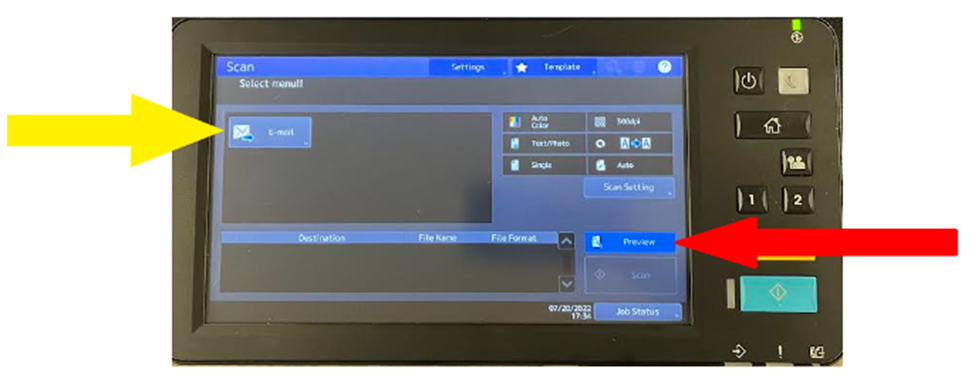
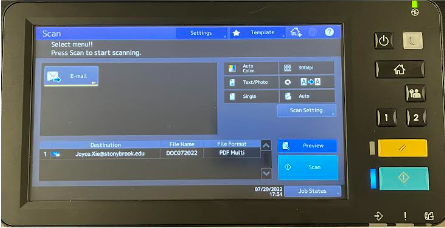
Click the “Preview” button indicated by the red arrow for a preview of your scanned document prior to sending it to your email. Then, click “Email” indicated by the yellow arrow.
This page has already been configured to your email and your information as well. Click “OK” to continue.
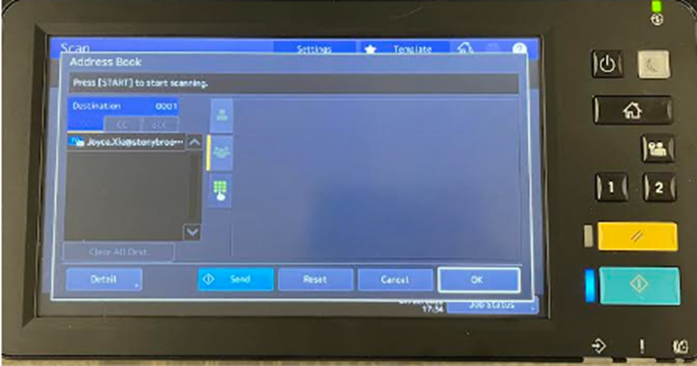
8. You are all set! Click “Scan” and your document will automatically be sent to your SBU email account.
E-mails May Be Marked as Spam
IF you do NOT receive your scanned item in your SBU Inbox, please check your SBU Spam folder and click “Report Not Spam” to provide user feedback and also to reduce the amount of the same incidents.
Optional: Releasing Other Print Jobs
- Press the “Home” button to return to the Home screen.
- Press the number “1” to return to your job queue screen.
- Please remember to log out after each use!

Learn more about using Toshiba printer / sanners / copiers.
Supported By
Need Help? The fastest way to get support is by submitting a request through our ticketing system.
Get Help With Printing