Editing Zoom Recordings
This KB Article References:
This Information is Intended for:
Instructors,
Staff
If you have wanted to edit your Zoom recordings, please see the steps below! An overview will be given on how to save your cloud or local recording as a mp4 file, and an overview on some video editing software you can use to make basic edits to your Zoom video.
Downloading/Accessing Zoom Recordings
- Log into stonybrook.zoom.us
- From the menu on the left hand side, navigate to Recordings

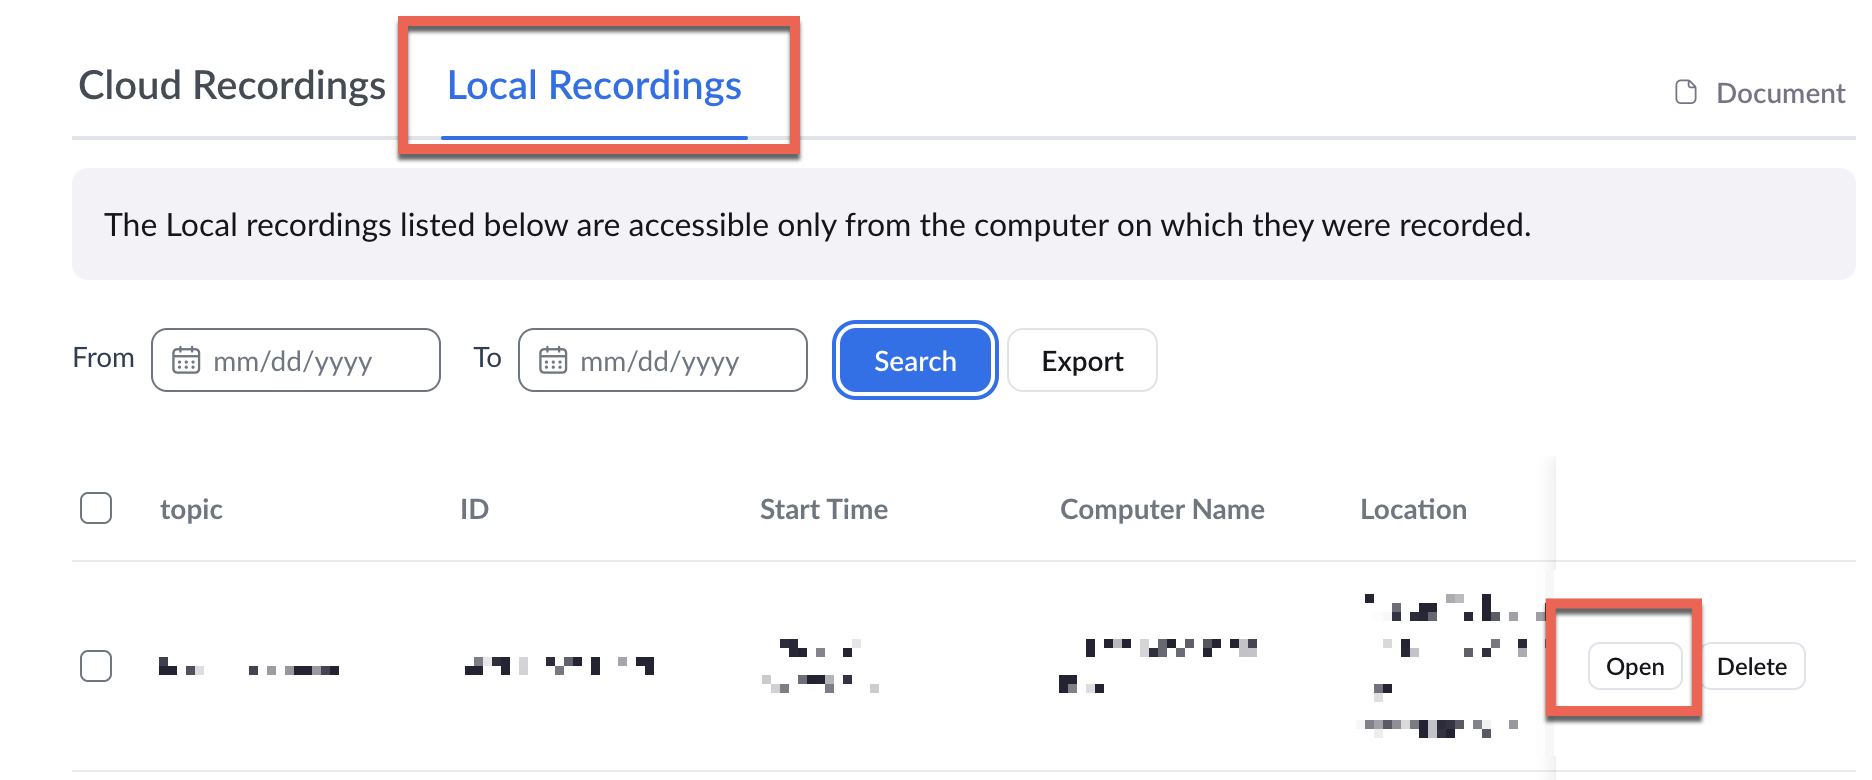
- If it is a local recording, select Local Recordings, and then click Open for the corresponding Zoom recording to find the file location

- Otherwise, if the recording was made on the cloud, select Cloud Recordings
To download:- On the recording's page, click the Download button.
Note: If accessing the recording as an admin, downloading cloud recordings is not an option
- On the recording's page, click the Download button.
Editing Zoom Videos
Once you have the mp4 file of your recording, there are a few ways to go about and edit your recording.
Windows
For those using Windows computers, there are a few built into your system.
- Windows 7 comes with Windows Movie Maker, while Windows 10 comes with Video Editor.
- You can search for one of these applications on your computer.
- They will allow basic edits, such as cutting video length or text overlays.
Please see the following for instructions of some of the functionalities of the inbuilt Windows tools.
- Edit with Video Editor
- Please see below for a video with a rundown of trimming video clips in Video Editor.
- Please see below for an article with step by step instructions on trimming video clips in Video Editor.
MacOS
For those on MacOS devices, you have the option of iMovie or QuickTime.
- iMovie is useful for more advanced edits.
- QuickTime is useful for faster, simpler edits.
Please see the following for documentation on both of the software.
- Edit with QuickTime (simple edits)
- Edit with iMovie (more advanced edits)
This Content Last Updated:
05/07/2025
