This Information is Intended for:
Last Updated: October 07, 2021
Average Rating: Not Rated
WARNING: This operating system is unsupported by Pharos and therefore unsupported by TLT. There have been many requests for this feature, so this guide was created to provide linux users an additional way to print other than through the Print Center website upload feature or Email. These instructions have been tested and work on a fresh install of Ubuntu 15.10 and 14.04.3. If you have any issues, TLT will not be able to provide support.
NOTE: Your local username used to log into your Ubuntu operating system must match your NetID username. You may need to create a new user on your system if this is not the case.
NOTE: As with other operating systems, to send jobs and view the Print From Anywhere Print Center, you will need to be on a Stony Brook campus network such as Resnet, Wolfienet-Secure or any other campus network.
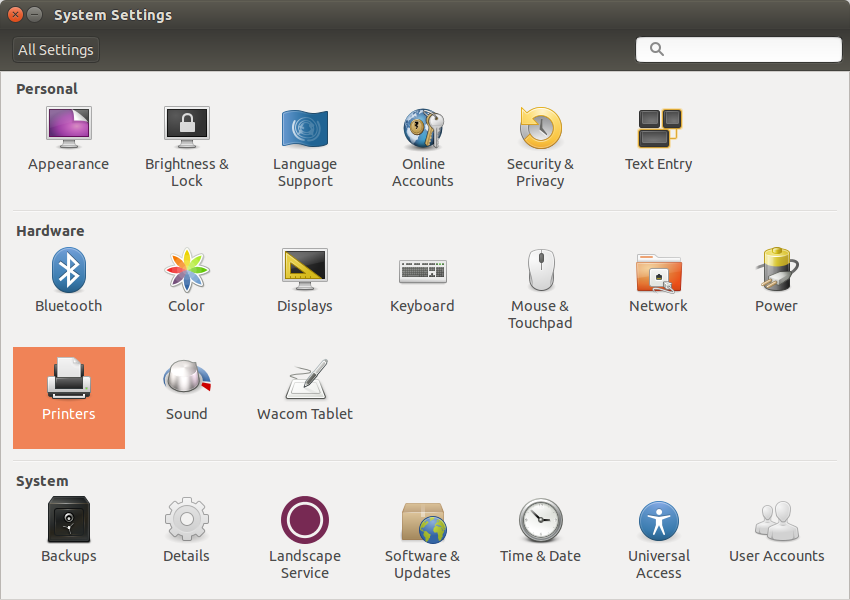
- As you can see in the image below, your local username must match your NetID. (To show your username, go to System Settings -> User Accounts -> check the box for "Show my login name in the menu bar")
- Go to System Settings and open Printers.
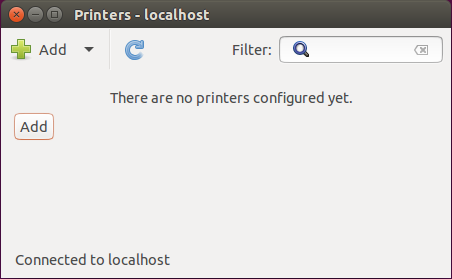
- Click the Add button in the Printers window.
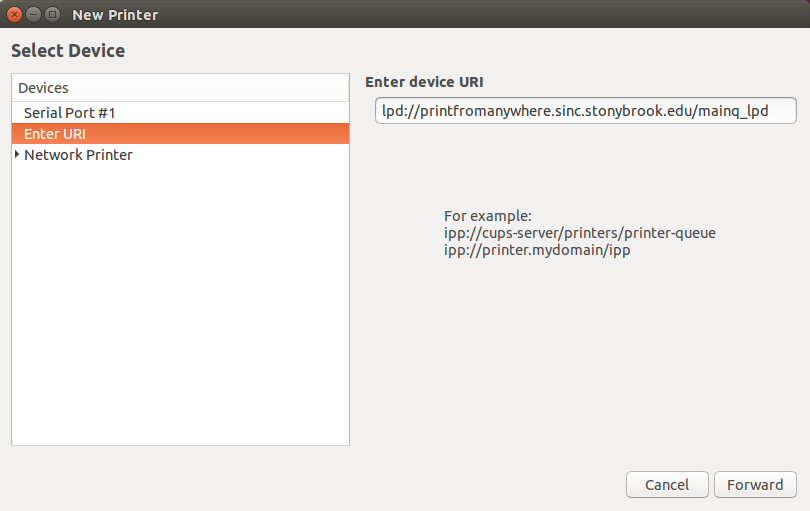
- In the Enter URL field enter: lpd://printfromanywhere.sinc.stonybrook.edu/mainq_lpd then click Forward.
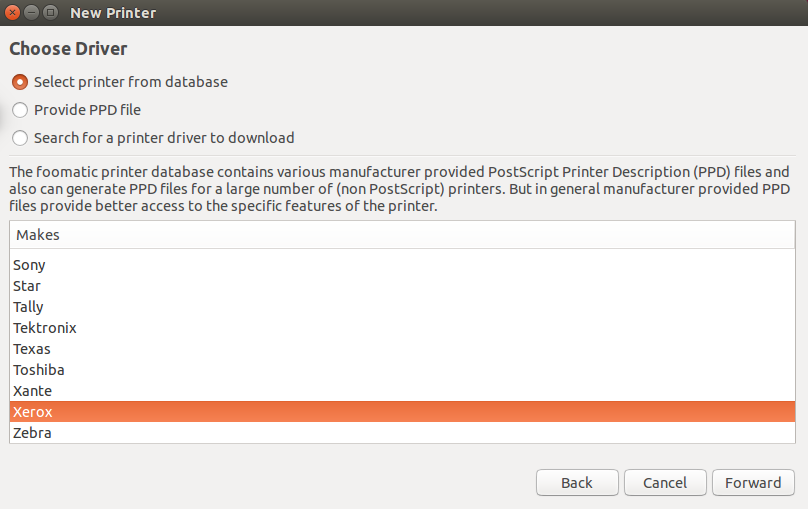
- In the Choose Driver window that follows, scroll down to the bottom. Choose Xerox and click Forward.
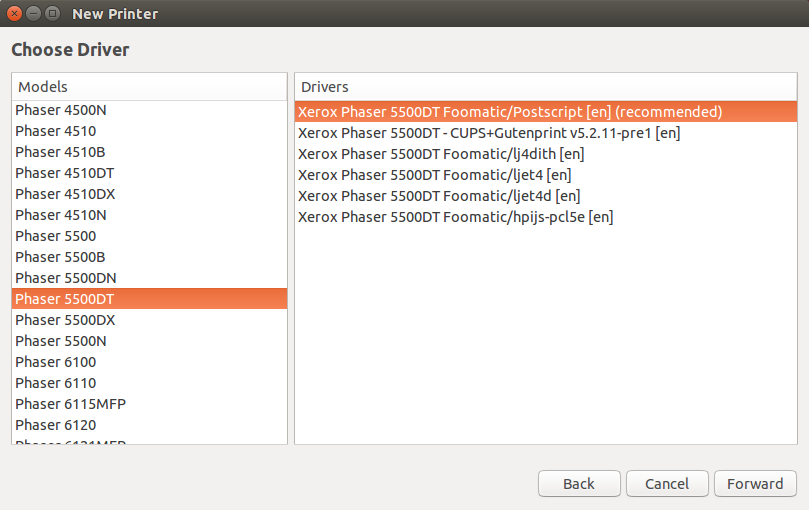
- In the next window, scroll down to Phaser 5500DT and make sure Xerox Pharos 5500DT Foomatic/Postscript [en] is selected. Click Forward.
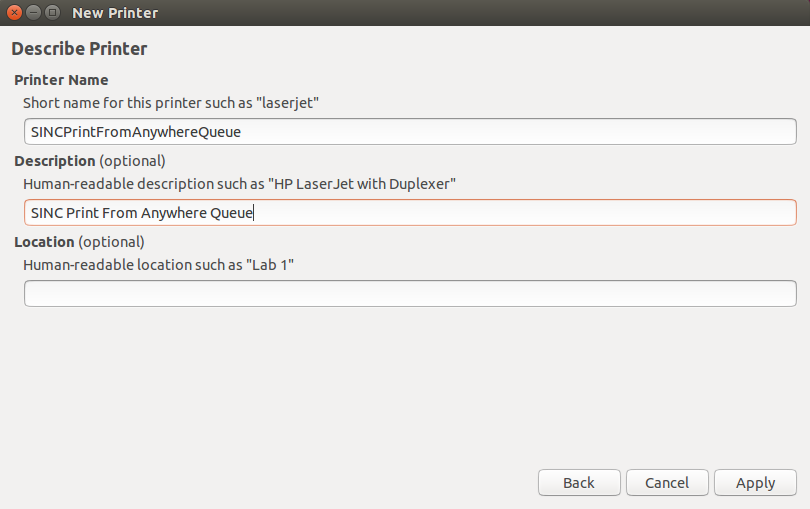
- In the Describe Printer window, enter SINCPrintFromAnywhereQueue in the Short name field and SINC Print From Anywhere Queue in the Description field. Click Apply.
- You can choose to print a test page or click cancel and test printing using another application of your choosing.
- Click OK to close the Printer Properties window.
- Once you have printed a job, you can log into the Print From Anywhere Print Center to see if you job was successfully sent to the Print From Anywhere Queue.