This KB Article References:
RD Gateway
This Information is Intended for:
Last Updated: March 04, 2024
Average Rating: Not Rated
This Information is Intended for:
Last Updated: March 04, 2024
Average Rating: Not Rated
Your feedback is important to us, help us by logging in to rate this article and provide feedback.
Requirements
- Microsoft Remote Desktop 10 from the App Store
- Mac OS X/macOS 10.9 or later
- 64-bit processor
- Mac OS Extended (HFS+) format
- A Duo Account for two-step login
I. Set up RD Gateway
- Launch Microsoft Remote Desktop 10
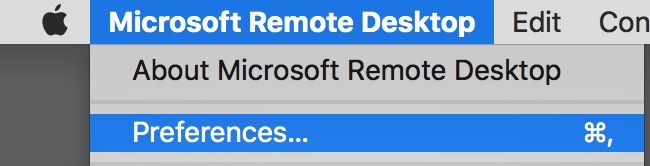
- Click the Microsoft Remote Desktop Menu (top left) and then select Preferences
- Click the Gateways tab
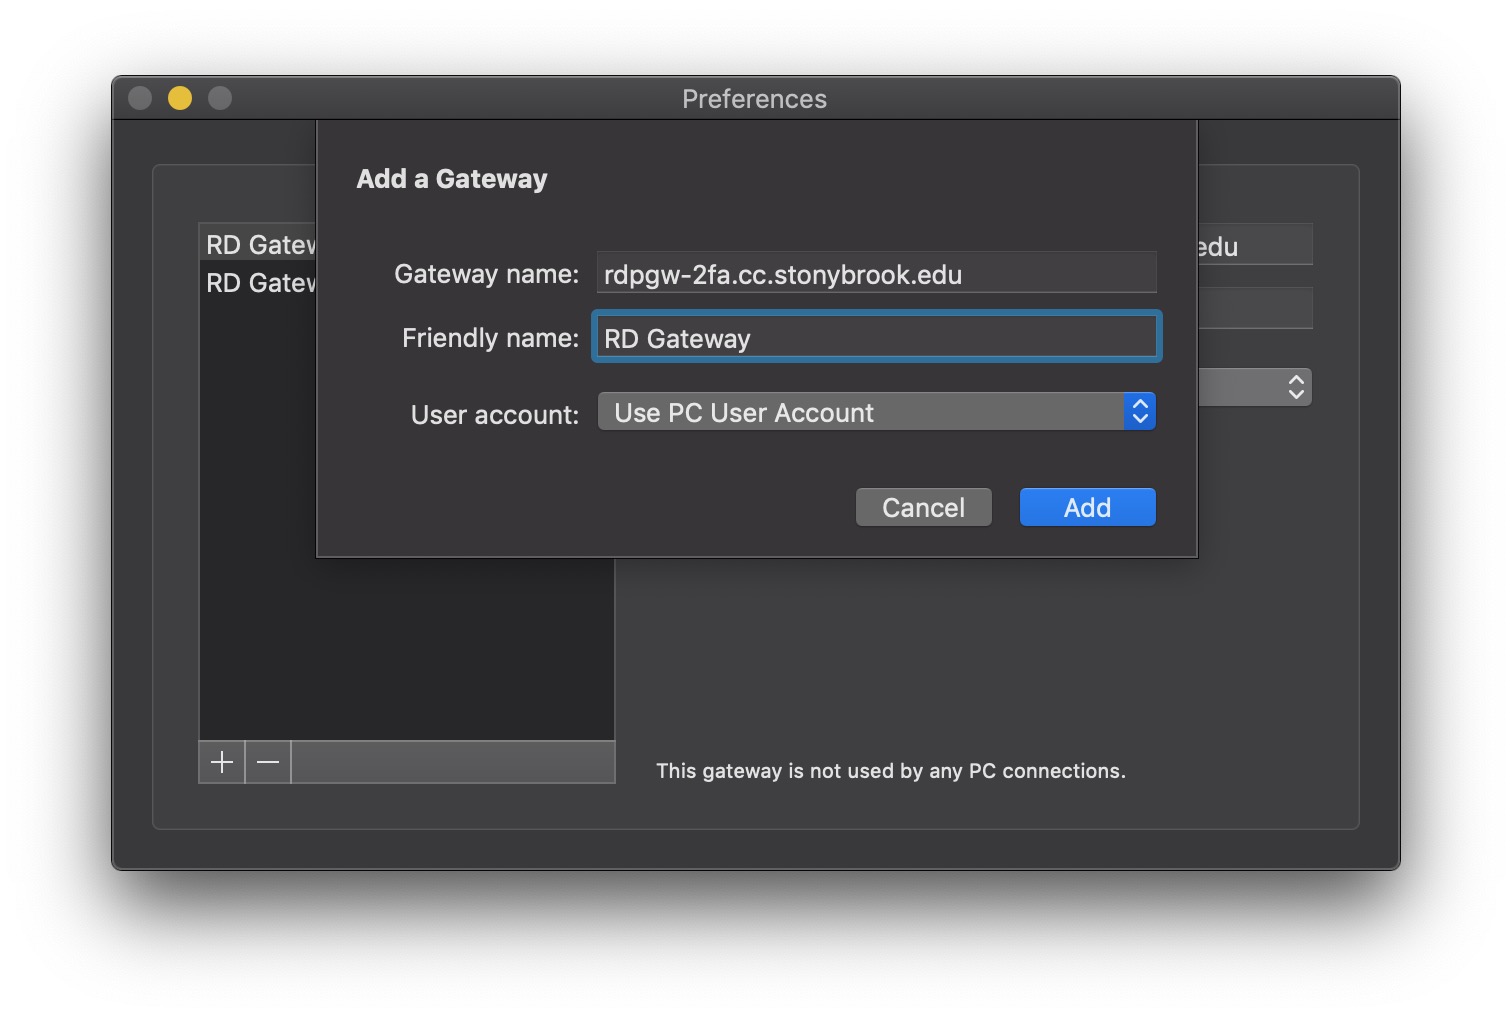
- Click + in the bottom left corner
- Fill in the fields as follows, click Add, and then close the Preferences window
Gateway Name: rdpgw-2fa.cc.stonybrook.edu
User Account: Use PC User Account
Friendly name: RD Gateway
II. Set up Desktop and Connect
- Have your default Duo enabled device convenient to approve login during the last step
- Set up Your Desktop:
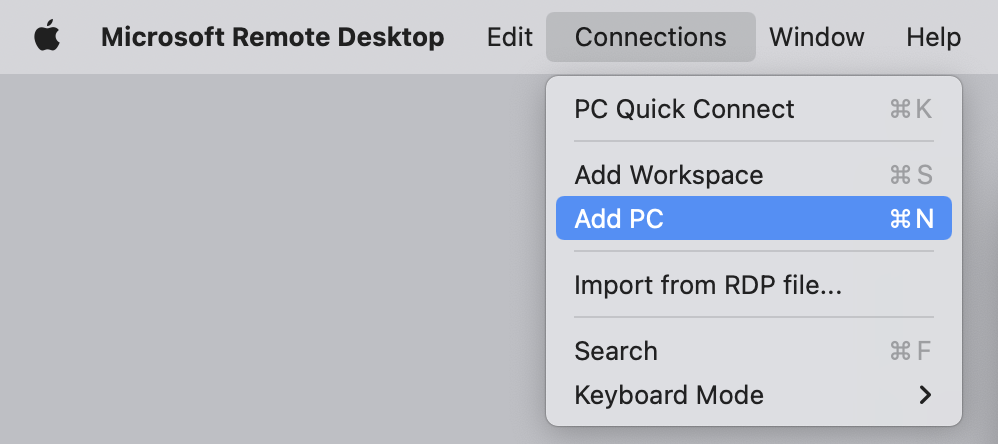
- Click the Connections menu and then select Add PC
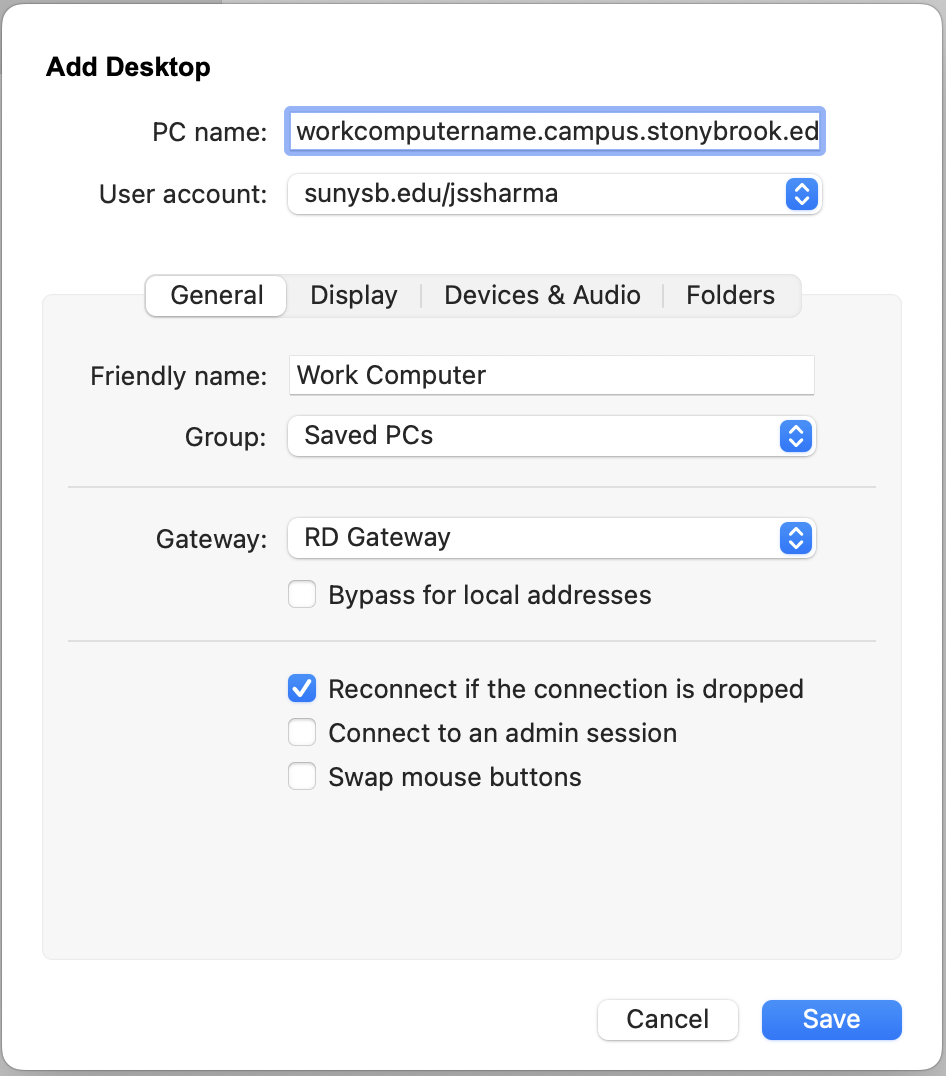
- Fill in the fields as follows:
PC name: enter the name of the computer you're connecting to followed by .campus.stonybrook.edu e.g., mycomputer.campus.stonybrook.edu
User Account: select Add User Account... enter your username as sunysb.edu\NetID (e.g., sunysb.edu\bsmith) and password as your NetID Password. - Click General (if you don't see General, click Show More), fill in the fields as follows, and then click Add:
Friendly Name: New Connection (or a name for the computer you're connecting to)
Group: Saved Desktops or Saved PCs
Gateway: Select the RD Gateway you set up above
- Click the Connections menu and then select Add PC
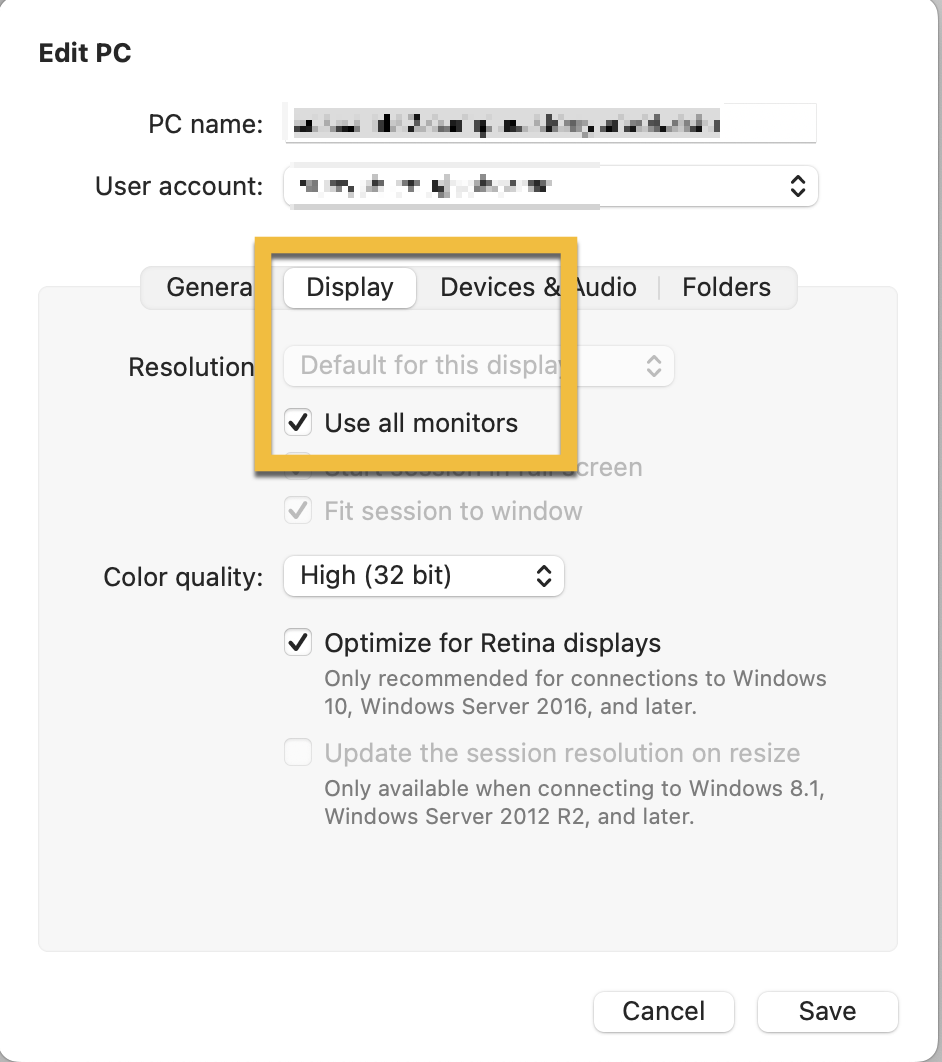
- To use 2+ monitors on the computer you're physically sitting at, click the Display tab
- Select ☑︎Use all monitors
- Click Save
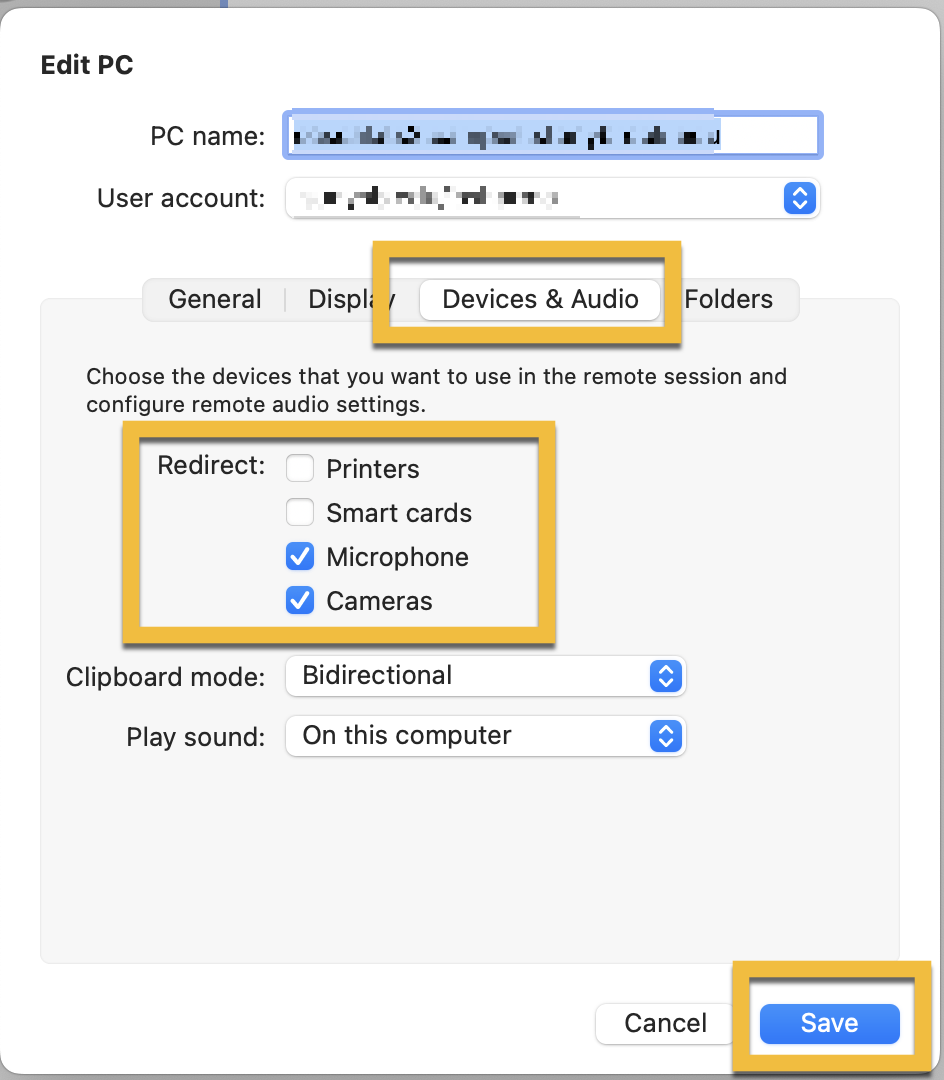
- To use Zoom and set to use the Microphone and Camera from the computer you're physically sitting at, click the Devices & Audio tab
- Select ☑︎Microphone and ☑︎Cameras
- Click Save
- From the main Microsoft Remote Desktop 10 window, double click on the New Connection you just created, and a window will open showing Connecting ... (it may take several moments to connect)
- If prompted to log in, use the following
User name: sunysb.edu\NetID (replacing NetID with your NetID, e.g., sunysb.edu\bsmith)
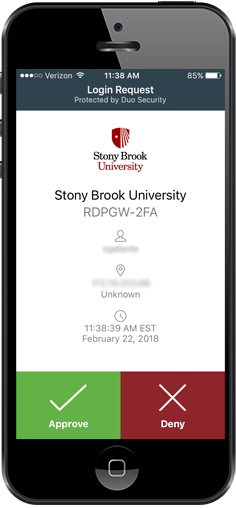
Password: your NetID password - Approve the Login Request on your default Duo enabled device (the DUO prompt will indicate that the login request is from RDPGW-2FA)
- If you receive a Verify Certificate prompt, click Continue