This Information is Intended for: Faculty, Postdocs, Researchers, Staff, Students
Last Updated: March 17, 2023
Average Rating: Not Rated
In this article you will learn about
- Understanding why you cannot get into Zoom meetings or the Meeting doesn't Recognize you as the Host
- 4 Ways to Authenticate into Zoom
- Downloading and Installing the Zoom Desktop Client (recommended)
- Features of the Zoom Desktop Client
Understanding Why You Cannot Get into Zoom Meetings or You are not Recognized as a Host of your Own Meeting
By default, Zoom meetings require authentication to join unless the creator of the meeting manually changes that setting. Authentication not only secures the meeting but also identifies you as a Stony Brook Zoom user. So if you find that you are not the host of your own meeting or simply cannot get into a secure meeting, it is because you have not signed into Zoom one of the 4 ways below .
Signing into the Zoom App that is installed on your device will help you stay signed in for long periods of time which mitigate access and host issues.
Note: Every time you switch devices (like from a work computer to a home computer) you must authenticate.
If you are using Firefox with Zoom be sure to turn off Enhanced Tracking Protection!
4 Ways to Authenticate into Zoom
There are many ways to authenticate into your Stony Brook Zoom account.
- The Zoom Web Portal at https://stonybrook.zoom.us which allows you to start meetings, access many settings, get reports and share cloud recordings through any internet browser.
- The Mobile app that allows you to participate in meetings from a phone or tablet.
- Plugins/Add-ons for Google Calendar and Outlook help you create Zoom meetings while creating a calendar invitation.
- Recommended: The Zoom Desktop Client which is an application installed on your computer. Using the Zoom Desktop Client is highly recommended because it generally keeps you signed in; however, when the application or your computer is updated, you'll need to sign in again. It also allows you to quickly initiate on-demand meetings without having to go to your calendar or Brightspace to schedule a meeting.
Regardless of how you access Zoom (web portal, mobile, plugin or desktop client) you will need to ensure that you a logged in properly with your NetID credentials.
Downloading and Installing the Zoom Desktop Client (recommended)
Watch the video here: https://youtu.be/F38hu4tevR4
- First, search for the Zoom app on your computer (see step 2). If it's not installed then download the client from the Zoom Download Center: https://zoom.us/download
if you have issues accessing the Zoom Download Center, open an incognito browser window (ctrl+shirt+n or cmd+shift+n) and in that window go to https://zoom.us/download- Click Download under "Zoom Desktop Client"
- Click to install the .exe (Windows) or .pkg (Mac) and follow the installation prompts.
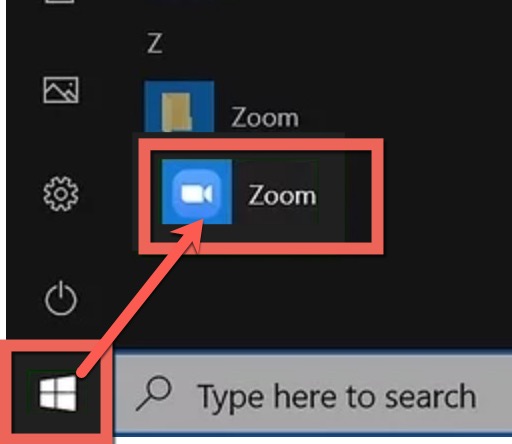
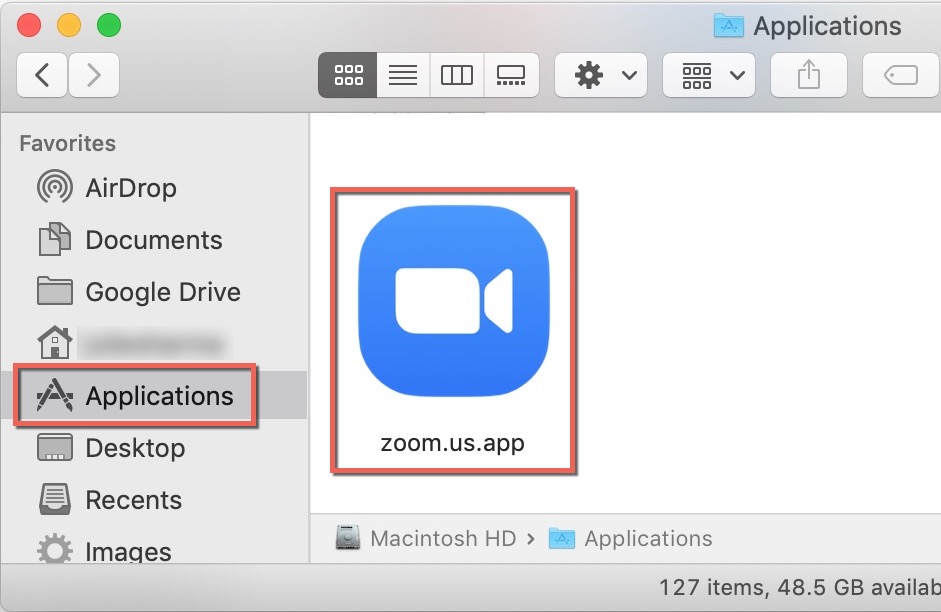
- If Zoom doesn't open automatically, find and launch the Zoom app from the start menu (Windows) or Finder (Mac)
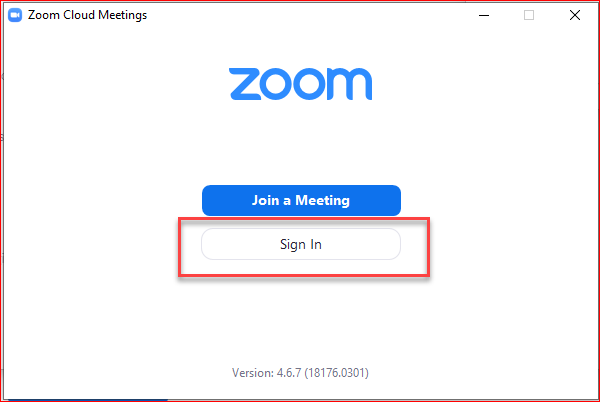
- Click Sign in at when the prompt appears after installation.
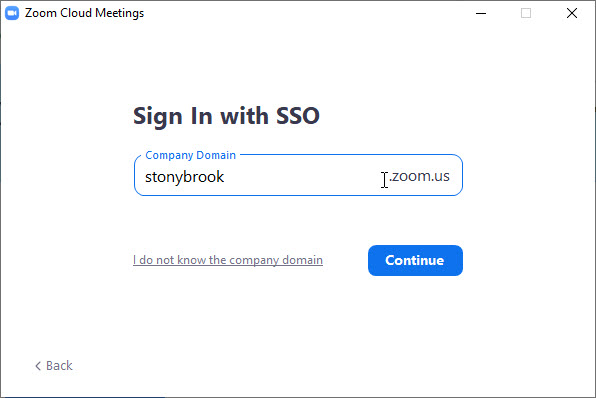
- Click Sign in with SSO to ensure that you sign into your SBU Zoom account
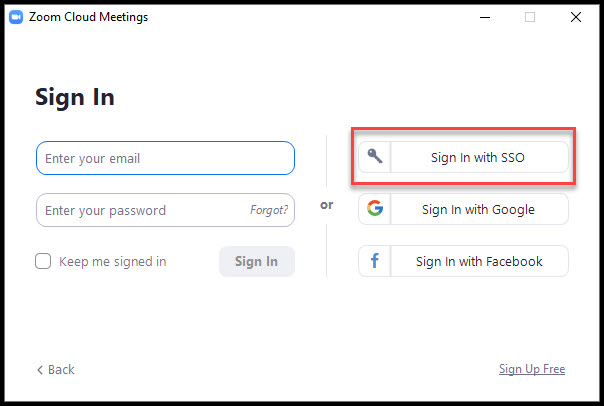
- Enter the Stony Brook domain as stonybrook and click Continue
- You will be prompted to log in with your NetID and NetID password.
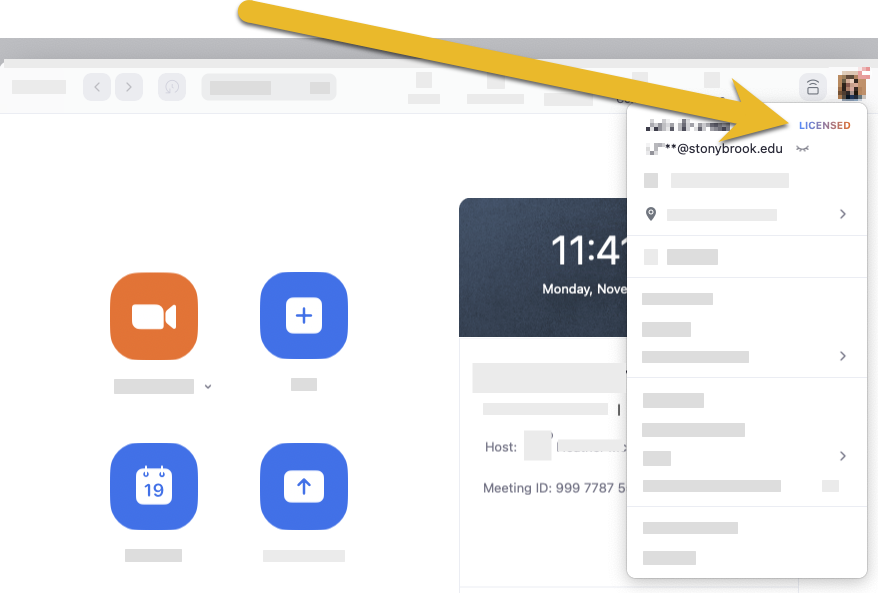
*If you are not prompted to log in with your NetID the system may have saved credentials if you have ever used Zoom's free trial or another Zoom account. To ensure that an SBU account is generated with your Stony Brook email address, follow the instructions for logging in to the online application in a private or incognito browser window: https://it.stonybrook.edu/help/kb/getting-started-with-your-stony-brook-zoom-account - Ensure you are logged into the Zoom Desktop Client with a Stony Brook LICENSED account by clicking your avatar on the top right of the screen and confirm that next to your name says LICENSED
*Windows users: Pin this app to your taskbar to quickly check you are signed in before you go into a Zoom meeting. https://youtu.be/F38hu4tevR4?t=170
Features of the Zoom Desktop Client
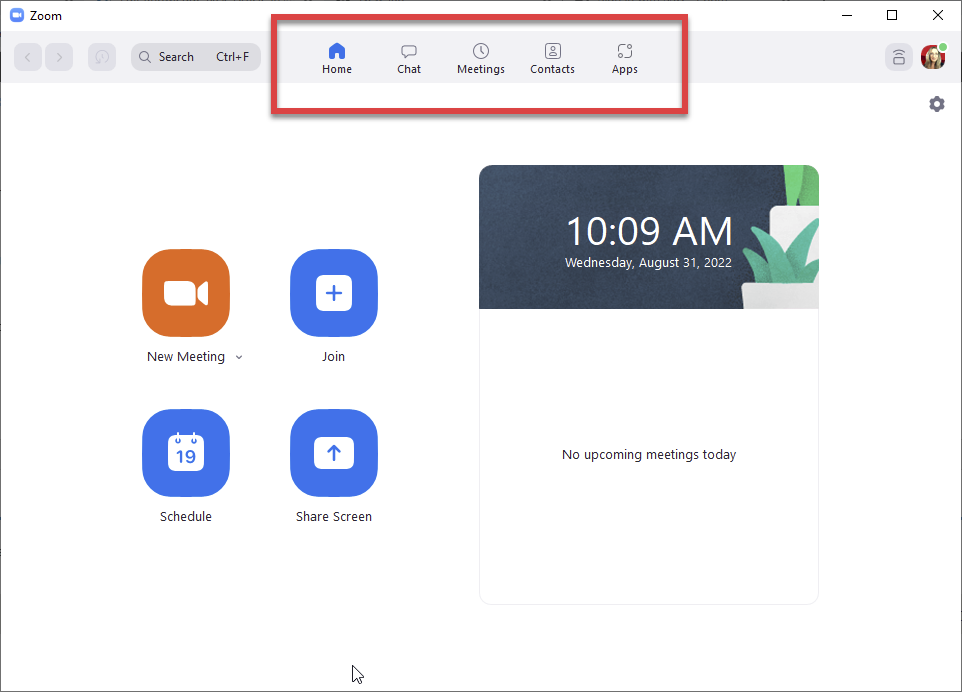
Home
- New Meeting: Initiates Zoom to start an on-demand meeting. You can invite guests from within the meeting room
- Join: Prompts you to enter a Meeting Room ID to join a meeting
- Schedule: Prompts you to schedule a meeting at a future date-you can set up scheduled meetings for yourself or others. Once you click Schedule here, Google Calendar or Outlook will open for you to finish and send the meeting invitation to guests.
- Share Screen: Enter a Sharing Key or Meeting ID to share your screen
- Upcoming Meetings: You will see any upcoming Zoom meetings on the right side of the screen
Chat
Search for people to send instant messages or video calls.
Meetings
Find upcoming meetings and recorded meetings.
Contacts
See a list of your starred contacts and zoom rooms