This Information is Intended for: Faculty, Staff, Students
Last Updated: February 23, 2022
Average Rating: Not Rated
You can add a Zoom Meeting to your Google Calendar events directly from Google Calendar using the Zoom for GSuite Addon. This tool also allows you to quickly update Zoom meetings created in Google Calendar. Any Zoom meetings created with the Zoom Chrome Extension must be updated in the Zoom Web Portal: https://stonybrook.zoom.us
If Zoom Meetings created in or started from Google act strange (e.g., guests can't get in, Zoom won't let you start meetings you believe you are host of), clear your browser cache, remove all browser cookies, sign out of the add-on and then sign back in and reauthorize it (if prompted). Be sure to check any reauthorization screen for new permissions. Signing out can be a little tricky. Be sure to follow the instructions below.
Notes about using Zoom with Google Calendar (using the Zoom for G Suite Add-on)
- When using the add-on, make sure you are not signed in to multiple Google account with the add-on installed. This will cause issues when scheduling Zoom meetings using the add-on.
- If you are rescheduling a Zoom meeting from Google Calendar, edit the calendar entry and change the meeting date/time. Do not drag and drop the calendar event or copy the meeting details to a different calendar entry.
- If Zoom Meetings started from/created in Google don't work correctly, clear your browser cache, remove all browser cookies, sign out of the add-on and then sign back in and reauthorize it (if prompted).
Signing out/into / Authorizing / Re-authorizing Zoom Add-on
The first time you use the Zoom for G Suite Addon in Google Calendar, sign in. If Zoom through Google Calendar previously worked fine but isn't anymore, it may have had an update. Sign out and back into the Zoom Add-on:
- In a browser, go to Google Calendar at calendar.google.com
- On the right, click the Zoom for GSuite icon
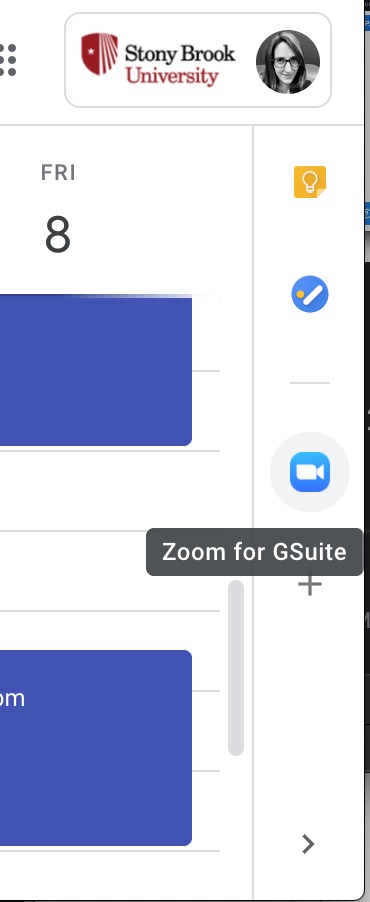
- If you don't see the zoom icon, click < in the bottom right to expand the right sidebar
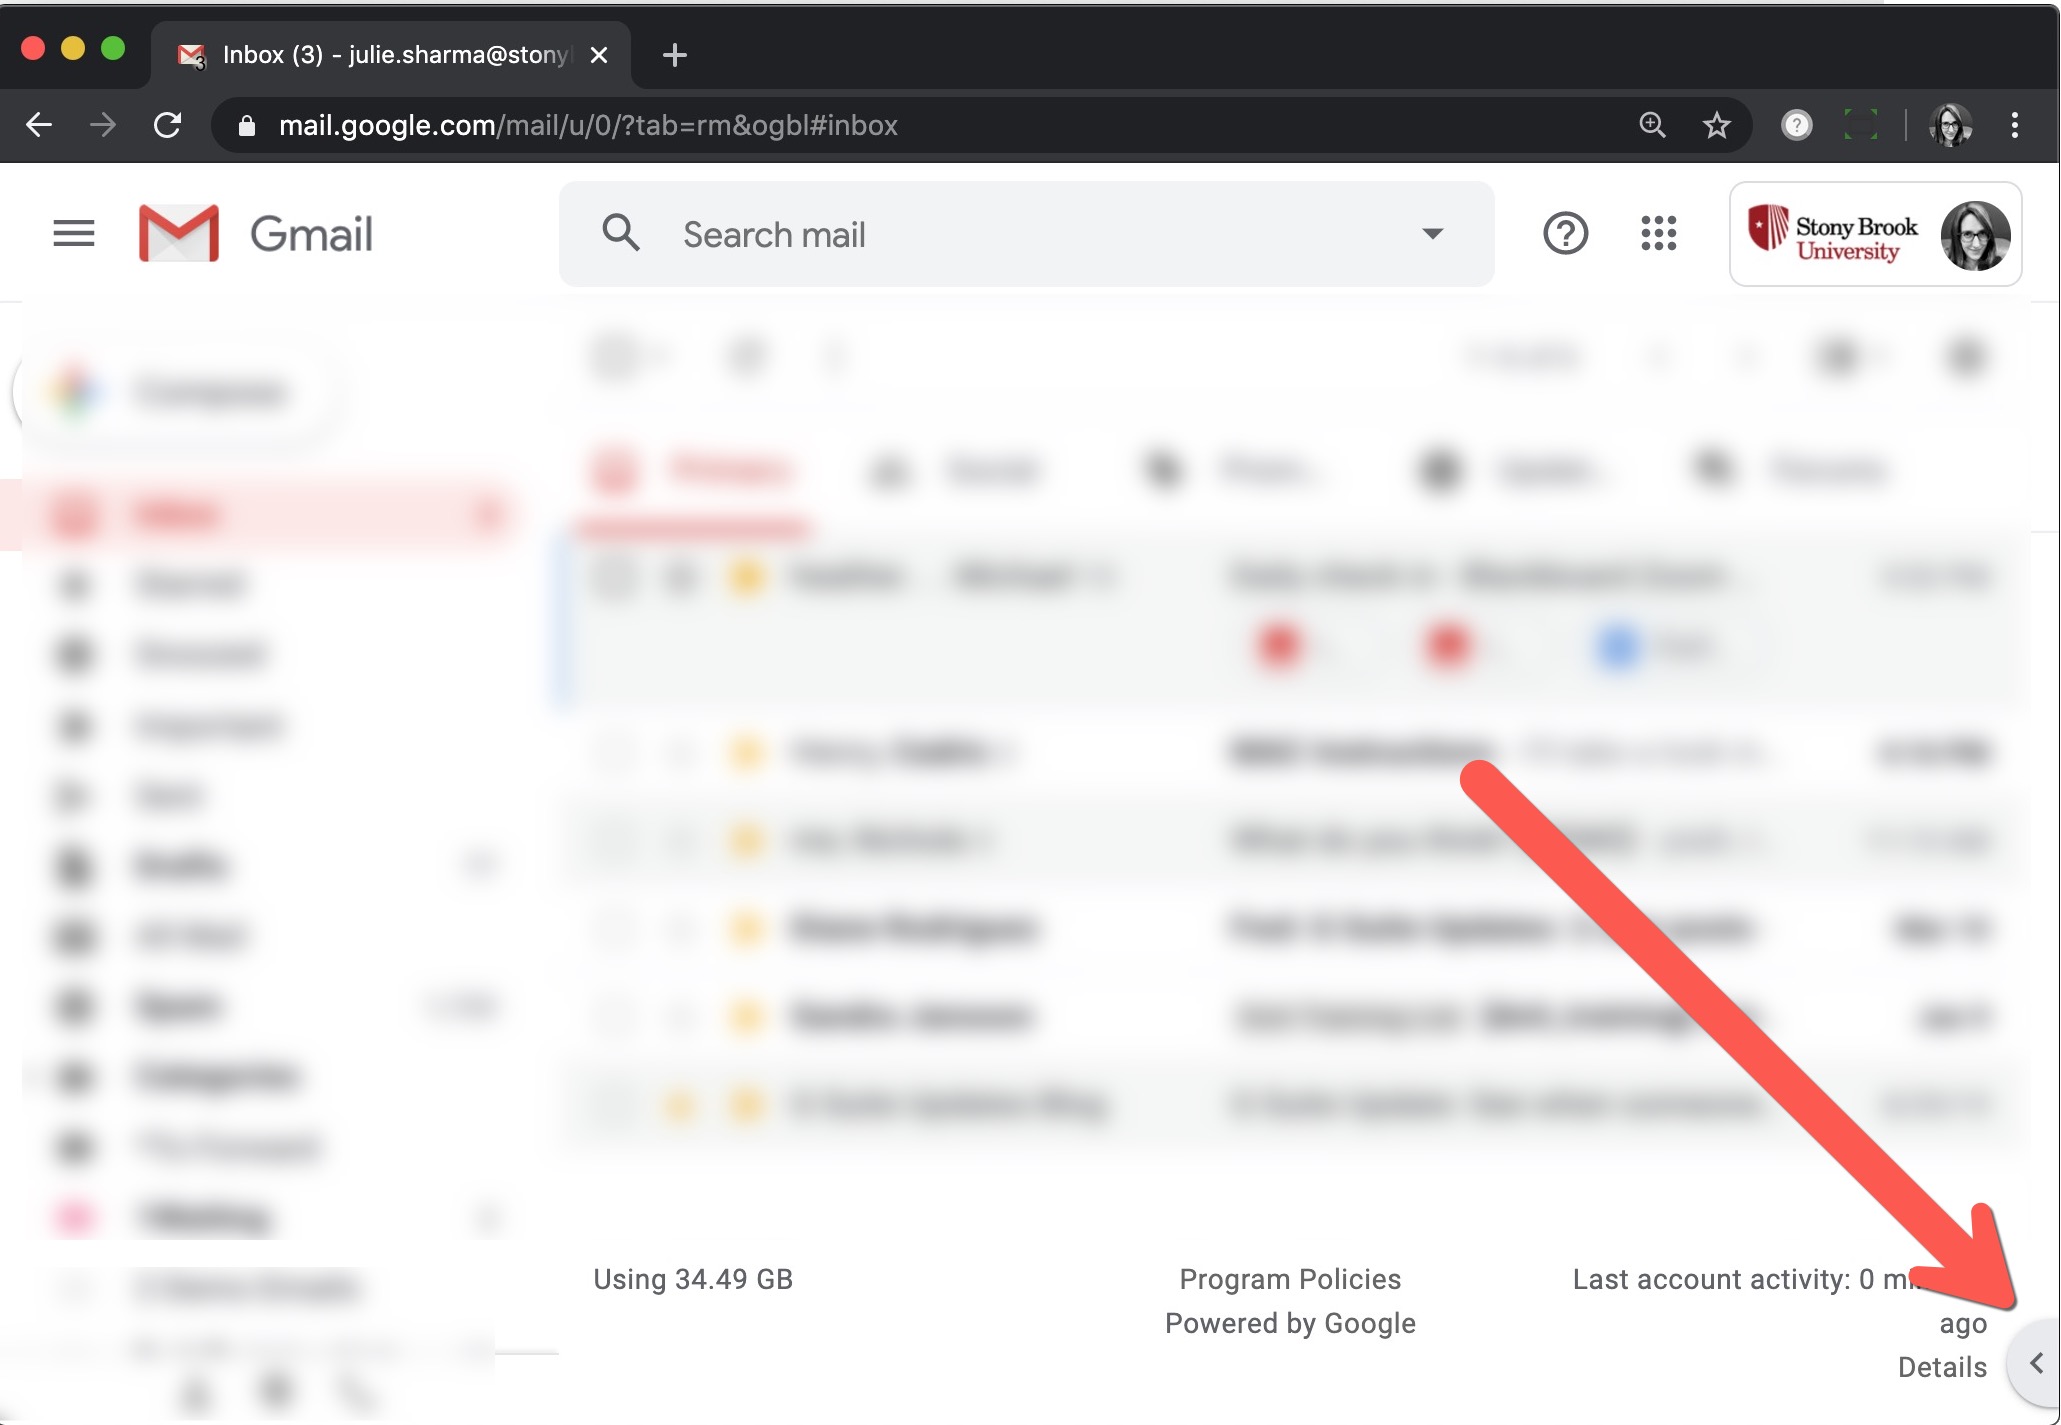
- If you don't see the zoom icon, click < in the bottom right to expand the right sidebar
- If you're already signed into Zoom for Google, click ⋮ and then Sign out
- If the Zoom Add-on won't load, make sure you are not in a invitation. Close the invitation then click on the 3-dots to see the Sign out option.
clear your browser cache for All time, sign back into your Google Calendar, and follow the steps again
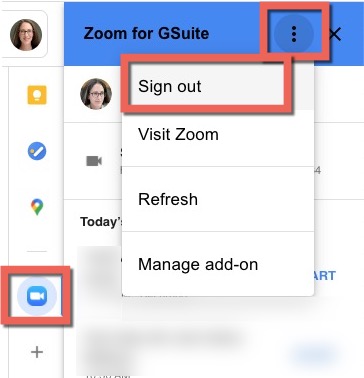
- If the Zoom Add-on won't load, make sure you are not in a invitation. Close the invitation then click on the 3-dots to see the Sign out option.
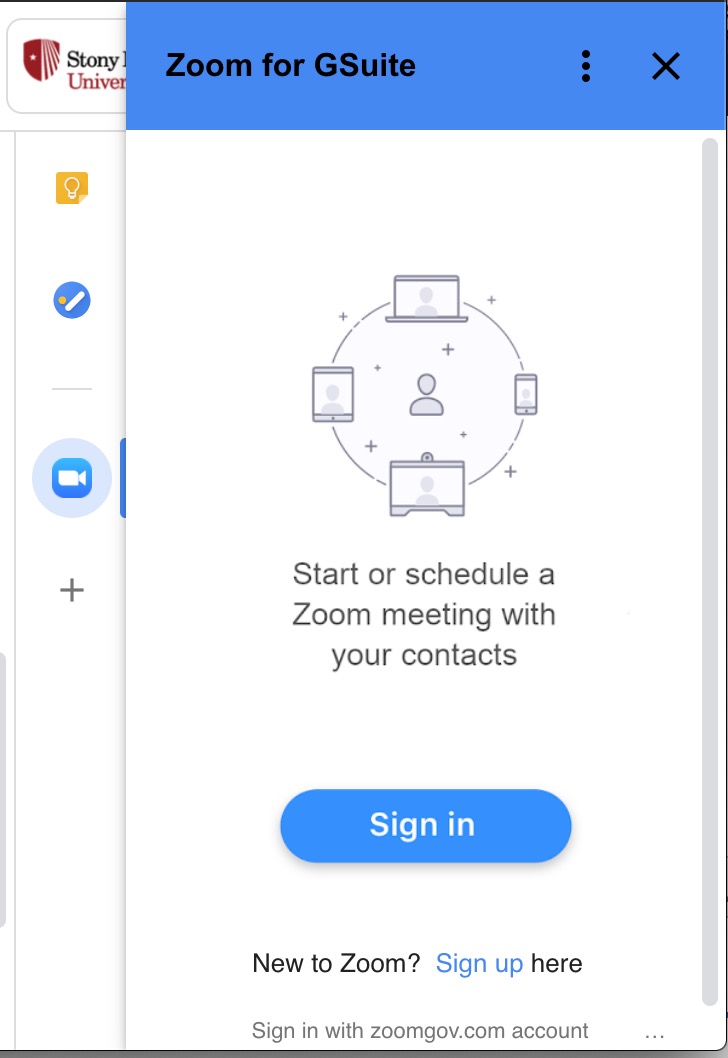
- Click Sign in
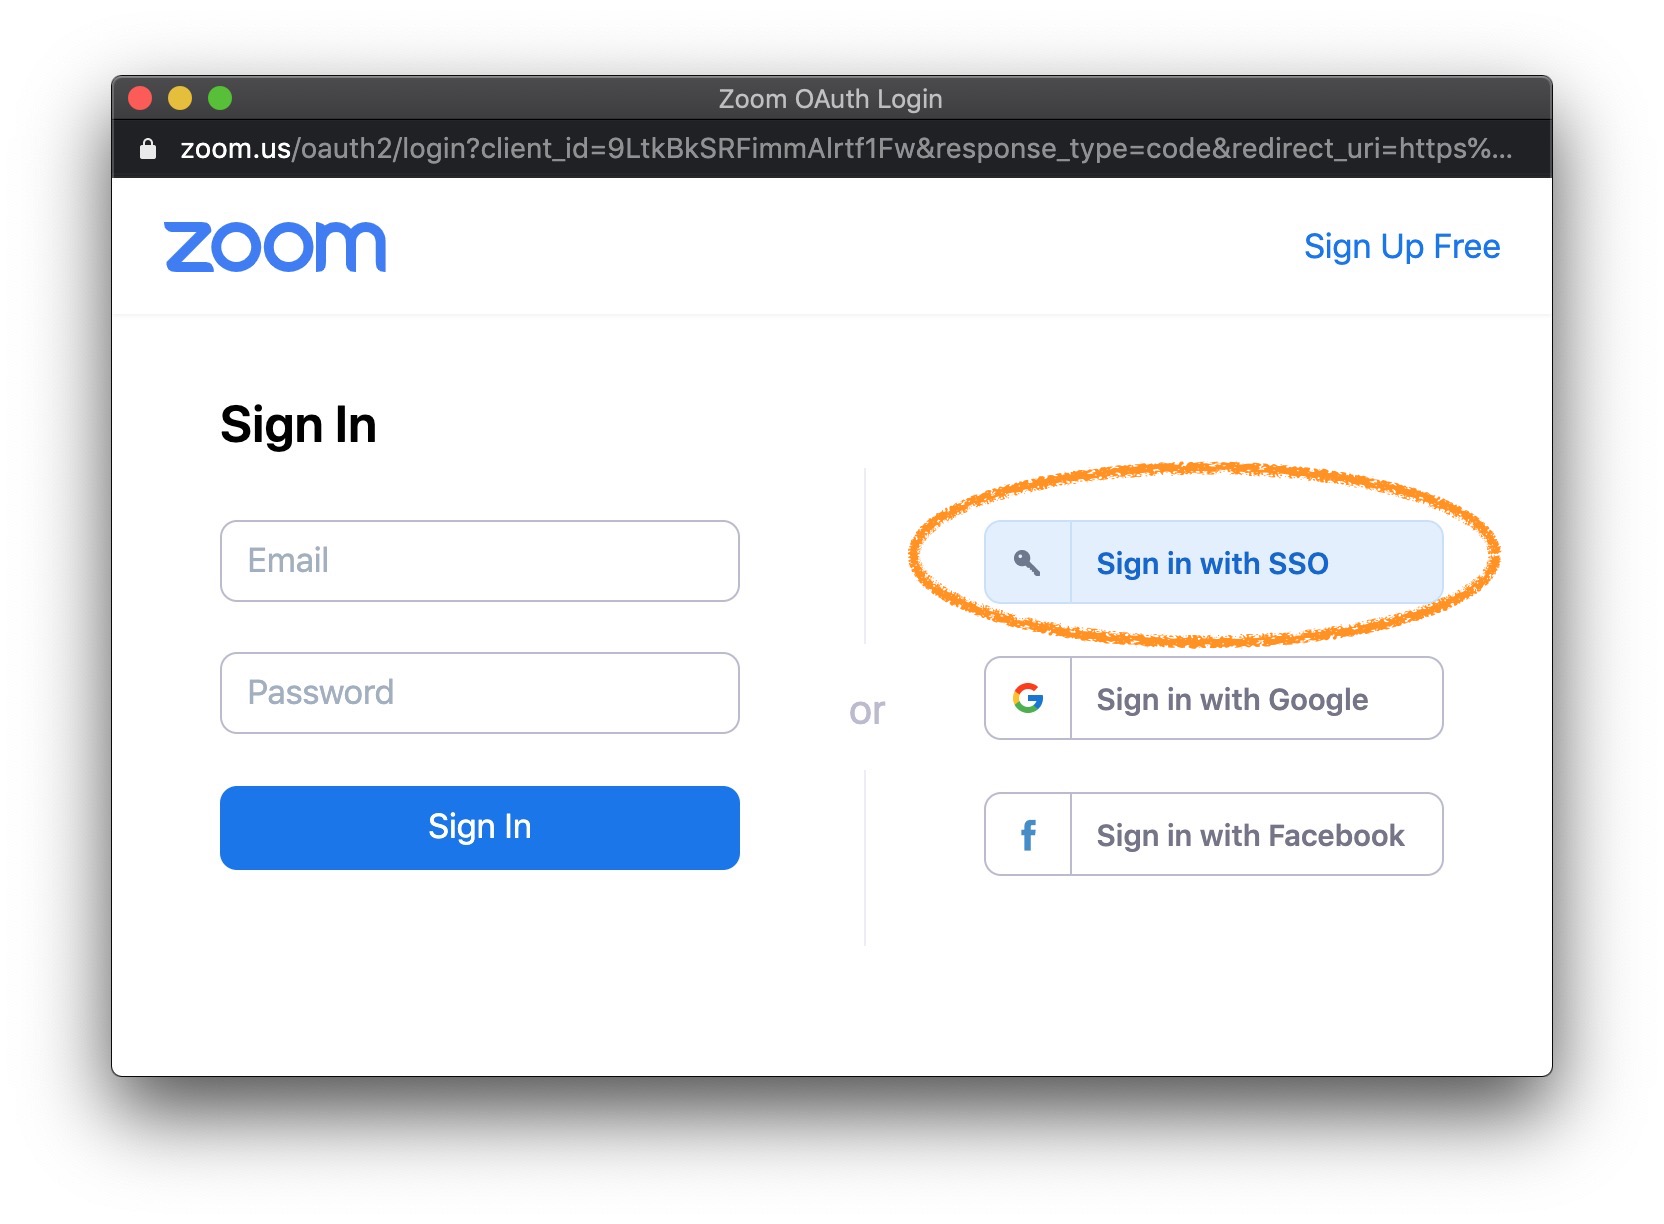
- Click Sign in with SSO (if you don't see Sign in with SSO, scroll down/over)
- For company domain, type stonybrook and click Continue
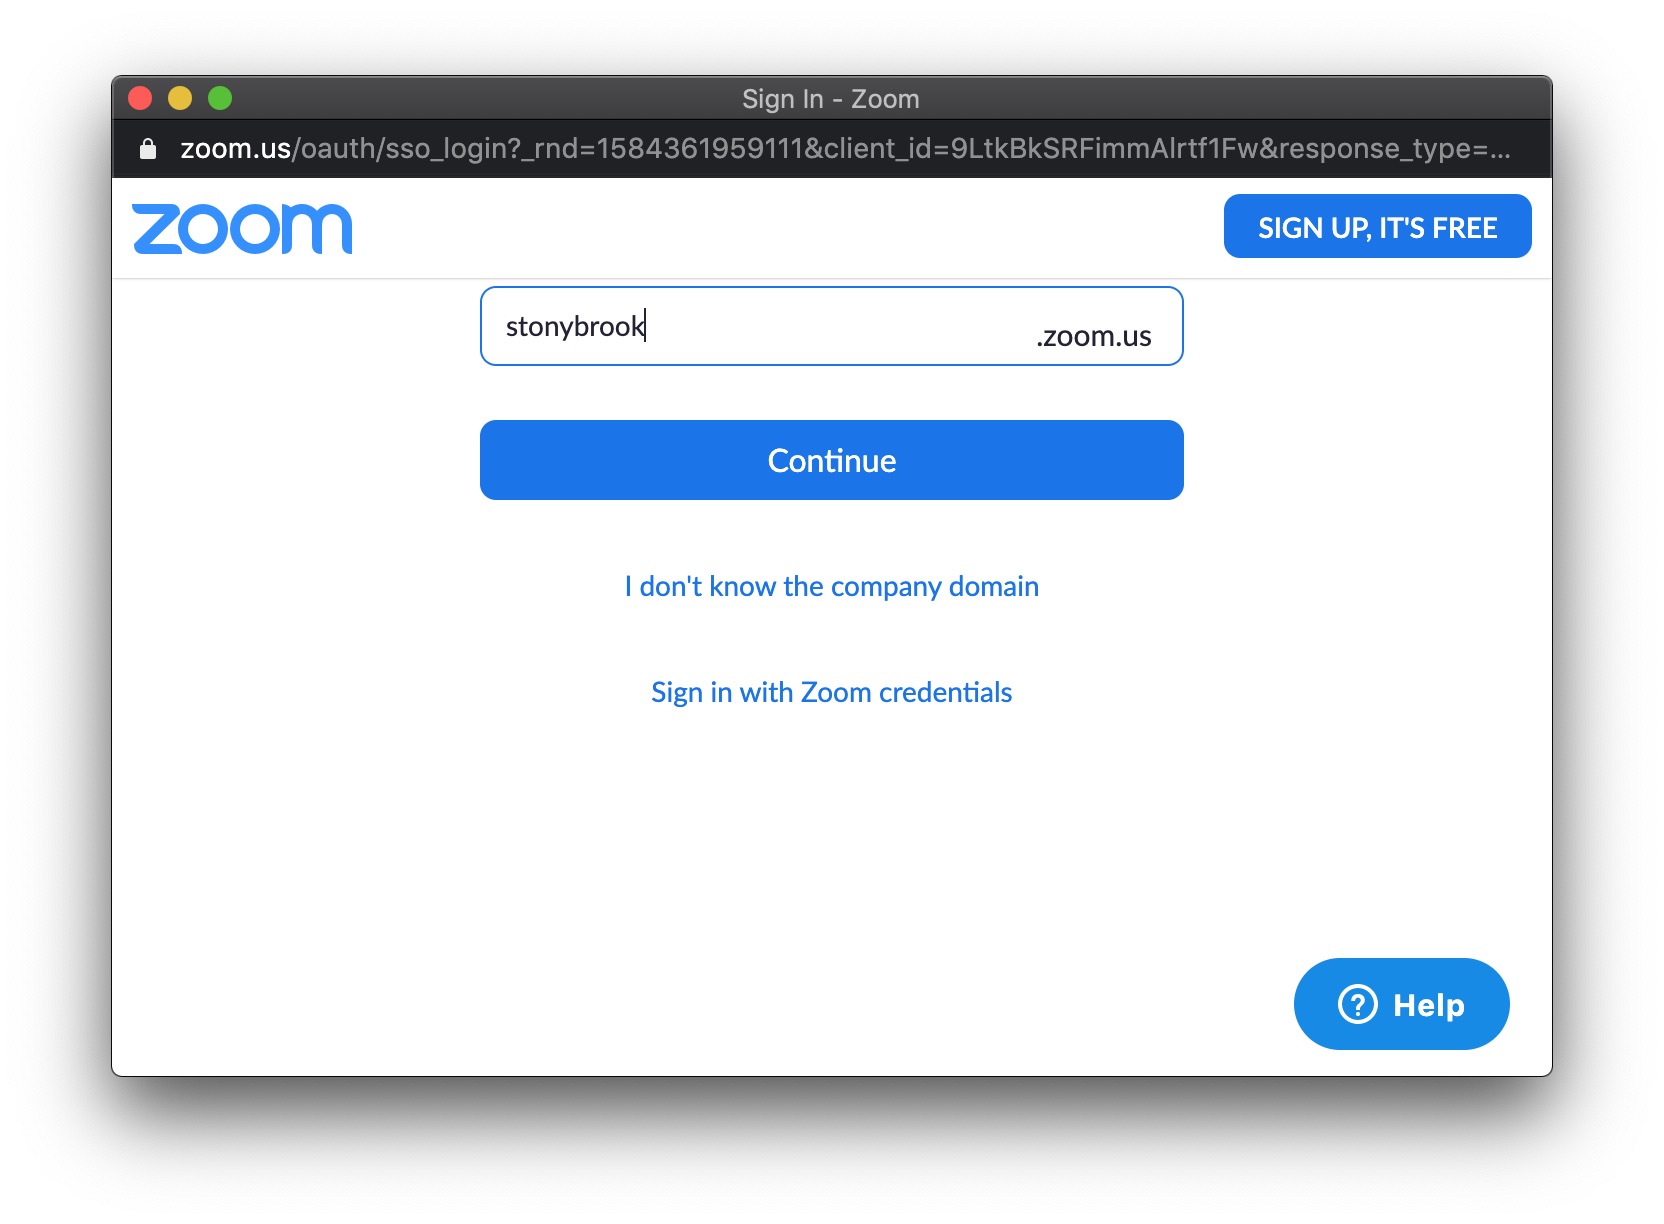
- Sign in with your NetID and NetID Password
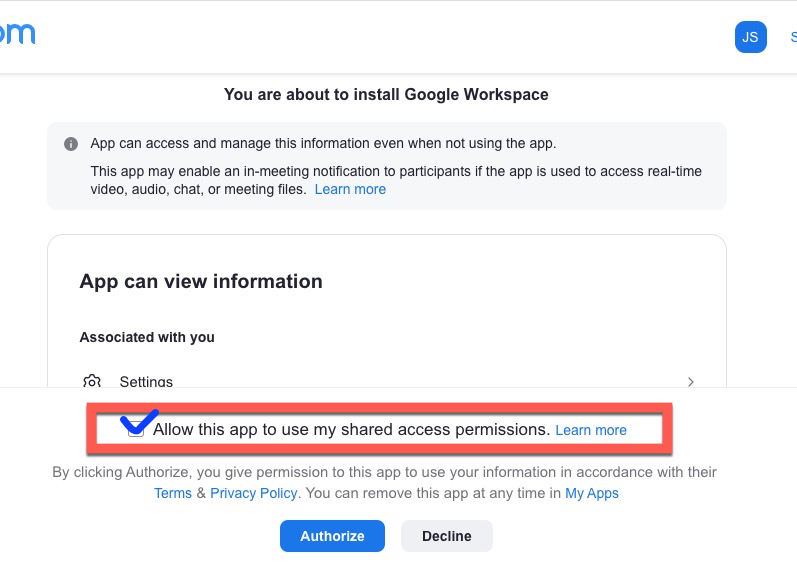
- Be sure to check off "Allow this app to use my Shared Access Permissions" (if someone had given you scheduling privileges) and then click Authorize.
Zoom is set up in Google Calendar; you'll also get an email with the subject "New Zoom app installed: Google Calendar"
Using the Zoom for GSuite Add-on in Google Calendar
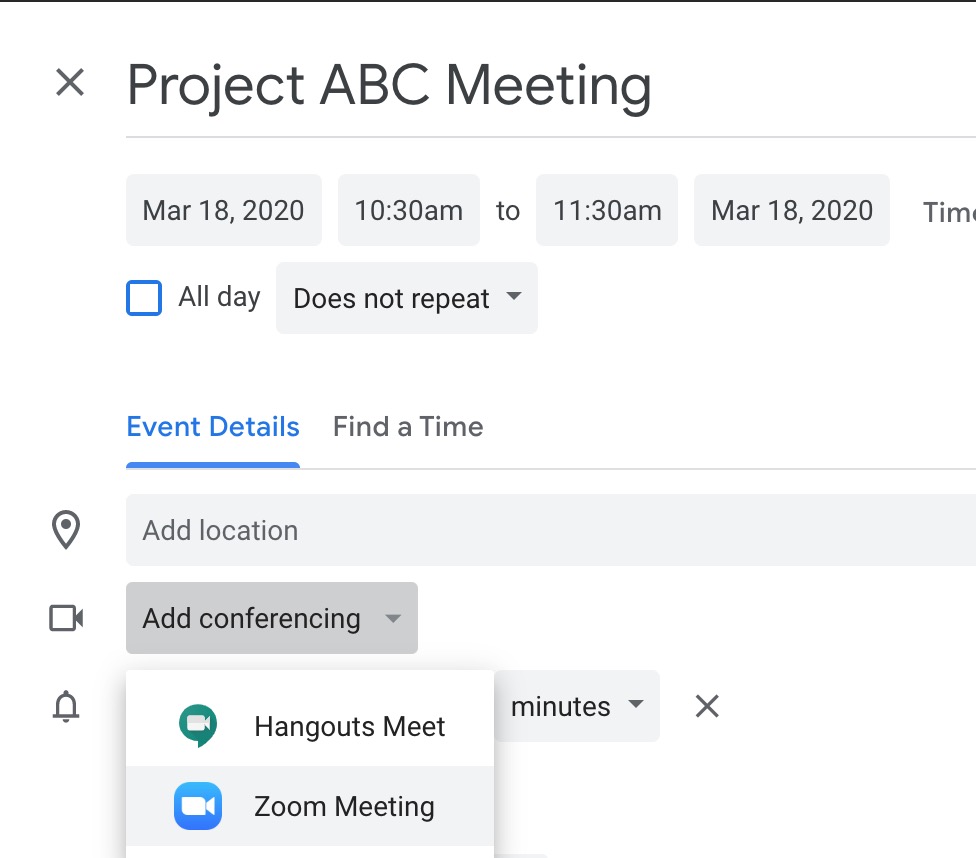
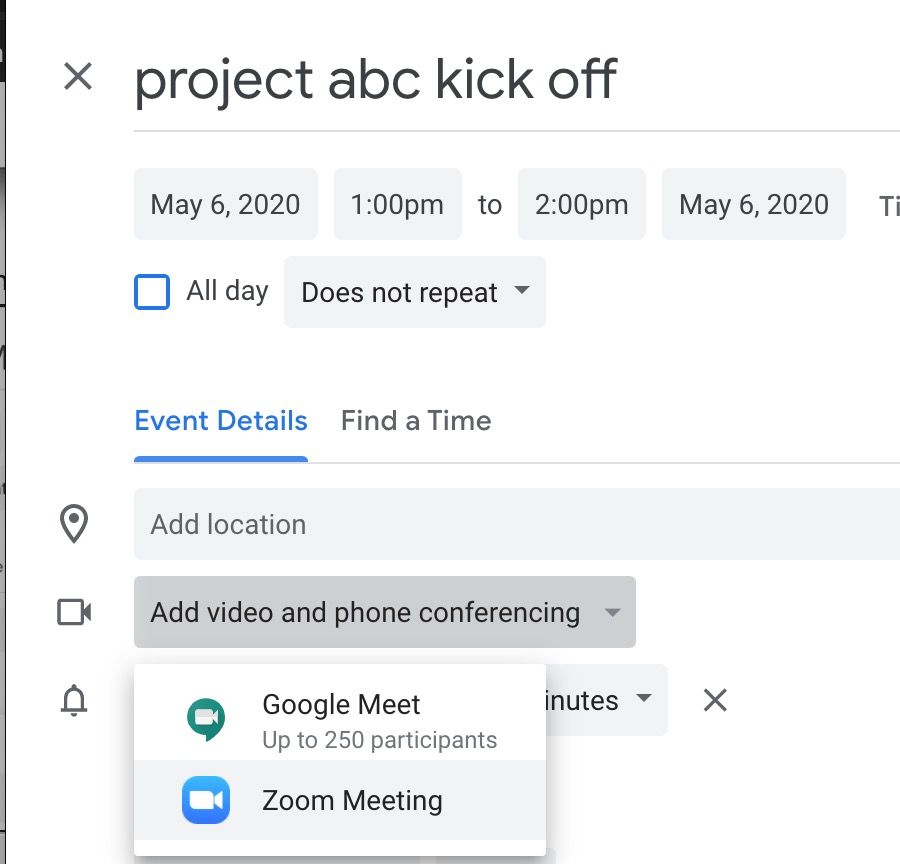
- To add a Zoom Meeting to a Google Calendar event, create an event and click the downpointing arrow ▼ next to Add video and phone conferencing and select Zoom Meeting
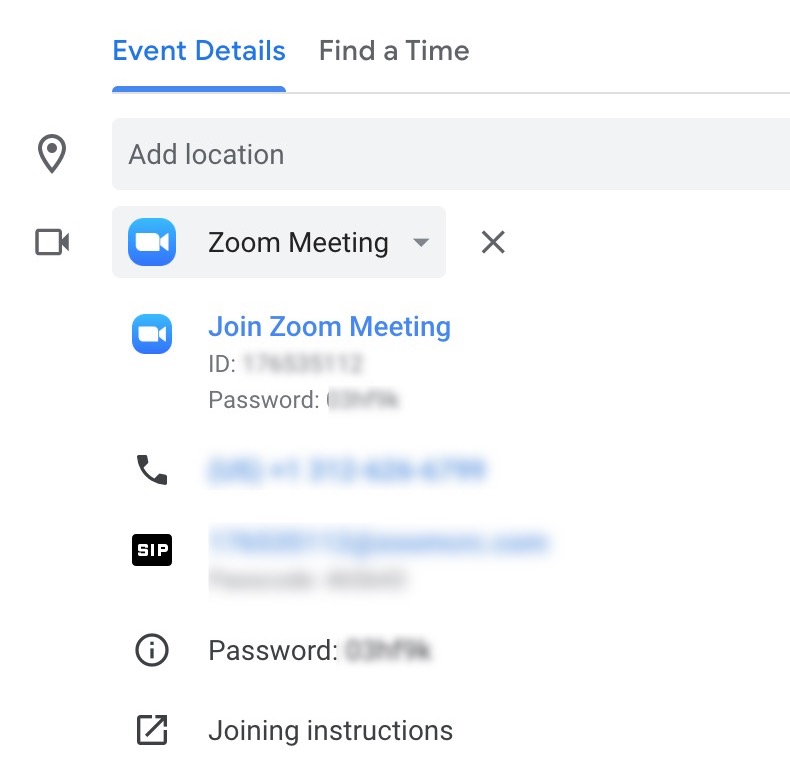
- Zoom conference details are added to the event.
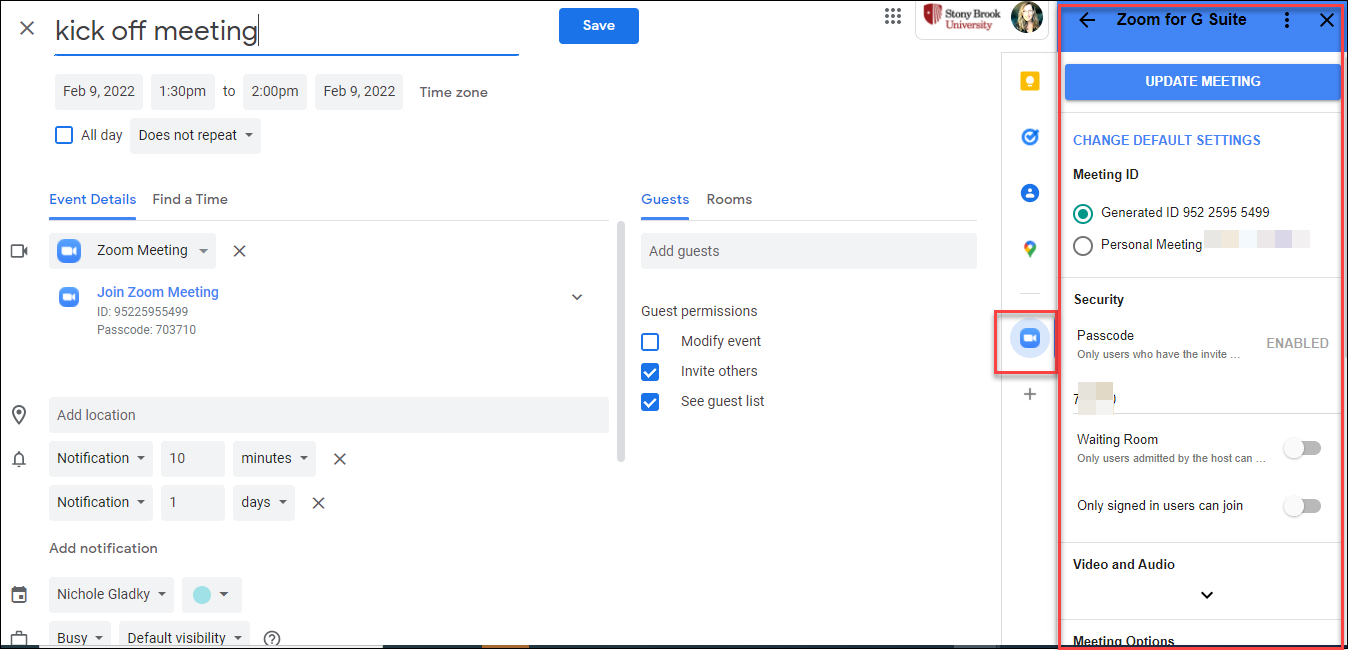
- To change the settings like add the Waiting room, Choose a Host or add Alt Hosts, click on the Zoom icon on the right of your screen. Be sure to click Update Meeting at the top when making changes then Save your Calendar event.