This KB Article References:
Yammer
This Information is Intended for: Clubs, Faculty, Guests, Researchers, Staff, Students, Teaching Assistants
Last Updated: August 11, 2020
Average Rating: Not Rated
This Information is Intended for: Clubs, Faculty, Guests, Researchers, Staff, Students, Teaching Assistants
Last Updated: August 11, 2020
Average Rating: Not Rated
Your feedback is important to us, help us by logging in to rate this article and provide feedback.
This guide will help you quickly set up a Yammer account at Stony Brook University, get started, and learn some of the basic features. You can access Yammer from your computer or from the mobile app.
Logging in
Your log in is your @stonybrook.edu email address and your NetID password.
Logging in and Setting up an Account Through the Web
- Go to http://yammer.com/stonybrook.edu
- Enter your @stonybrook.edu email address as the username and click Sign in (no need to fill in password yet)
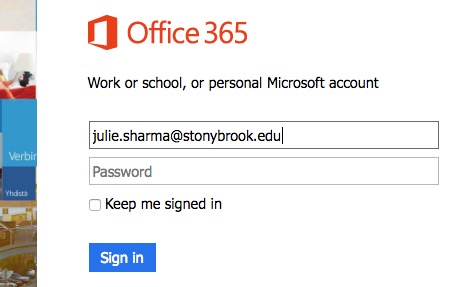
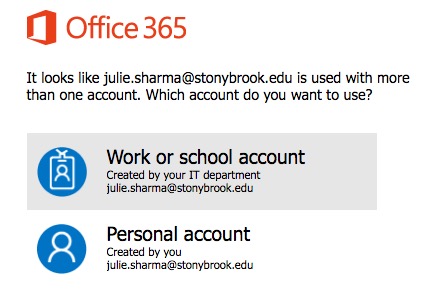
- If prompted, select Work or school account
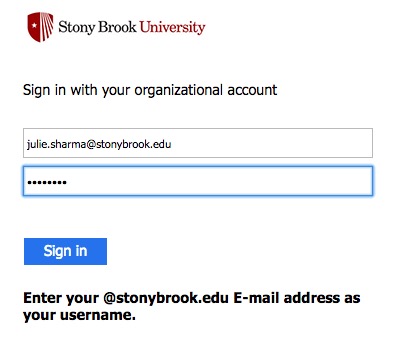
- You'll be redirected to the Stony Brook University sign in. Your @stonybrook.edu email address should already be filled out as username. Enter you Net ID password as password and click Sign in
- Alternatively, access Yammer by signing into the Office365 portal and choosing Yammer from your Apps
What To Expect the First Time You Sign into Yammer
- Everyone will be asked to accept Stony Brook’s Yammer Usage Policy the first time they log in using NetID Single Sign on. You will only be asked to accept this policy one time. If you have previously set up a Yammer account, you will be directed to Yammer with no further action required.
- If this is your first time accessing Yammer, you will be guided through the process of setting up your Yammer profile. You can take the time to fill out each field, or just click the Next button to proceed through each screen and advance directly into Yammer. You can always go back and edit your profile later.
- After the Welcome to the Stony Brook University Network page, you will be guided through three more screens as part of the profile setup process. Again, you can take the time to fill each one out, or just click Next and edit them later. Here are the different screens you’ll be asked to move through when setting up your profile:
- Who do you work with? This is where you can add SB co-workers to your network.
- Join Relevant Groups. See what groups already exist in Stony Brook’s Yammer network and join ones that interest you.
- Add Your Profile Photo. Upload a headshot of yourself so people can easily identify you.
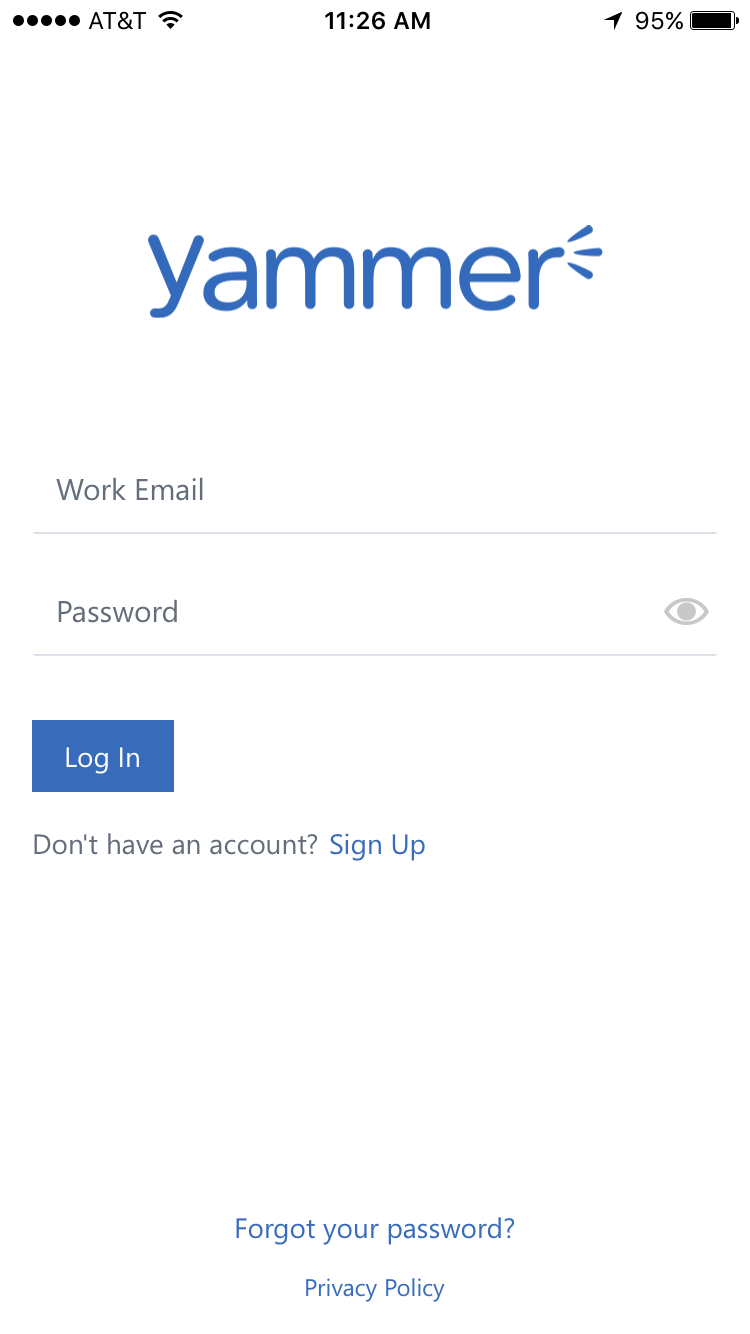
Logging in from a Mobile Device
Both iOS and Android provide Yammer mobile apps that can be downloaded from their respective app stores.
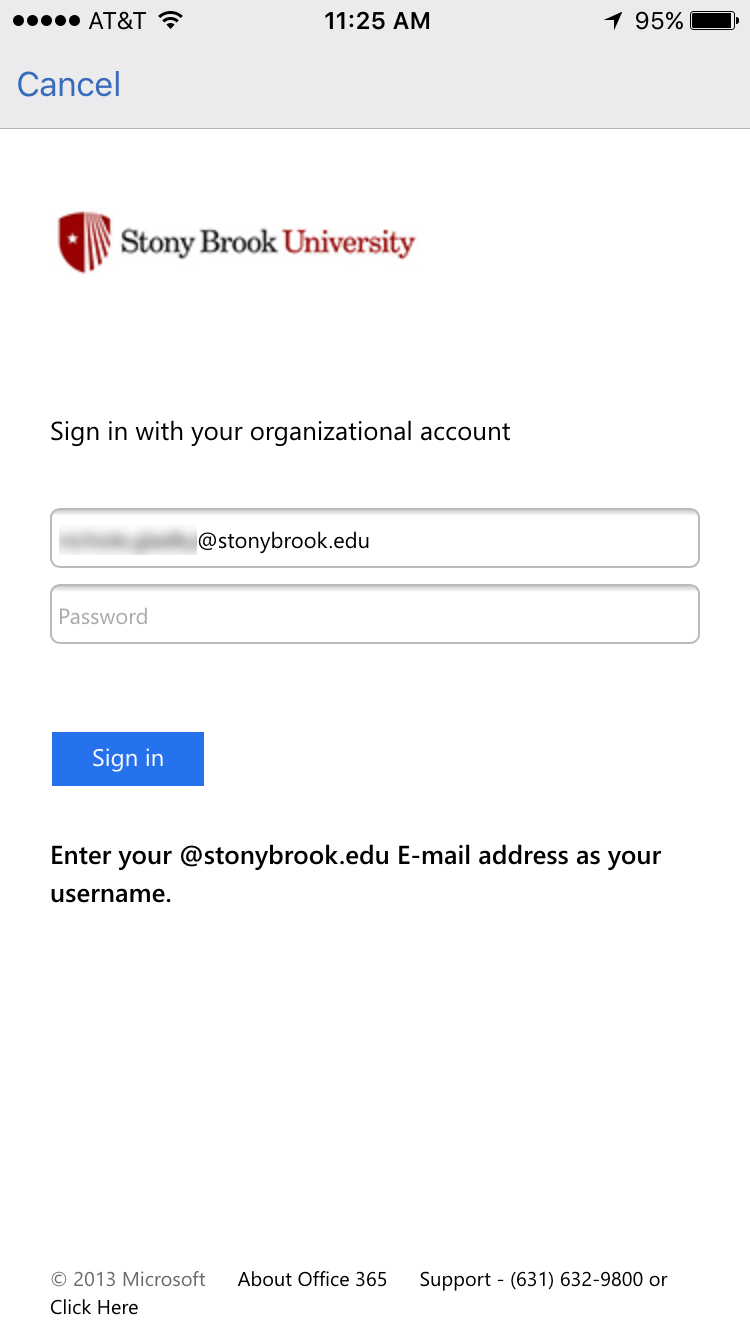
- The first time you attempt to open the Yammer app on your mobile device, tap your @stonybrook.edu email address into the "Work Email" field and then tap Log In.
- You will then be redirected to the Microsoft logon page with Stony Brook's logo. Enter your NetID password as the password.
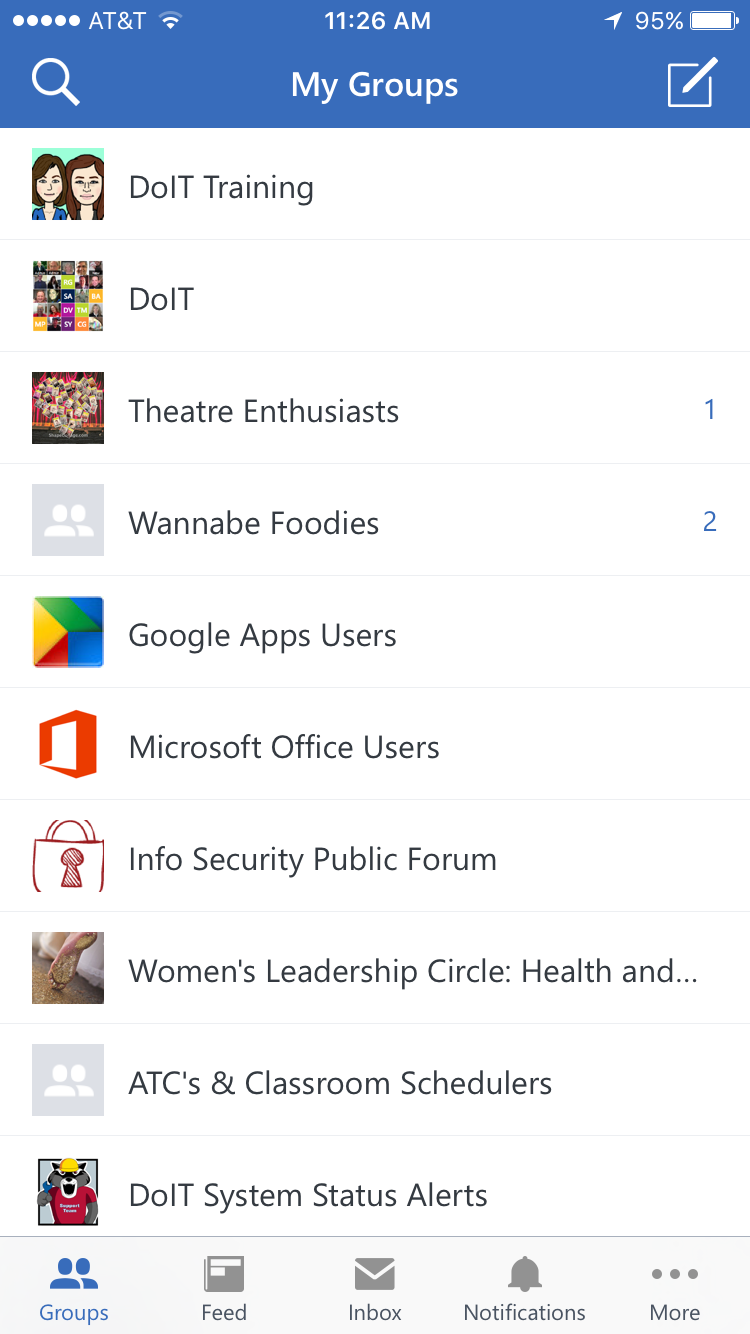
- You will be taken into the Yammer mobile app. If your first time logging into Yammer, you will be prompted to accept the user policy and to update your profile as indicated above. Otherwise you will be brought to your group's. Choose a group to read its newfeed.