This KB Article References:
This Information is Intended for: Clubs, Faculty, Researchers, Staff, Students, Teaching Assistants
Last Updated: August 11, 2020
Average Rating: Not Rated
This Information is Intended for: Clubs, Faculty, Researchers, Staff, Students, Teaching Assistants
Last Updated: August 11, 2020
Average Rating: Not Rated
Your feedback is important to us, help us by logging in to rate this article and provide feedback.
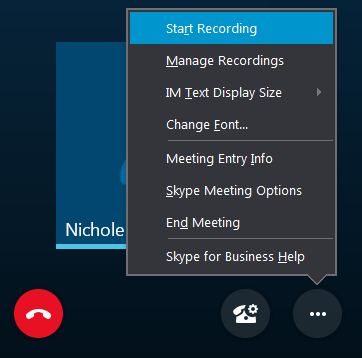
Start a Recording
To record a session, click the ellipsis (...) at the bottom right of the Conversation Window:
A yellow bar will appear to let you know you are recording the session.
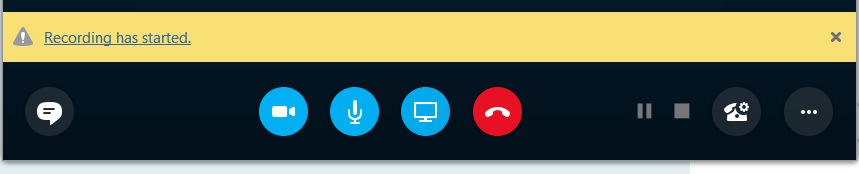
Stop or Pause a Recording
Click the Pause  or Stop
  button to pause or stop the recording.

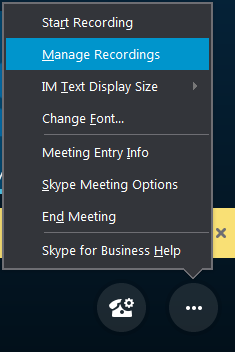
Find and Manage Recordings
In the Conversation Window, click the ellipsis (...) > Manage Recordings
The Skype for Business Recording Manager will appear.
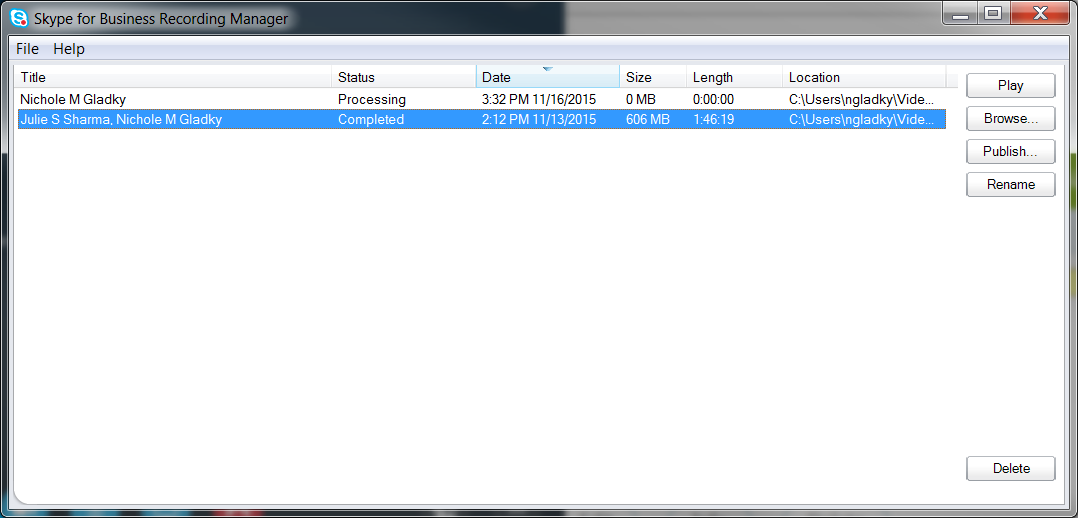
* Be sure to close the Skype for Business meeting room so that your recording finishes processing.
** If the Skype For Business Recording Manager does not appear, look for it in your start menu.
You can select a recording to:
- Play
- Browse - To save it to a new location on your computer.
- Publish and Save - By default, all recordings include Audio, Participant Video, Panorama Video, Instant Messages, Presented Content. You can remove any of these by click on the Options button in the Save and Publish screen.
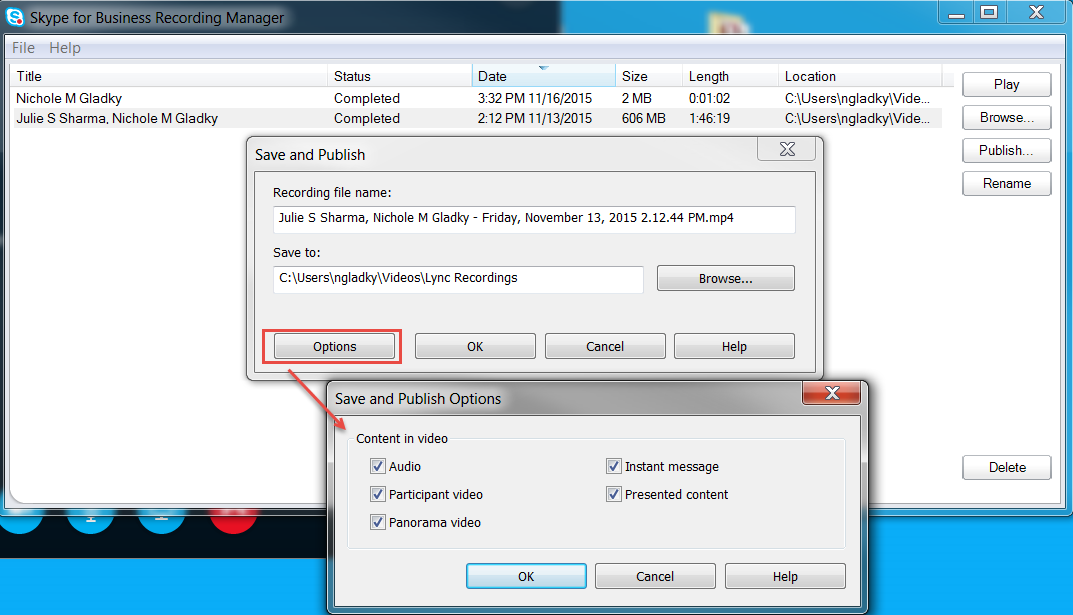
- Rename a Recording.
- Delete a Recording- Select a recording and click the Delete button at the bottom of the screen.