This KB Article References:
This Information is Intended for: Clubs, Faculty, Guests, Researchers, Staff, Students, Teaching Assistants
Last Updated: August 11, 2020
Average Rating: Not Rated
This Information is Intended for: Clubs, Faculty, Guests, Researchers, Staff, Students, Teaching Assistants
Last Updated: August 11, 2020
Average Rating: Not Rated
Your feedback is important to us, help us by logging in to rate this article and provide feedback.
Tips for success:
When presenting online:
- Have a rehearsal or trial run of presentation.
- Move your mouse slowly hover before clicking or taking an action. Some Internet connections may be slower than others.
- For large presentations, employ a moderator - someone who can answer chat questions or assist users while the presentation is live.
- Don't forget to stop sharing your screen when you are finished.
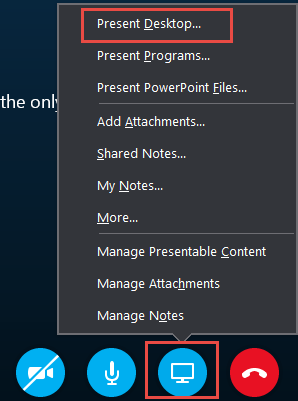
After you join your meeting, click the monitor icon  and click Present Desktop
Then choose a monitor to present and then click the Present button below:

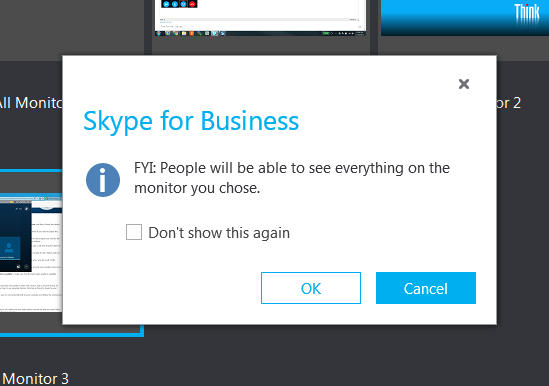
You will be warned that people will be able to see everything on the monitor you choose. Double-check that you selected the correct monitor and then click OK.
Next, at the top of the monitor you are sharing, you will see some sharing buttons:

- The vertical dots will move the sharing controls to another spot of your choice on the screen.
- The Give Control button will give others, who you select, the ability to control your screen
- The thumbtack icon will hide the sharing controls. They will appear again anytime you hover your mouse near the top of the screen that you are sharing.
Stop Sharing your Screen
To stop presenting your screen, click the Stop Presenting button at the top of the screen your sharing.
