Creating Zoom Meetings from Outlook (Windows only) Using the Plugin
This KB Article References:
Zoom
This Information is Intended for:
Staff
Created: 03/17/2020 Last Updated: 02/09/2022
Note: This plugin is for installed versions of Outlook on Windows computers. For detailed information, learn more.
This article contains information on:
Installing the Plugin
- Open Outlook
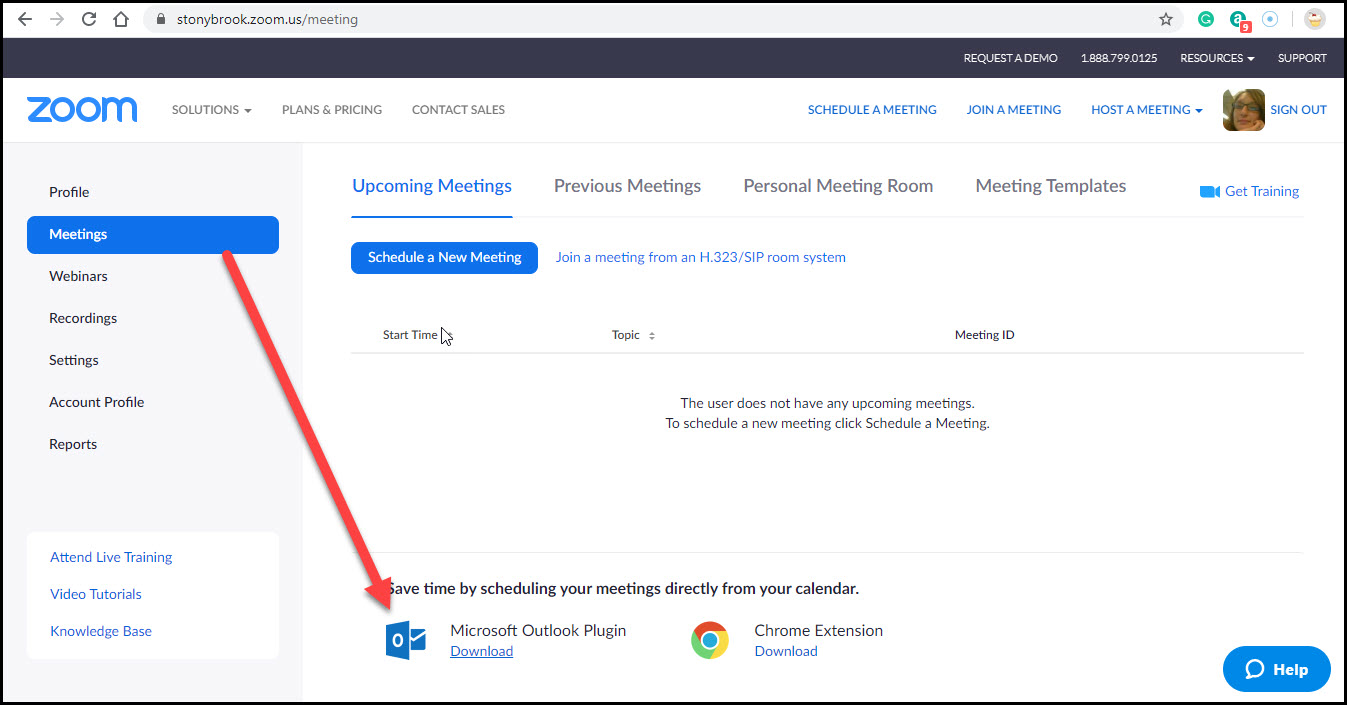
- Download the plugin by logging into Zoom Meetings at stonybrook.zoom.us
- Run the plugin. It looks like nothing has happened when it finishes installing.
- Close Outlook, reopen and to go to the Calendar. You will see two new Zoom buttons on the Home ribbon:
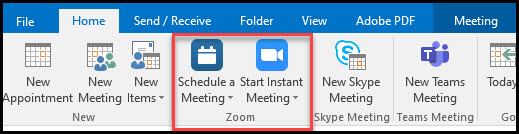
Schedule a Meeting
- Open Outlook and go to the Calendar
- Make sure you are logged into Zoom at stonybrook.zoom.us or you will be prompted to log in later.
- Click Schedule a Meeting to create a Zoom meeting invitation.
- You will be prompted with settings for your scheduled meeting.
Click Advanced Options to see more options like the Enable Waiting Room, Scheduling Zoom for others and to add Alternative Hosts.
Click Continue.
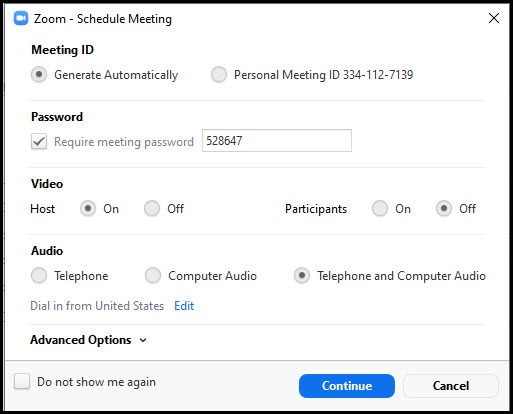
*Note the password setting. This cannot be turned off. Recipients who do not have a zoom account will be prompted to enter in the password and a meeting ID. The password and meeting ID is automatically sent to your recipients in the description field of your meeting invitation:
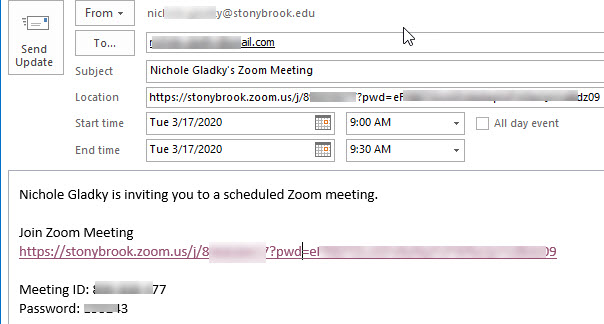
- Click Send to send the invitation to your recipients.
Joining the Meeting
In Outlook, double-click the invitation box to open the meeting and click on the link provided.
*Single-clicking will not provide you with a clickable link:
